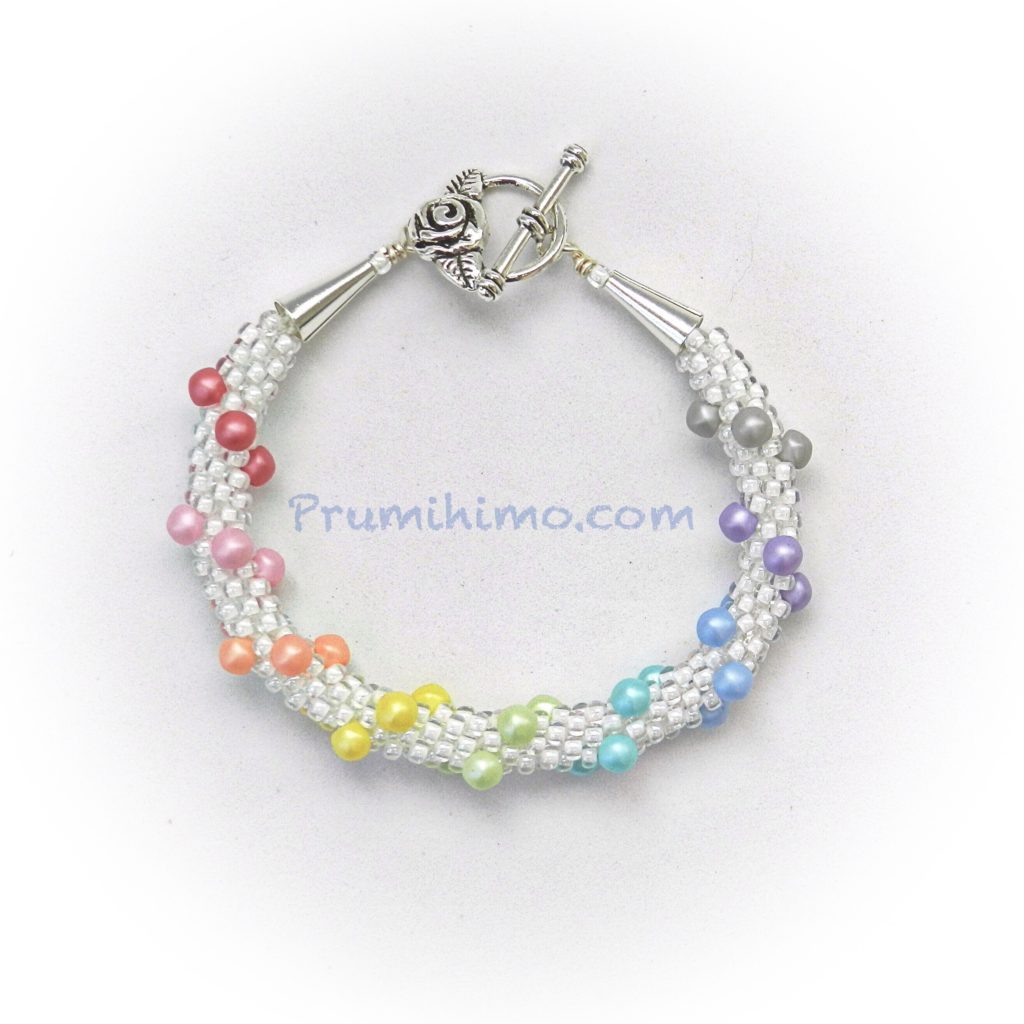
I have been sent a fabulous selection of colours of mushroom beads by Juliet of Spoilt Rotten Beads and she had challenged me to make 4 different pieces of jewellery with them. I have decided to interpret that as 4 completely different kumihimo techniques in order to show the versatility of both these beads and kumihimo in general. My plan is to release a YouTube video for each design so that people can have a go on their own.
Mushroom beads are perfect for kumihimo because the hole is to one side of the bead, which means that when they are braided the hole is drawn close to the braid, making it almost invisible. They come in several different sizes, but the small 4mm size is particularly useful.
The beads are all summery, pastel tones so I intend to make the 4 main pieces of jewellery in the same colour palette, by just adding white. However, pastels are very versatile and a simple switch of the base colour will make a piece look completely different. I hope this will inspire people to play with their own colour choices. I also make suggestions of how the design in each video can be adapted to make a different style of jewellery. From 4 basic techniques it is possible to make a whole host of different pieces.
YouTube videos seem to work best when they are quite short, so I do not demonstrate the braiding method in detail because I can refer viewers to my comprehensive videos on different braiding methods. Similarly I do not show how to finish off and attach end caps and a clasp because I have videos which explain all that in detail. What is shown is the set up for each design to achieve the desired bead placement, as well as the materials and quantities required.
For Day 1 I wanted to keep the technique simple, so I used Round Braid on the round disk. I also wanted to use the beads fairly sparingly because one of the pitfalls in taking part in challenges is the temptation to use too many beads in the first design, which will restrict flexibility for later pieces. So I came up with a bracelet with a spiral rainbow effect, which I felt showcased the pretty shape of the mushroom beads and gave me the opportunity to add lots of colour.

To see how to make this pretty, summery bracelet click here. You will also find additional information on this website by clicking here.
I have got something quite different for Day 2 as well as 2 more designs lined up for the following days. I have even got a couple of other ideas in mind, which I plan to explore and I will post them if they are successful!

