
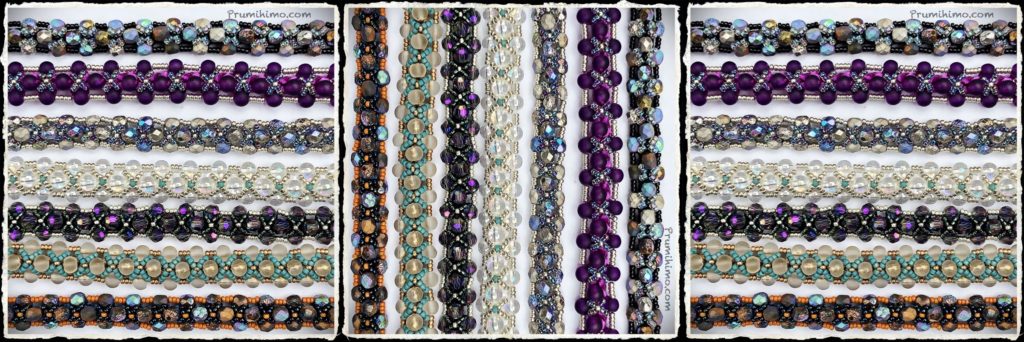
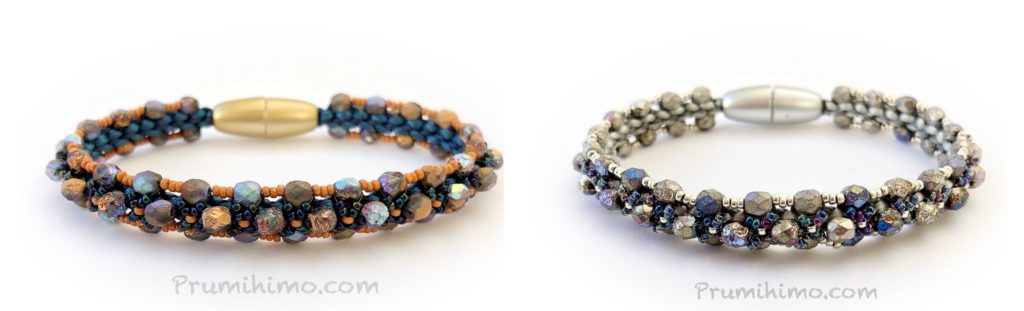
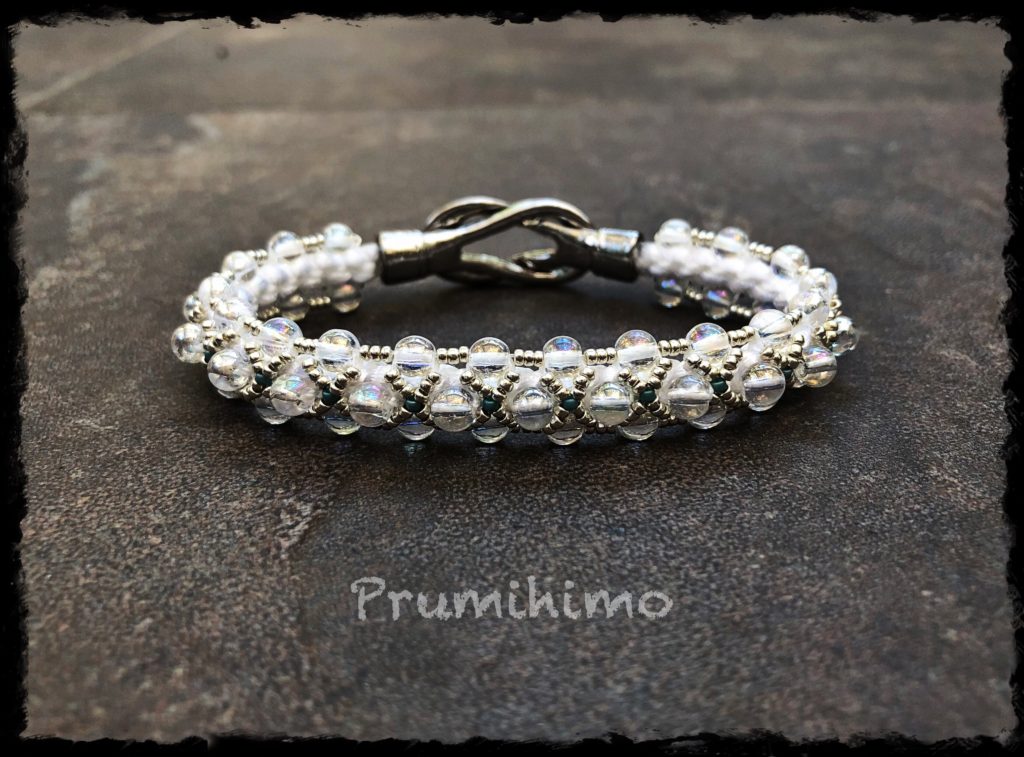
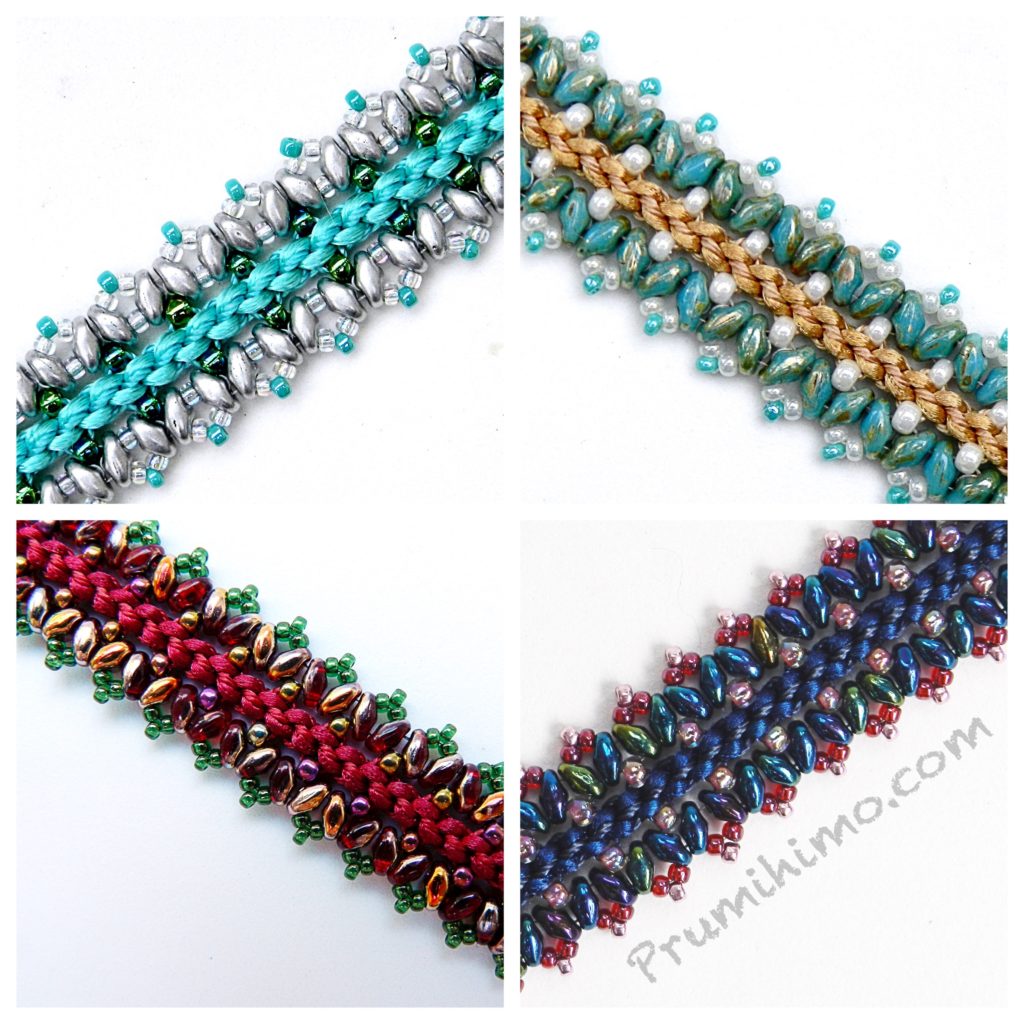
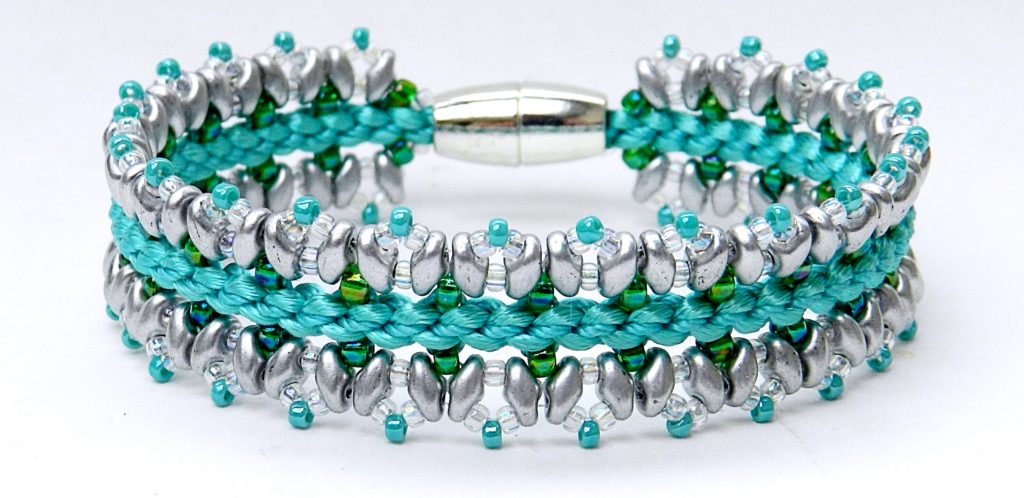
It has been a busy year for me, but at last I have found the time to write the second tutorial in my Prumi-stitch series, which has been given the name Cordelia! Prumi-stitch is the name I have given to designs which incorporate both bead stitching and beaded braiding on the Prumihimo Disk. These two great techniques come together to create a really special effect, featuring the best of both worlds. Beaded Prumihimo braiding is used to make the framework of the design, to give it structure and also to add the soft textile element. The beadwork is added with a beading needle and thread to add intricacy and detail to the design. My first Prumi-stitch design is the Ophelia bracelet and in this tutorial I show how to extend the braid by embellishing the sides of the braid, with several rows of beading. This has been a very popular tutorial and I have also taught versions of this design in workshops, where it has been very well received. The new tutorial is the Cordelia bracelet, where I show how to embellish on top of the braid to create a compact and intricate design. Both bracelets are very comfortable to wear beacause the inside of the bracelet is kept free of beading. Both designs can also be extended to make beautiful necklaces, so they are the sort of tutorials that are sure to be used again and again.
Cordelial Bracelet Tutorial (Prumi-stitch 2)
Ophelia Bracelet Tutorial (Prumi-stitch 1)
I consider both of these tutorials to be intermediate level because I believe that the best results are achieved when braiding on the Prumihimo disk has been thoroughly practised. However, it is not a complicated design, so it is definitely achievable for an ambitious beginner.
The tutorials and the Prumihimo Disk can be found in the shop on this website. Please click here.