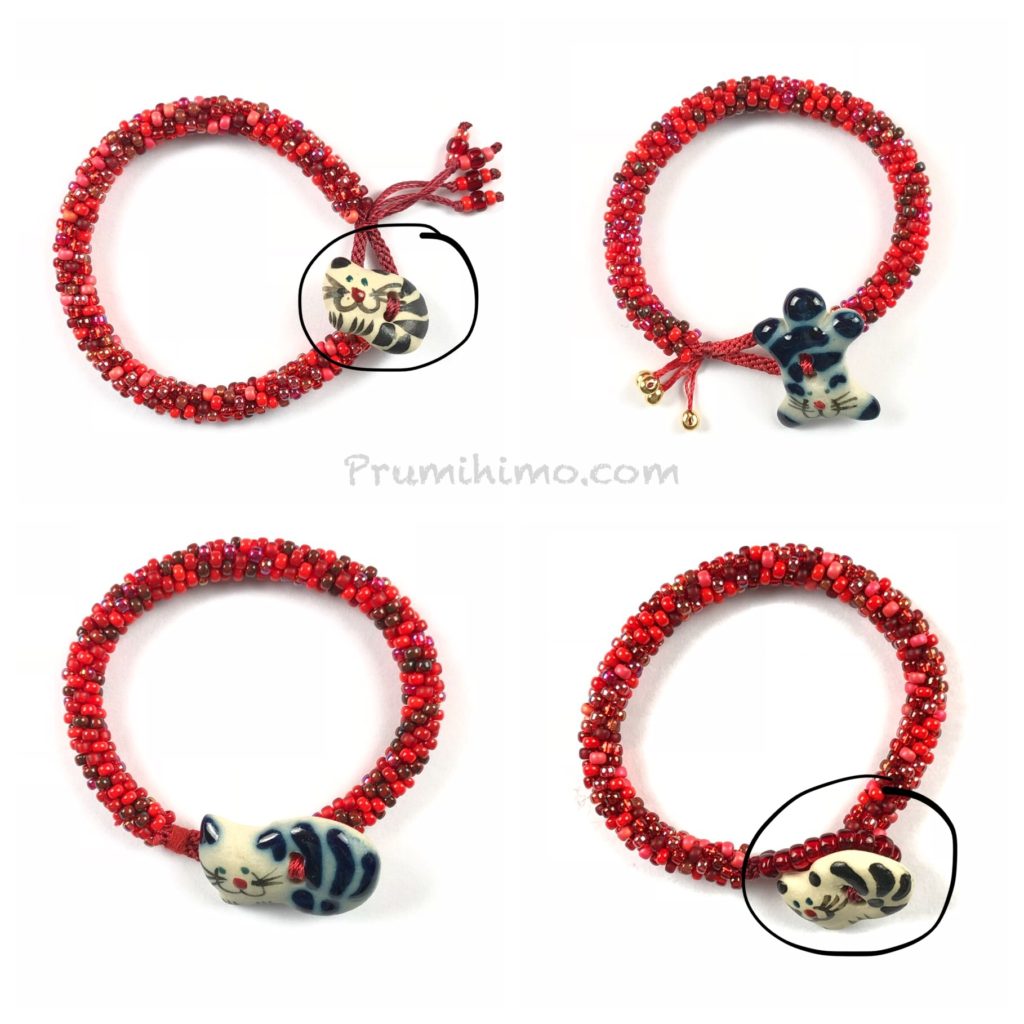
In October I started experimenting with kit building and one of the most popular was this cat button bracelet kit, which was designed to accommpany my second book, Kumihimo Endings. The idea was to provide the materials for one bracelet, but to include a few extras to allow the bracelet to be completed with any of the button fastenings explained in the book. The button is an adorable ceramic cat, produced by a wonderful organisation in South Africa, which provides employment to local women. When the kit sold out I had many requests for more, but I was not able to source the same buttons. I have now got my hands on more, so the kit is back in stock.
Why do I provide so many button fastenings in the book? There are several reasons for this. I have found that many of the more reasonably priced end caps and clasps have let me down by having very thin plating. Sometimes within weeks the plating is wearing off to reveal the base metal underneath. While the obvious answer would be to use more expensive findings I have found very few mid range options and solid silver would make the kit very expensive. Most buttons are designed to be robust enough to stand up to washing and extended wear. In addition, they do not sit against the skin, which is where the plating seems to wear off most quickly.
The second reason is that using a button fastening removes the need to find end caps of exactly the right diameter. Every braid is a little bit different and until it is finished it is hard to know exactly how wide it will be. With a button fastening all you need is the button and the technique. The aim of my book was to provide as wide a range of ending methods as possible, so I experimented until I narrowed it down to 7 main methods of creating a button fastening. I believe this gives the braider the chance to explore and narrow it down to their own particular favourites. However, it is important to remember that you need to plan the button fastening before you start to braid because you need to start with either a loop or with the cords through the button.

This photo shows just 4 of the ending options. The buttons are hand painted, so they are all a bit different. The one included in the kit most closely resembles the ringed examples.

