I generally prefer to use glass, ceramic or stone beads in my work. There are several reasons for this. The most important is that if I spend a lot of time and effort making something I want the quality of the materials to reflect the value of my hard work. Poor quality materials can downgrade the value of a piece through easily worn off finishes or irregular bead sizes and colour consistency. Glass, ceramic and stone also add physical weight to the piece, helping it to hang well when worn.
However, there are two exceptions I make and I have talked about these before in my blog. The first is the lucite flower bead and I use these because they offer a delicacy and a translucent prettiness that I have yet to find in natural materials. Lucite beads are made of acrylic. Although they are not expensive they add something special to a piece. The second exception, is the miracle bead, which truly is a miracle. Again, it is a humble acrylic bead, but it is coated in several layers of lacquer to give a unique optical effect. Sometimes it is described as looking like a bead within a bead, but to me they look as if they actually light up when the light catches them. No other bead can do this and this is why they deserve a place in my work.
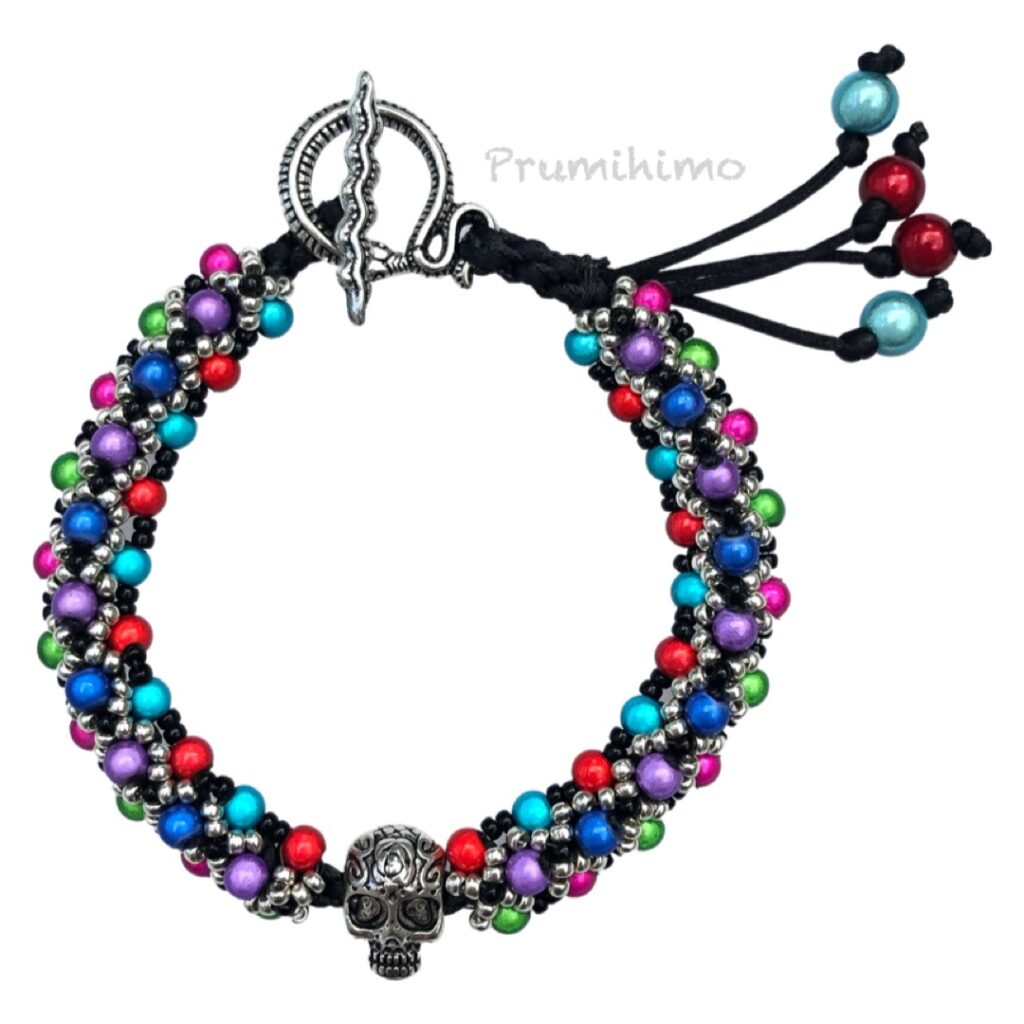
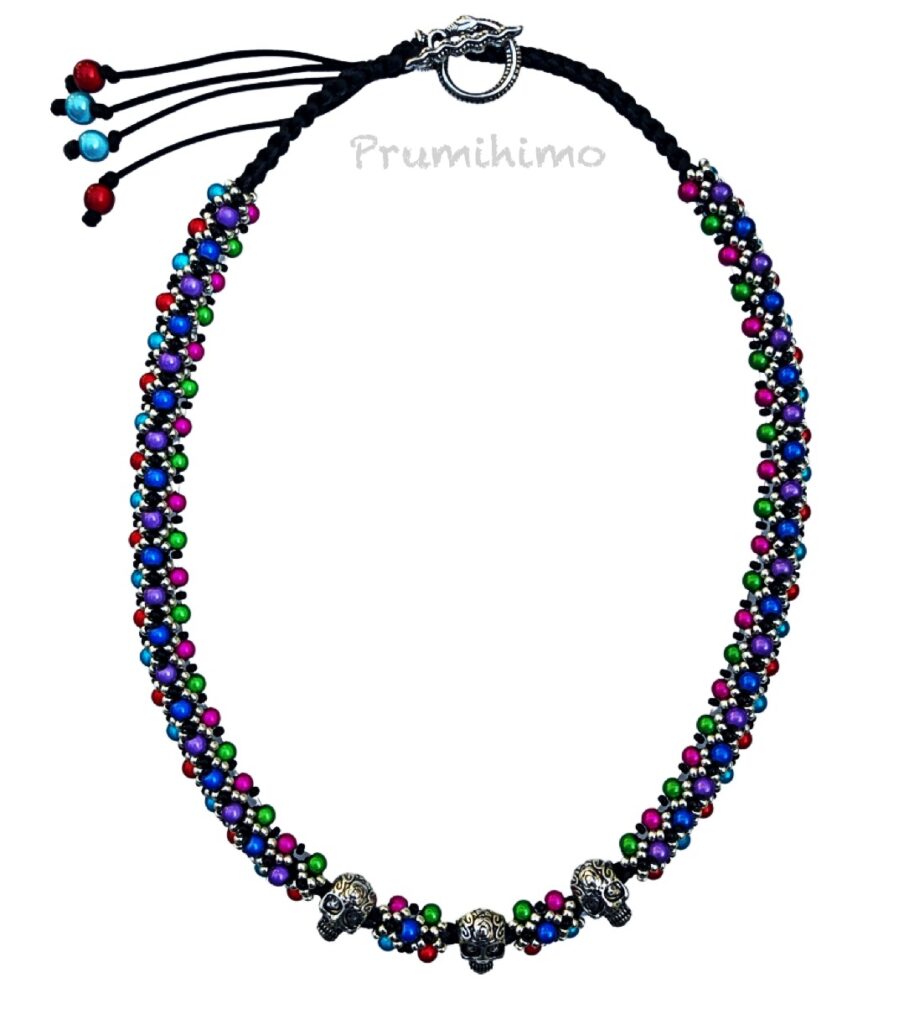
For my latest kit I was inspired by some delightful skull charms, which are reminiscent of the sugar skulls famous in the Day of the Dead/Dia de los Muertos celebratios in Mexico and elsewhere. As I wanted to develop this theme I wanted a riot of colour to surround these beads, so miracle beads were the obvious choice. However, I needed to elevate these acrylic beads to make them worthy of the work involved. In the design the miracle beads are framed by glavanised silver Miyuki seed beads, which not only add quality to the work, but also help to relflect the light and maximise the optical effect of the miracle beads. The pieces are finished off with a quirky snake toggle clasp in a antique silver finish to echo the skull bead and tie up with the silver seed beads.
My general aim is to help people to develop their kumihimo skills. I do this through workshops, YouTube videos, tutorials, Facebook braid-alongs, demonstrations and by being available to answer questions. I also want my kits to be an on-going learning experience, rather than just a one-off make, so I search for unusual components and try to develop new techniques for my kits. For this kit I show a new way to attach a focal bead to the middle of the braid and a variation of the method of attaching a toggle clasp. Through this approach I hope that my kits are more than just something to make once. I hope that the skills learnt can be used for other designs. Once you have made your necklace or bracelet (or both!) you might find something similar in your stash, so that you can make a variation of the original design. Look for interesting 4mm round beads and large hole charm beads.
In a recent poll I asked if those who like to buy kits prefer to buy bracelets, necklaces or both. The clear winner was the opportunity to buy either or both. Bracelets were shown to be slightly more popular than necklaces. As a result, I am offering both items separately, but I am also offering a kit option of both together, with a significant cost saving, not only of the combined kit price, but also on shipping. I can just get the two kits into the 100g large letter category, which is very reasonable for both domestic and international customers.
Combined bracelet and necklace kit
The bracelet and necklace are made on the Prumihimo disk, which is NOT included in the kit. If you do not have one you can buy them here.


