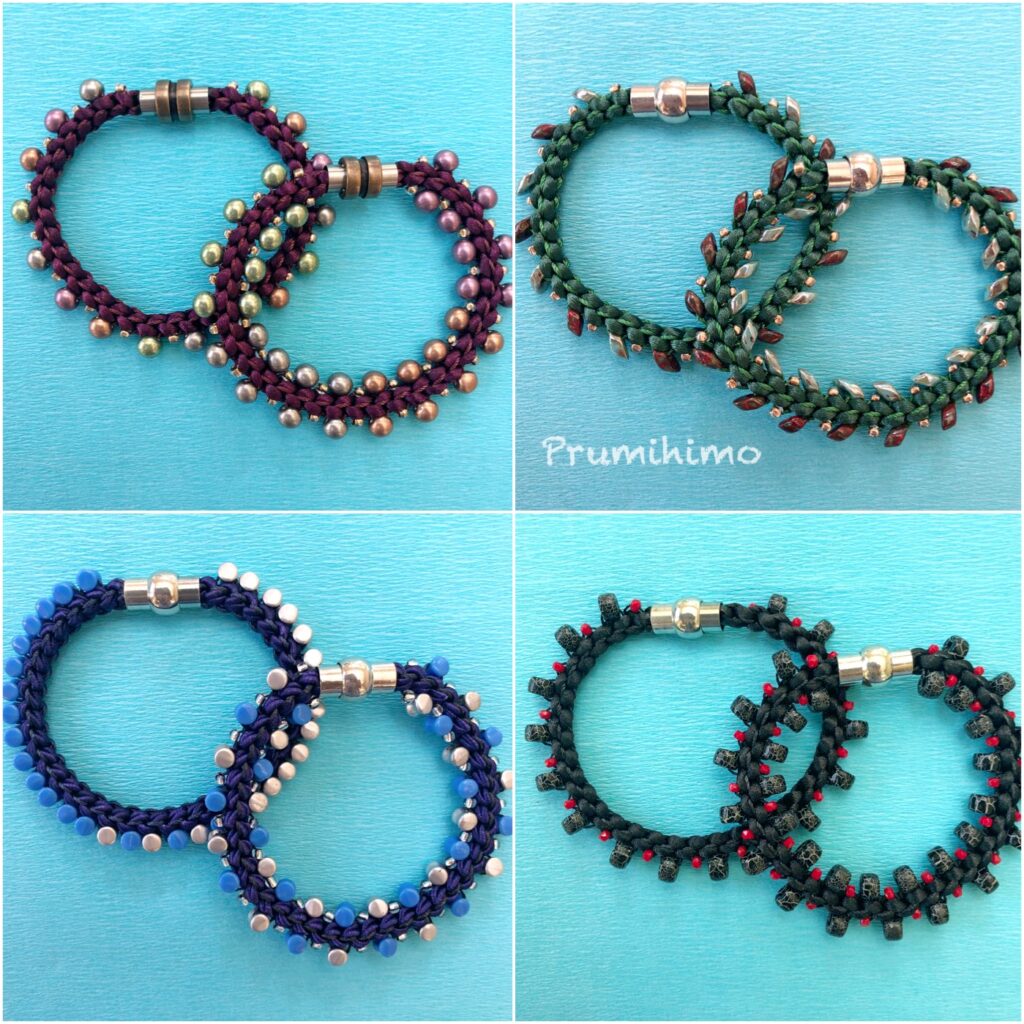
At the time of writing this post 46 people have joined in with the braid-along and posted their work. The contributors represent all levels of experience from complete Prumihimo beginners to very experienced braiders. Many have posted more than one bracelet, using the single beading technique. I would like to say a big thank you to every person who has taken part and posted their braids. Collectively they form a comprehensive resource of what can be achieved with just one method of bead placement on the Prumihimo disk, showing how a multitude of different beads can be used successfully with this braid structure.
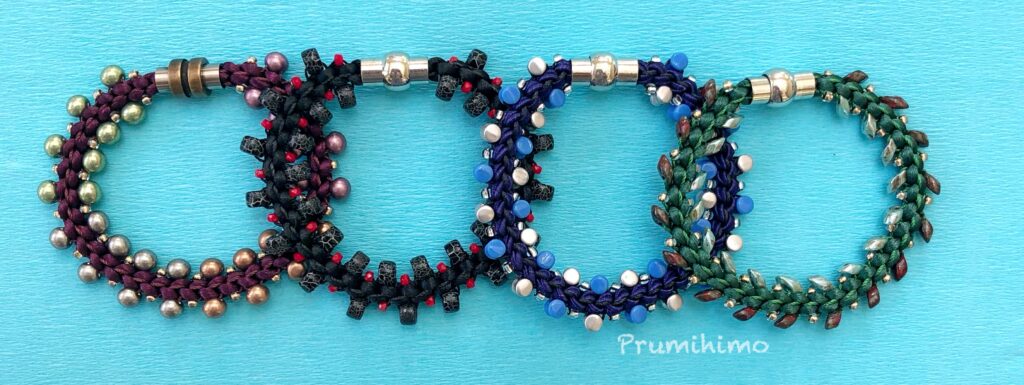
Now it is time to move on to Week 2 of our group braid-along and for this week we will concentrate on Double Beading, which is how two parallel rows of beads can be added into the braid. As before, I have filmed a quick video to demonstrate the technique and I recommend that this is watched first. Then the following bracelet instructions can be used to make a beautiful bracelet to match your first one and they can be worn very effectively as stacking bracelets. Perhaps you would like to try something different, based on what you have seen in the first week. It may be that someone else’s beads have reminded you of something in your stash, so why not give it a go? The instructions below are based on 2mm satin cord and beads no larger than 6mm. If your cord is thinner or your beads are larger, you may need to space out the beads more by braiding for one complete sequence of moves (sequence = all 3 moves at all 4 numbers) in between the bead sequences. If you would prefer to make a necklace you will need to multiply the quantities by 2-2.5 times. Perhaps you would like to make something else using the double beading technique, such as a key fob, a lariat, a bookmark or whatever your imagination comes up with.
Every braid is different, depending on the condition of the disk, the materials used and the tension of the braider. If you found that you were left with a lot of unused cord for the first bracelet you can make adjustments for the second one. You may also need to adjust the number of beads used. Keeping careful notes of your cord and bead consumption helps you to reduce waste and helps you to understand your own particular style of braiding.
This week is only about double beading because other bead placements will be covered next week and the week after. When you have made your double beading bracelet please post it in the dedicated week 2 post in the group. By keeping all the relevant posts together we make it easy for everyone to follow and learn from. The images tend to be small when they are posted in this way, so don’t forget to click on each image to expand it and to be able to admire all the lovely detail.

- Watch this video
- Gather your materials – 4 x 60cm (24 inches) 2mm satin cord, 4 x 70cm (28 inches) beading cord 0.5mm/Tex210, approximately 32-38 size 8 seed beads and 30-36 larger beads
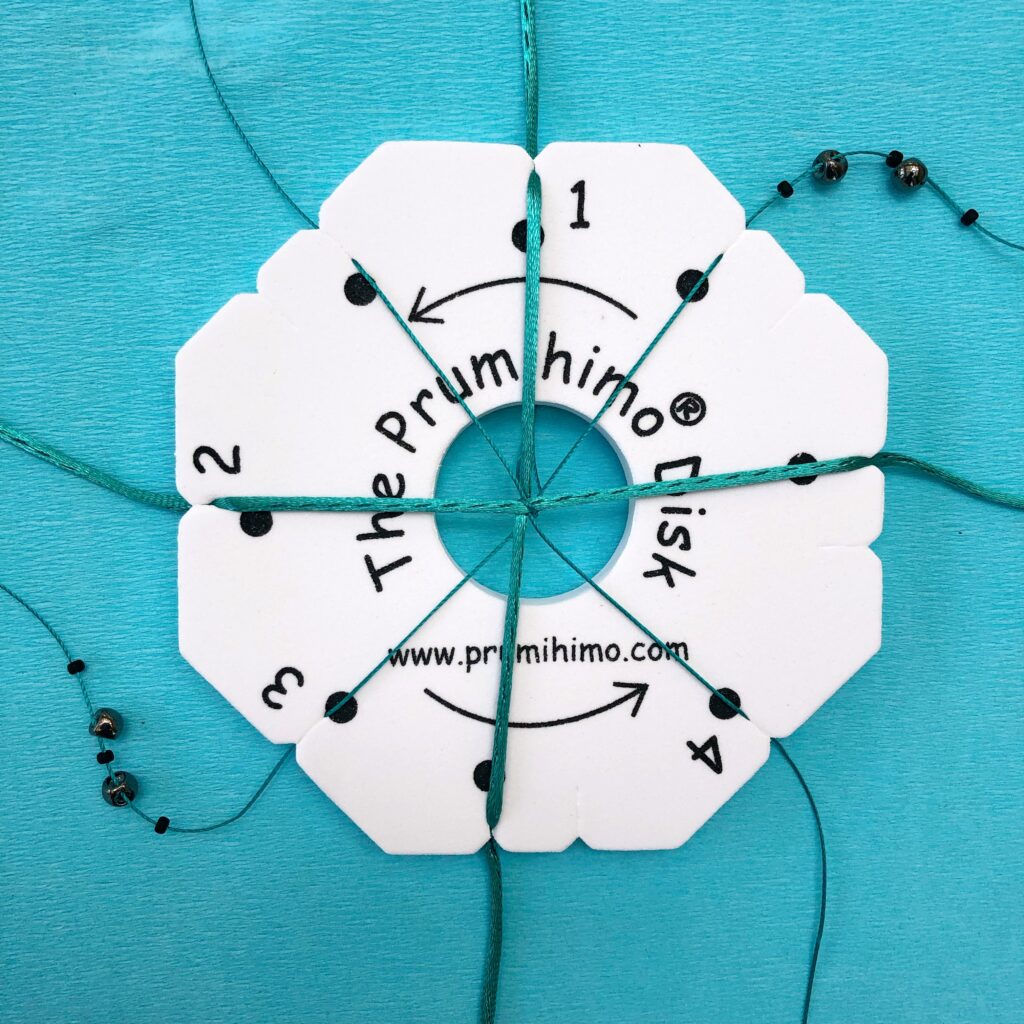
- Set up your disk. Tie all the cords together at one end and put the satin cord in the top and bottom slots with dots at numbers 1 and 2. Put the beading cord in the top and bottom slots with dots at numbers 3 and 4.
- Braid for approximately 2cm (1 inch)
- The beads are threaded in an alternating pattern of large and small beads on both the top and bottom cords at number 3. Thread on approximately 31-37 beads, starting and ending with a seed bead.
- Continue to braid, adding in a bead from both the top cord and the bottom cords at 3 in every sequence of moves.
- Check your braid. The beads should be forming in a straight line along 2 opposite sides of the braid, alternating between small and large beads.
- Continue to braid until the length is correct for you, taking into account the length of the clasp and how much of the braid will be inside the clasp. Make sure you finish with a small bead. Every braid and every wrist is different, so it is never possible to give instructions for exactly how many beads to use. This part is up to you!
- Remove your braid from the disk. Knot the braid to prevent unravelling
- If your braid is slightly twisted you can straighten it using the steaming method. Click here to find instructions.
- Attach your clasp. If you need help attaching your clasp please watch this video.
- POST YOUR WORK IN THE WEEK 2 POST IN THE GROUP.
- If you like what you have made, try making another one with different beads. If you were left with lots of unused cord you can adjust the cord lengths for the next one.
- Admire and learn from the work of other members.
Alternative bead layout

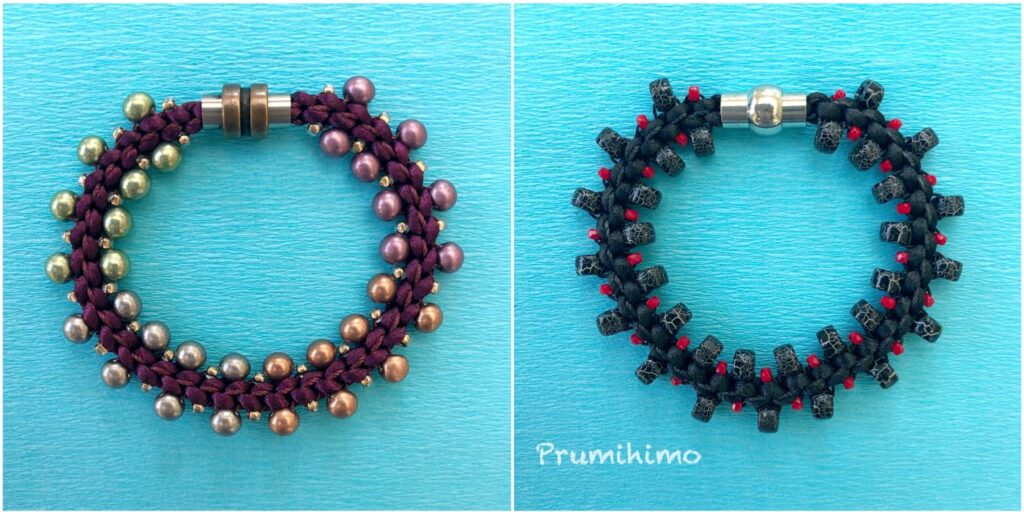
The bracelet on the left has been made following the instructions above. This positions the same type of bead directly opposite on the braid. The bracelet on the right has the same type of bead diagonally opposite. For this braid thread one type of bead on the top cord at 3 and the other type on the bottom cord at 3.
If you want to work out different bead placements remember that the cords swap positions in each sequence of moves, so that the top cord for one sequence will be the bottom cord for the next sequence.
Confused? Just load on a few beads of different colours, shapes or sizes and see what happens when you braid them. Keep a note of the effects you like and then try them for a full bracelet or necklace.
Have fun!

