The braid-along is progressing well, thanks to the enthusiasm and creativity of the participants. The second week has seen more experimenting in terms of the choice of materials and the bead placement and it is great to see how people are sharing ideas and inspiring each other.
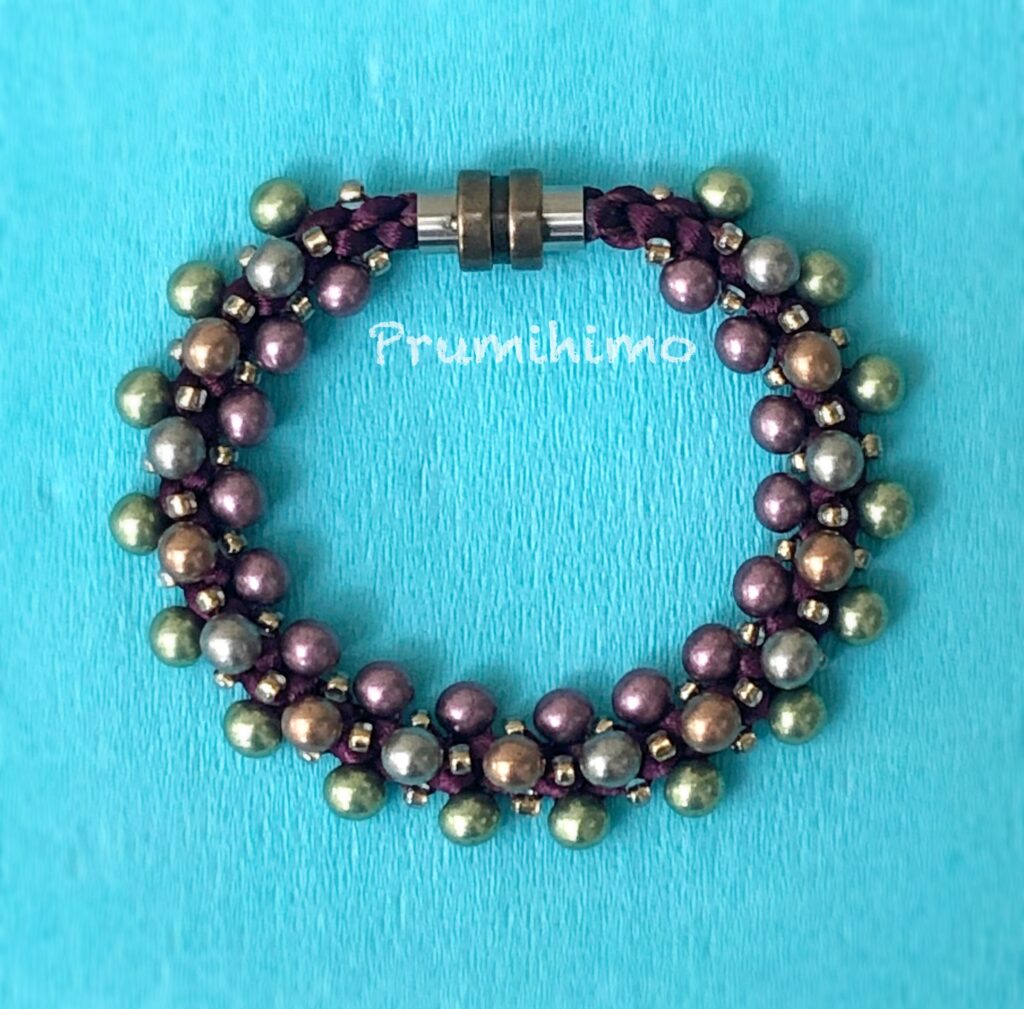
For the third week we are going to look at Triple Beading, which is braiding beads on three sides of the braid. With this technique the braids will look more intricate and less of the cord will show. The fourth side of the braid will sit against the skin, so this allows the use of spikey or scratchy beads on the opposite side and is also a good way of keeping the cost down when more expensive beads are used. I have filmed a quick video to demonstrate the technique and I recommend that this is watched first. I hope you are keeping records of what cord lengths work for you because this is the best way to reduce waste.
What did you learn from the first two weeks? Now is the time to put some of the things you have learnt into practise. Perhaps you would like to try some of the cords you have seen used by other participants, or you might like to try mixing different colours of cord. We have seen lots of interesting beads being used, so perhaps it is time to delve deeper into your stash and try something you might previously have considered to be unsuitable for kumihimo. Some participants said that they tried things and didn’t like the result, so they tried something else. Experimenting is always the best way to learn and the discarded braids teach just as much as the successful ones.
This week think about how you wish to space your beads. With the Prumihimo disk you always have to remember that the cords swap positions in every sequence of moves. If you want the middle row of beads to be closely spaced you need to put the beads on both the top and bottom cords at number 4, but you only add in a bead from the top cord. If you want the middle row to be widely spaced you only need beads on the top cord at number 4 and you add in a bead only when this cord is at the top. If you have set up your disk for a particular layout and later decide to add a sequence without beads in between, you will find that the beads are no longer on the correct cords!

Here are the instructions for week 3
- Watch this video.
- Set up your disk using the cord lengths that have worked for you in your previous braids.
- Thread beads onto the top and bottom cords at number 3
- For wide spaces between the beads thread beads only onto the top cord at number 4. For narrow spaces between the beads thread beads onto both cords at number 4.
- When you braid the cords at number 4 only drop in from the top cord. After a few sequences check your braid to make sure that you have beads on 3 sides of the braid.
- If your braid is slightly twisted you can straighten it using the steaming method. Click here to find instructions.
- Attach your clasp. If you need help attaching your clasp please watch this video.
- POST YOUR WORK IN THE WEEK 3 POST IN THE GROUP.
- If you like what you have made, try making another one with different beads, different cords or with different spacing. If you were left with lots of unused cord you can adjust the cord lengths for the next one.
- Admire and learn from the work of other members.