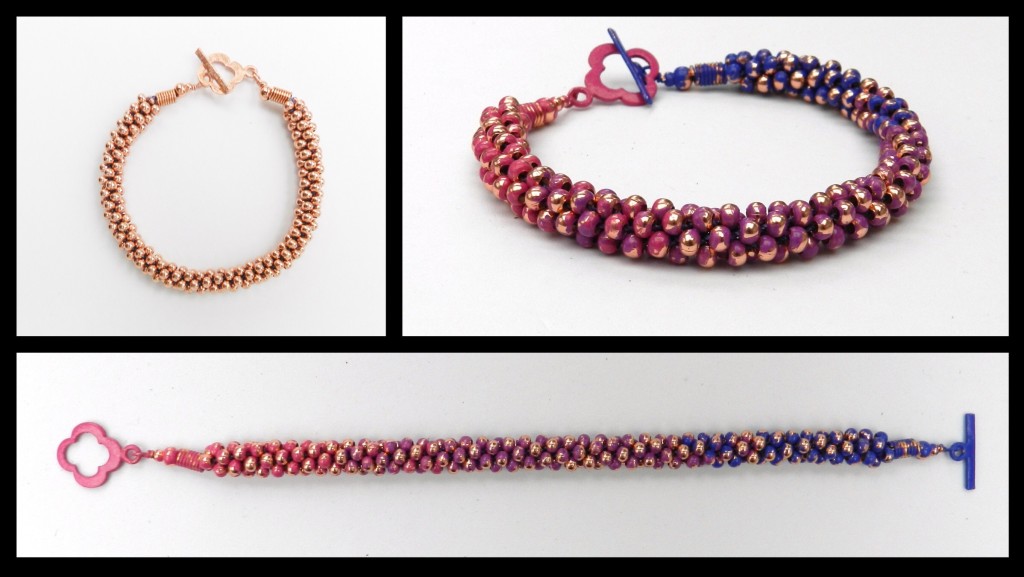
One of the most important aspects of jewellery making is finding your own style and one of the best ways of doing this is by exploring the combination of different techniques. On my last show on Jewellery Maker I showed how beaded kumihimo can be transformed by the use of patina paints. I first experimented with patina paint back in 2012. It was for a challenge for an Australian forum where everyone used the same pack of materials and I wanted to make my entry stand out from the rest. While my design did not get very many of the public votes, it did give me a bit of a taste of the wonderful world of patina paint!
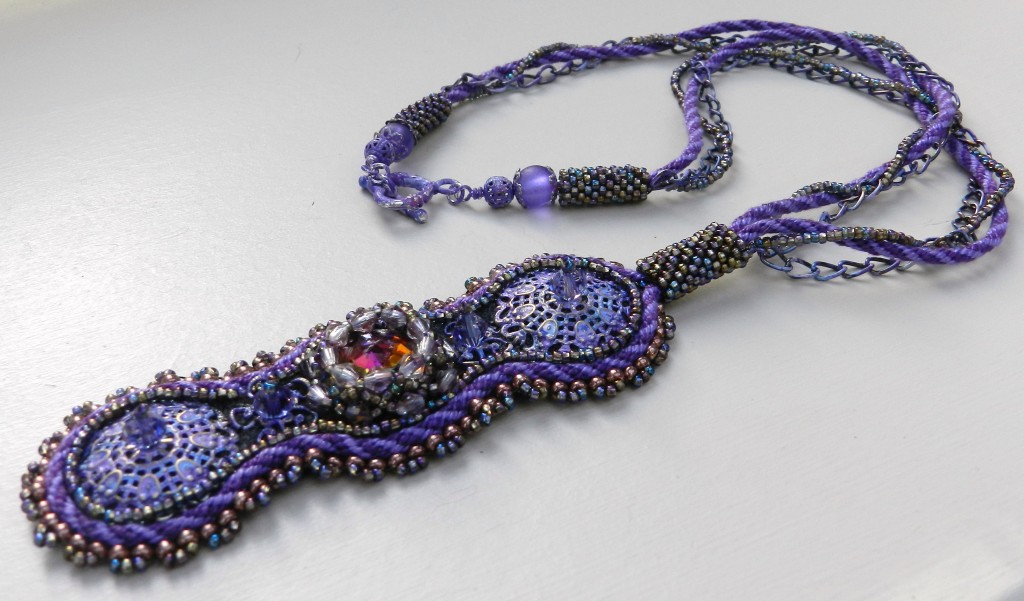
I used it to blend in the colours of the metal parts of the design with the bead and cord colours. I also used it to disguise the fact that the clasp was silver, while the rest of the metal was gunmetal.
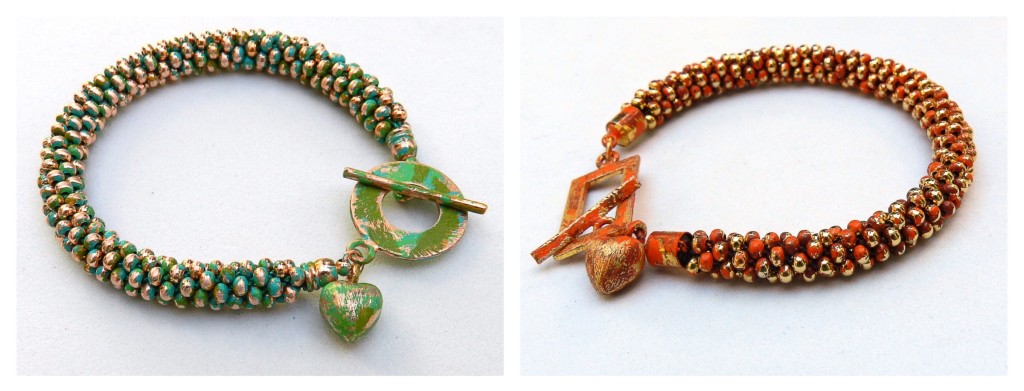
Earlier this year I got the patina paints out again and wrote a tutorial for Digital Beading magazine, showing how a simple beaded kumihimo bracelet could be aged and distressed to achieve a completely new look. I really enjoyed working with the paints, which are specially designed to adher to finished metal, so no special preparation is required. They are permanent once dry and do not need a protective varnish, but either matte or shiny varnishes are available if desired. However, I would expect a degree of wear to occur, which would add to the organic effect.
The paints I used are made by Vintaj in the US and they are sold in packs of three. Each pack is designed to suggest a different theme. The three packs I have used are Weathered Copper, Rusted Hardware and Antique Window. The packs can be used on their own or the paints can be blended together to create a whole range of different tones.
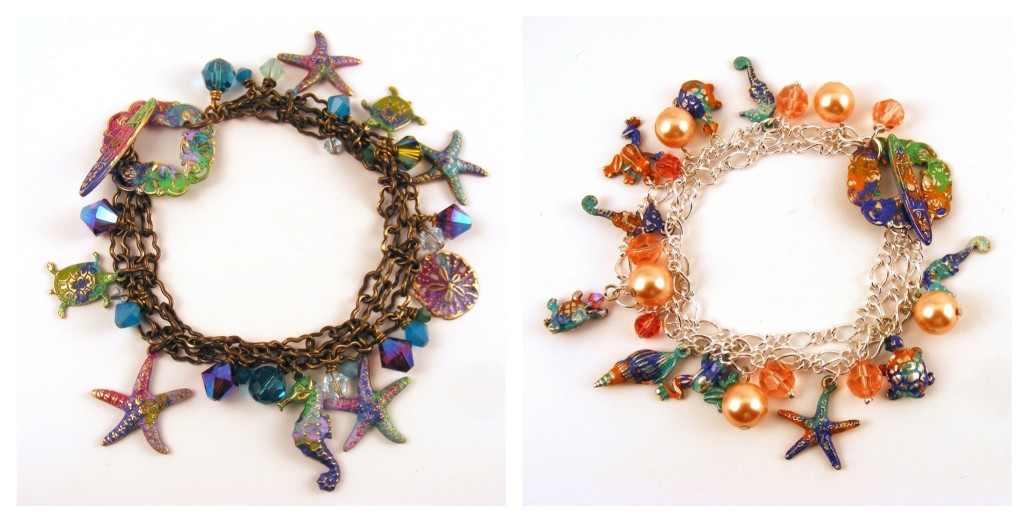
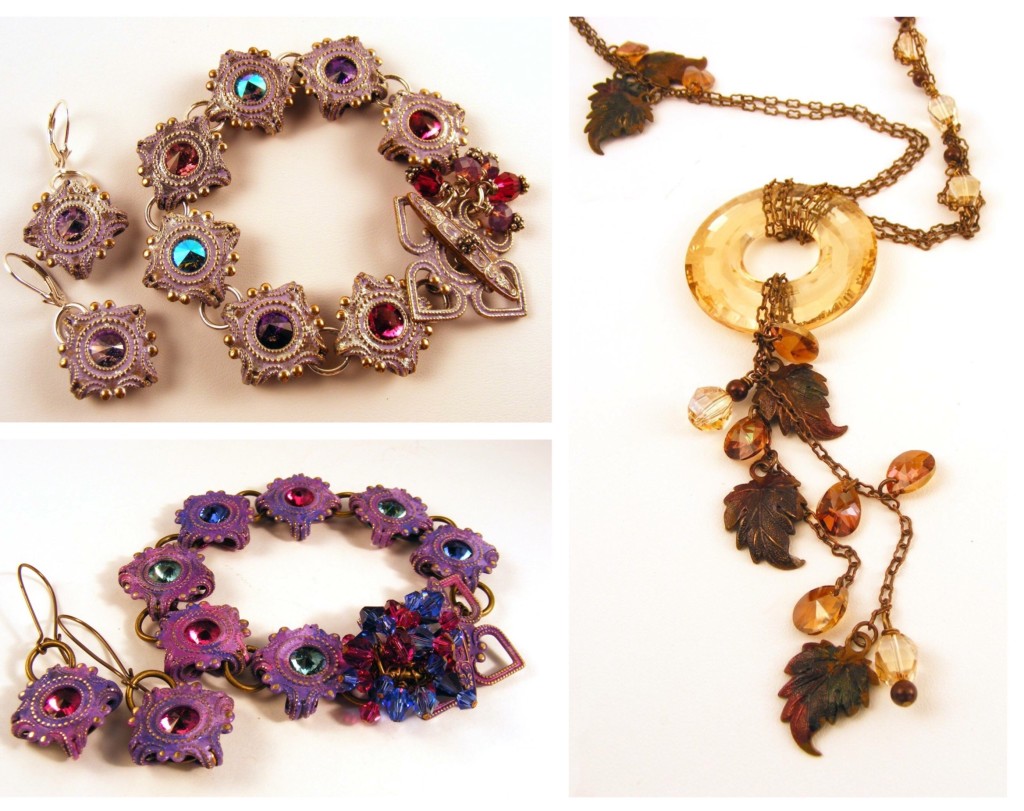
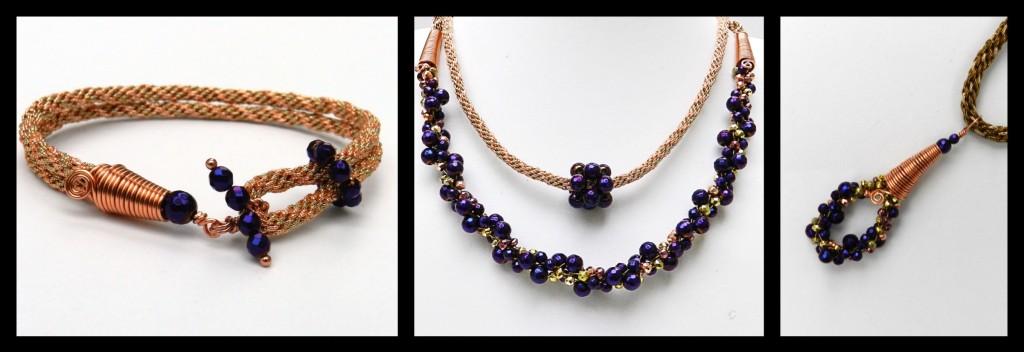
Before starting to work on the designs for the show I did a bit of research on the internet and consulted my friend, Jamie North, who sent me these amazing designs for inspiration. It was so helpful to be able to compare similar designs given different treatments and these photos really show how patina paints can open the door to some really unusual and creative work.
I decided to use the beads in the kit to make lots of smaller pieces of jewellery, not only so that I could show a variety of possible effects, but also so I could have as much as possible to play with! It is one of those mediums where it is best to experiment to find what works for you, somy advice is to
 spread out the newspaper, pull on protective gloves and get messy!
I have now posted instructions for the designs from the show and they can be found by clicking below,

