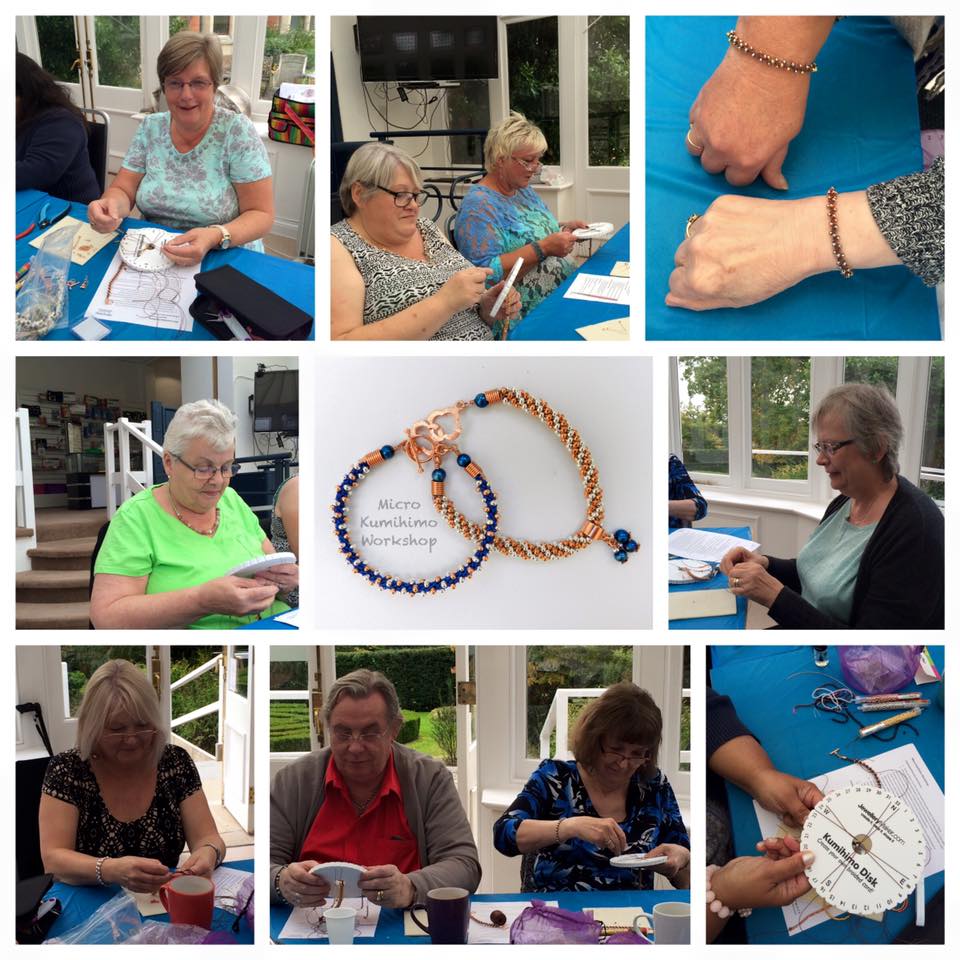
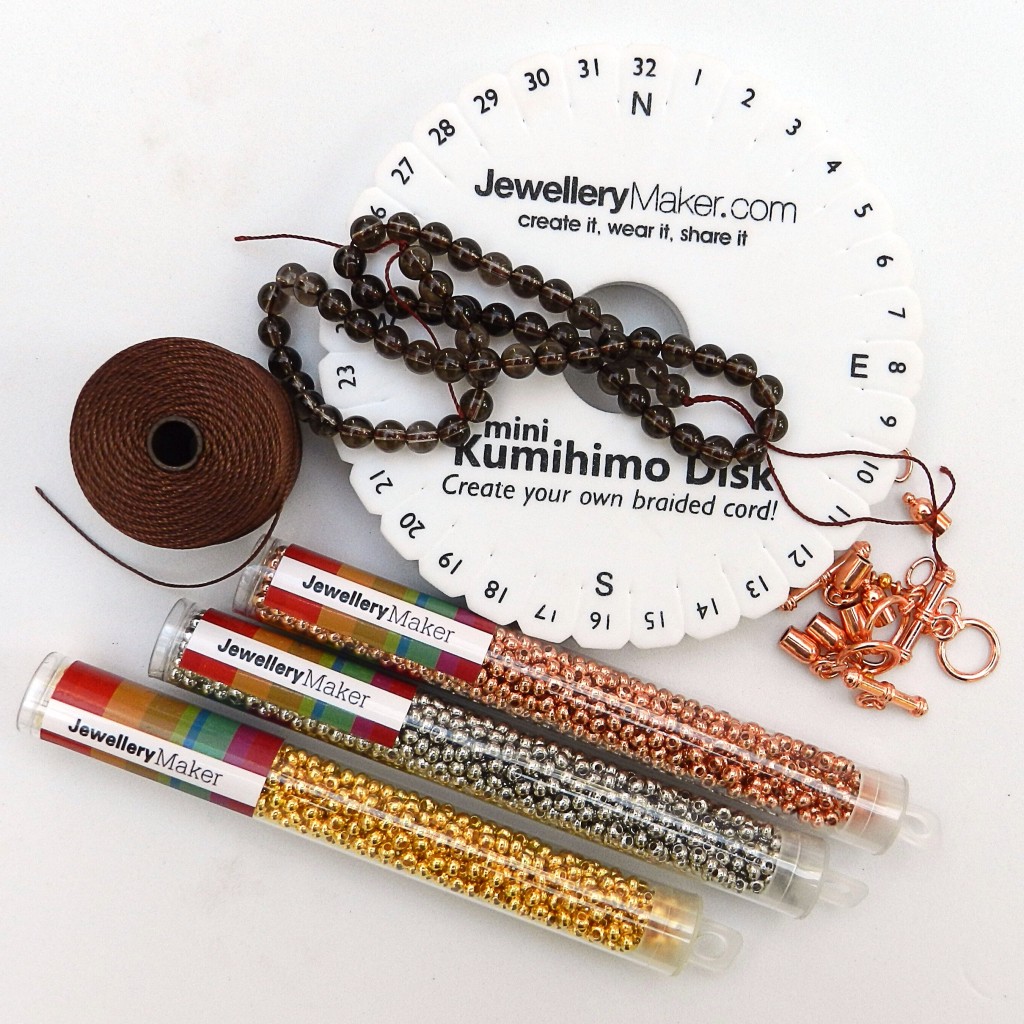
I have just returned from delivering a Kumihimo workshop at Jewellery Maker in the fabulous new workshop space. This collage shows my lovely, hardworking class working on the second project of the day, with a few glimpses of the first project. My aim was to teach the ground rules for good tension and to take the group through the construction of a delicate, partially beaded bracelet, before moving on to a more substantial, fully beaded bracelet. One of the most difficult aspects of a workshop is achieving the right level of complexity and workload. Everyone works and learns at a different rate, so my aim was to provide projects which could be completed during the workshop by some of the fastest braiders, but to make sure the enough support was provided so that the projects could be finished at home, if necessary. To ensure this I provided a detailed handout and made sure that a generous pack of materials and a kumihimo disk was provided.
The most time-consuming part of beaded kumihimo is threading on the beads and my original proposal seemed a bit ambitious in terms of time, so amendments were necessary. It is also necessary to consider the availability and price of materials.
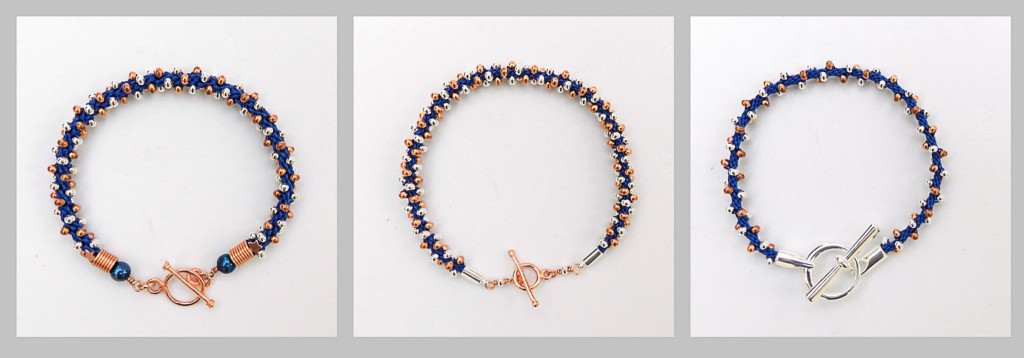
This is how the first design was amended.
1. On the left is the first version. At this stage I was interested in the overall look of the braid and the skills required. I used materials and clasps from my extensive stash. The problem with this bracelet was that it was made using 14 strands of S-Lon and the width of the braid would not fit the JM end caps. Although I planned to demonstrate the wire method of finishing a braid I wanted to be able to teach how to use glue-in end caps, because I know they can be surprisingly difficult to get right.
2. Version 2 is in the middle. For this bracelet I used 8 strands to ensure that the JM 3.2mm end caps would fit perfectly. The reduced number of cords gives a more densely beaded effect. While I liked this look, I felt that I could cut back on the beads and make the design quicker to make, ensuring that more time would be available for the second project.
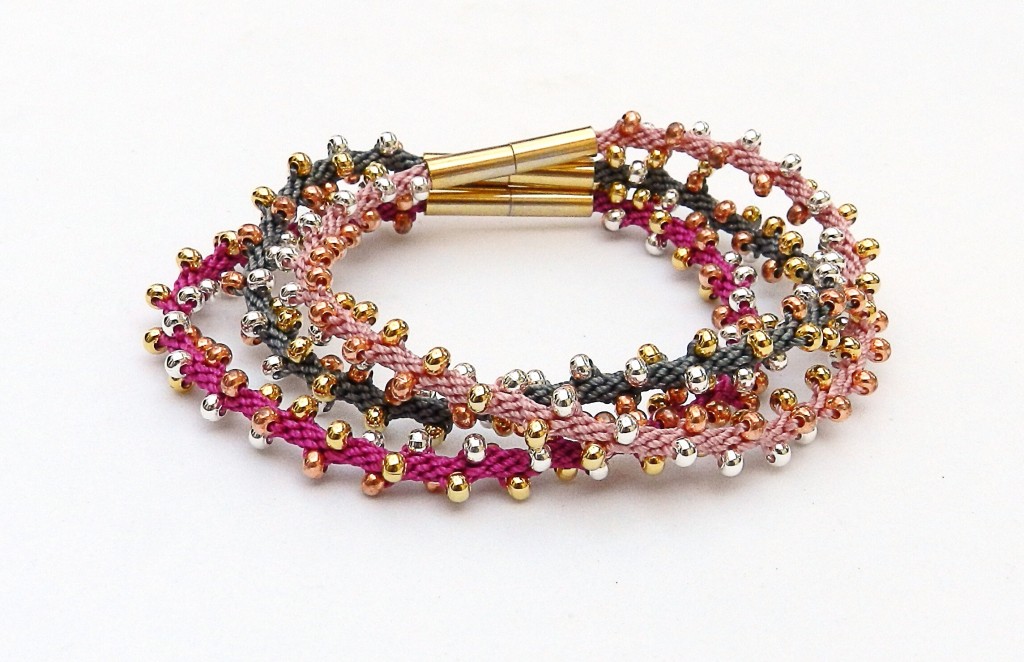
3. On the right is the final version. This is a much more delicate bracelet than the first one, so it is much quicker to make. It meant that people could learn the skills with minimal threading of beads. This type of design works really well as a stacker bracelet, so I am hoping that people could practise the method at home by making more in different colours.
By cutting back on the first project I was able to leave the second project as originally envisaged. By the end of the day we had several finished bracelets and all the rest were not too far off. I was satisfied with the timing of the workshop.
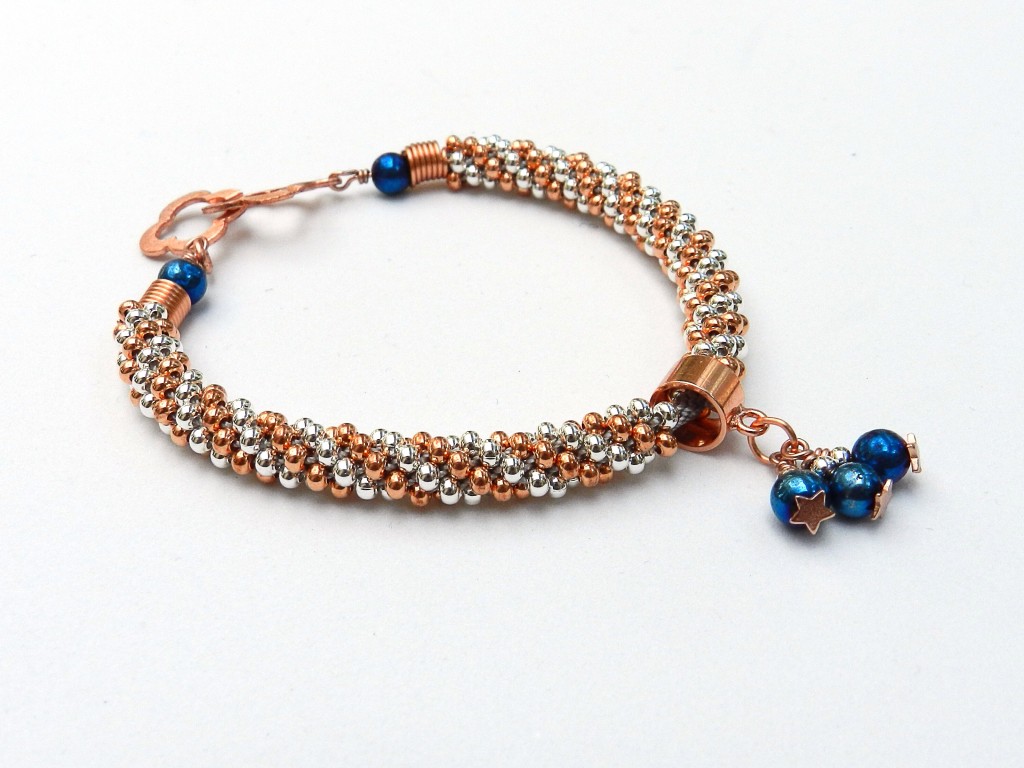
The finishing touch to a workshop is to have lots of other interesting samples of similar designs for inspiration. I just had time to make a few stacker bracelets to compliment my outfit and to show that I have complete faith in my own work!!
I will be delivering another Micro Kumihimo workshop on 20.11.15 and I am starting the planning process for futher JM workshops. If you are interested you can take a look at the JM website.
What would you like to learn at a kumihimo workshop? That is what the contact details on this website are for! Let me know and I will see what I can do!
If you enjoy reading my kumihimo blogs and would like to receive notifications of when I post you can either go to my Prumihimo Facebook page (don’t forget to ‘like’ or turn on the notifications) or you can subscribe to Bloglovin and you will be sent an email when I post.

