A big thank you to everyone who has watched my YouTube videos. The first two were uploaded on Monday and the third was uploaded today. I have received some lovely comments and lots of encouragement and I am very grateful for all of that. A lot of effort has gone into the making of these videos. I can’t call it hard work because it has actually been enormous fun, but they have been pretty time consuming. I undoubtedly have a lot to learn and I could certainly do with lots of fancy equipment, but I have to regard it as a learning experience and try to improve the quality and content of each video. The cloth used in the first videos is a bit too jazzy and that was easy to fix, so I am now using a plain grey table cloth. I would love to be able to have a fixed overhead camera with strong magnification like the one used at Jewellery Maker, but that is way out of my budget, so I will have to stick with the over the shoulder camera for now! The light at this time of year in the UK is very weak and although I am filming in my conservatory in the middle of the day it is not quite good enough, so I am looking into purchasing some cheap lights. On occasion you may hear planes overhead because I live in west London, not far from Heathrow airport, so it would be good to be able to film in a soundproof studio, but that is just not going to happen! I try to be critical of each video and take on board any constructive comments, so that each one will be a little bit better than the last!
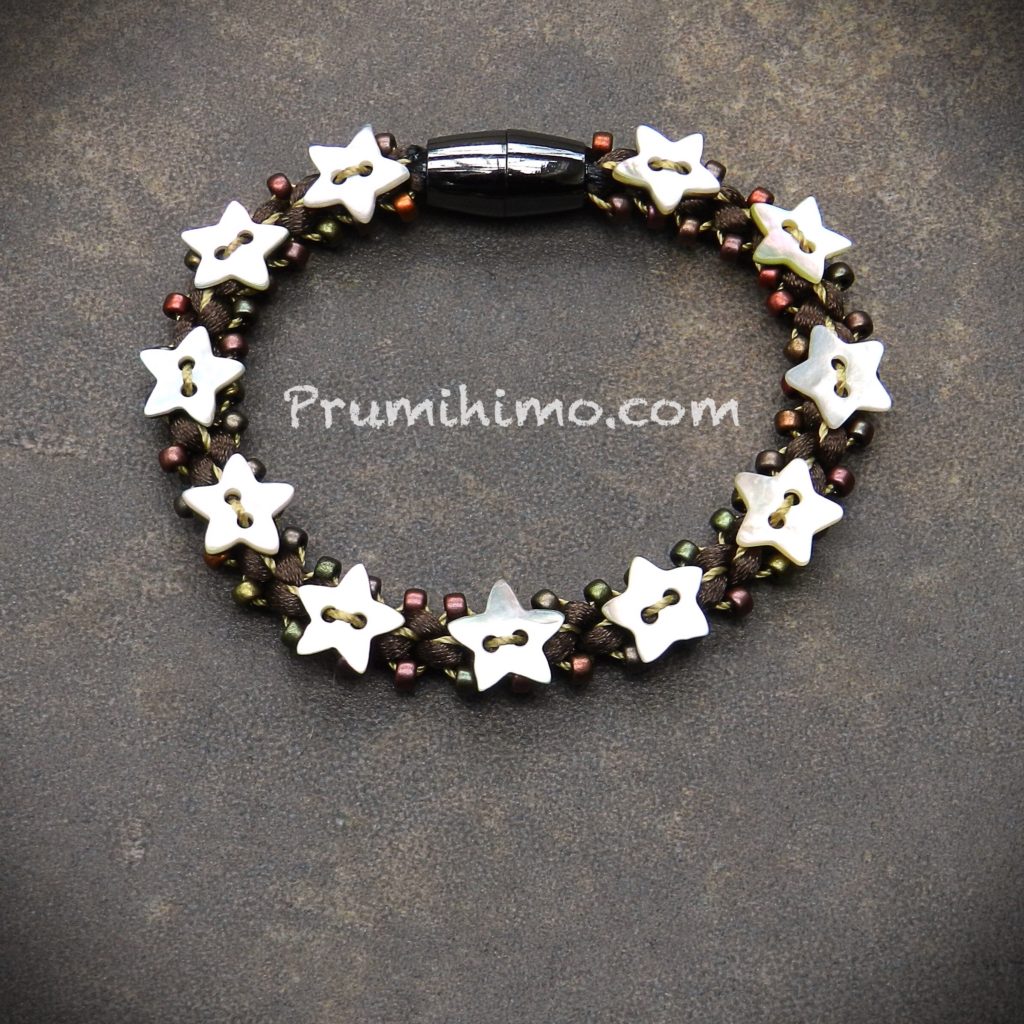
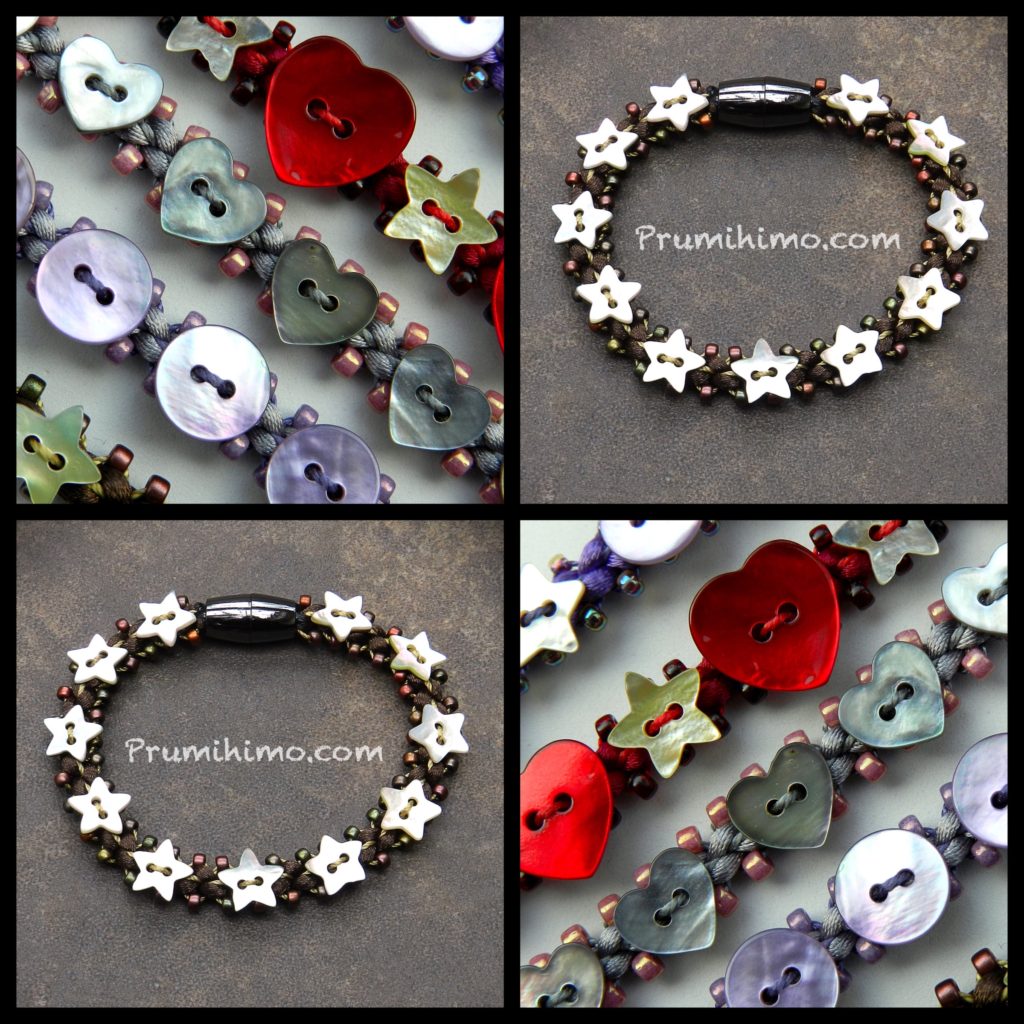
The latest video shows how to use buttons in a braid. In the past I have used buttons on other sorts of braid, but I am not being biased when I say that the Prumihimo disk makes the perfect braid for buttons. The straight construction of the braid provides the perfect framework for buttons of different shapes and sizes. In the video I recommend buttons of around 1cm in diameter because they work with the specific instructions I am giving. However, other shapes and sizes can be accommodated, but you may need to modify the number of braiding moves in between each button. I suggest starting with 1cm buttons and once you have got the hang of how the braid works you can try all sorts of other buttons. A random collection of buttons could look really effective or you could use the buttons a child’s outfit once it has outgrown it as a sort of memory bracelet. I have used shell buttons just because I love them so much. The irridescence catches the light in a really special way and they are nice and lightweight too. The fact that they are not expensive is also quite a bonus. If you favour another type of button then give it a go. This is the sort of project where you can inject your own personality.
If you are enjoying the videos please remember to ‘like’ them and feel free to leave a comment. Subscribing to the channel is a great way to make sure you do not miss any. I have got 6 more videos filmed and my head is full of further ideas. The next two will probably be about finishing methods, such as the glue method and the wire method. Then I plan to upload a few for the regular round disk. The upload schedule is not fixed and I will aim to respond to what seems most popular. I hope to settle into a regular pattern of releasing one video a week, probably on a Wednesday, but I would like to be flexible so that if a topic comes up I can film a quick demo as required.
Click here to see the Button braid video
If you missed the first two, here they are,
Video 1 – How to braid on the Prumihimo disk


