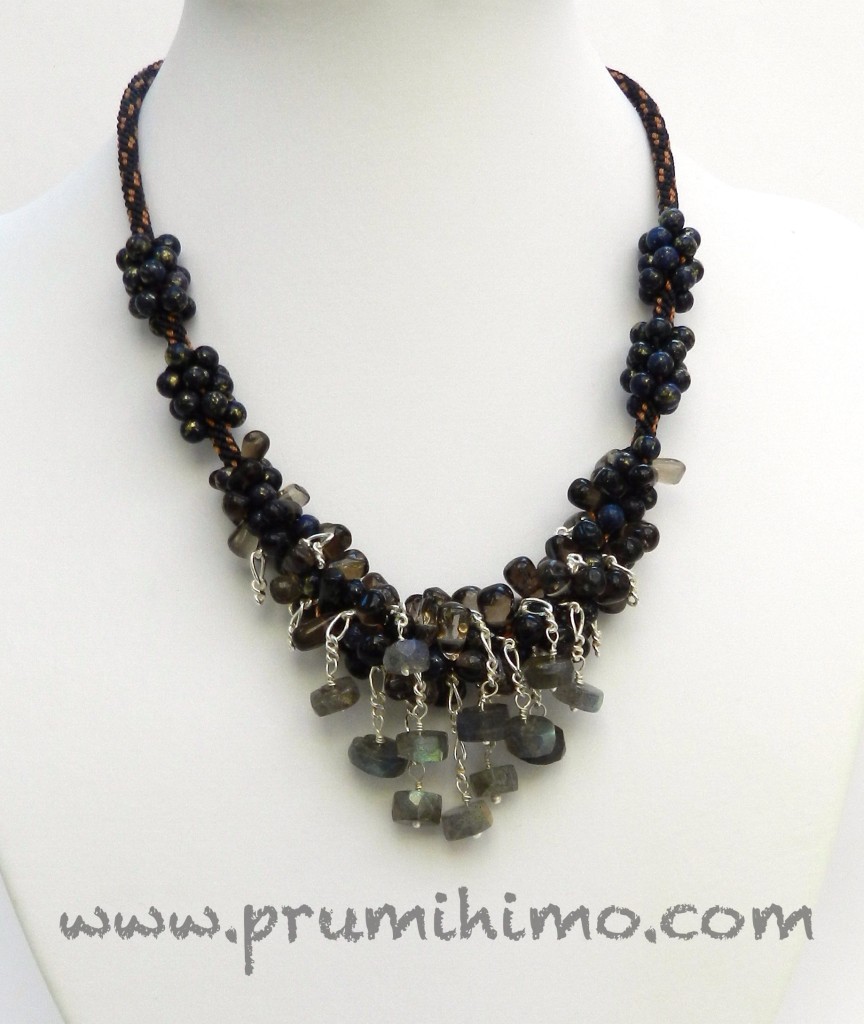
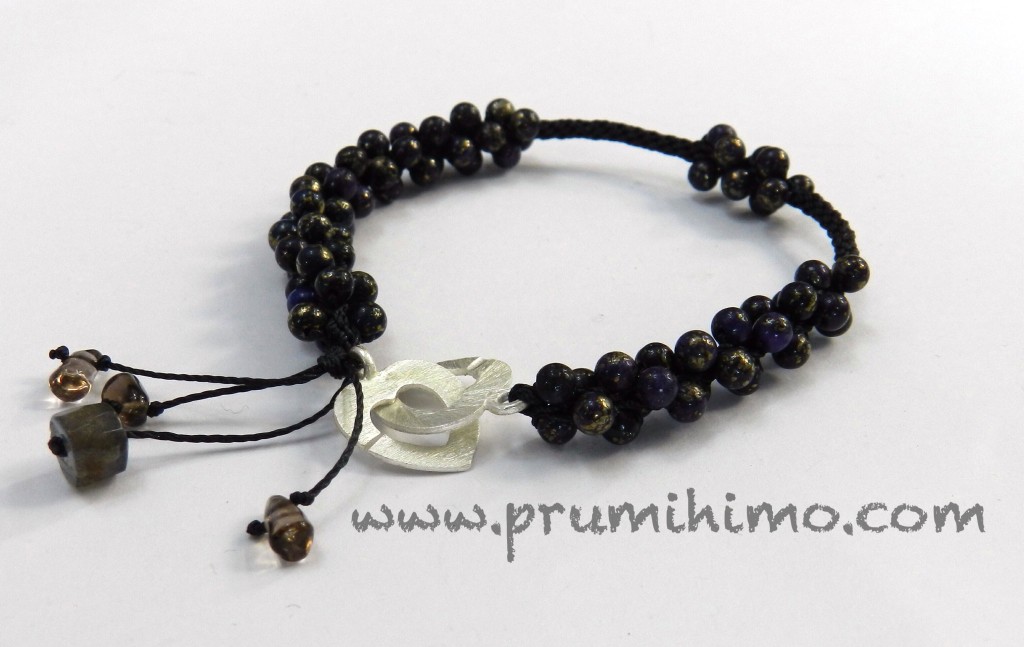
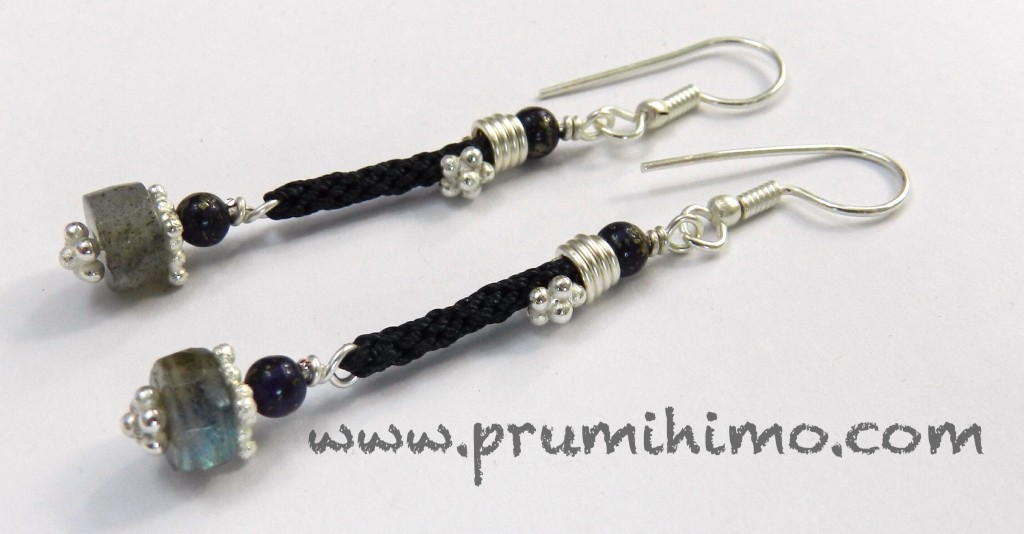
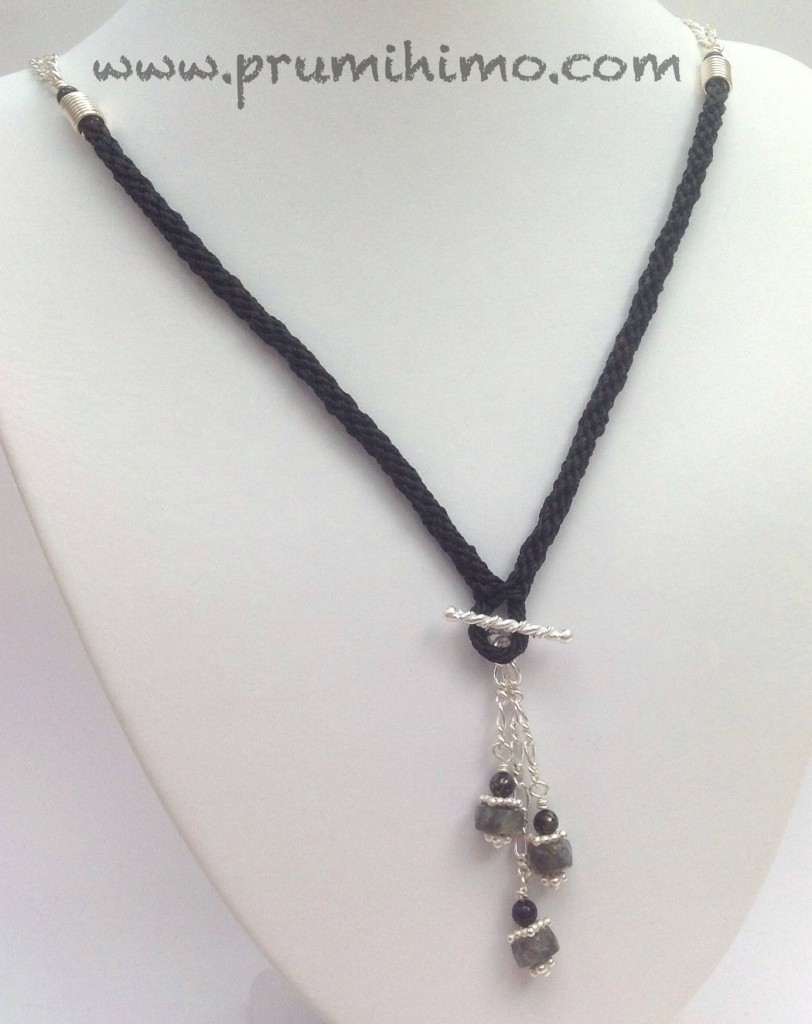
Shimmer is a kit containing labradorite wheels, smokey quartz irregular drops, 4mm marcasite rounds and S-Lon cord. The demonstration piece was a dramatic graduated necklace, which made use of chain in an unusual way to create movement and shimmer. I also briefly demonstrated a method for making a loop to hold a pendant. Earrings and a bracelet were included in the range. Find the YouTube demonstration here.
This design would work well with your own selection of gemstones and chain.
1. Cut 3 lengths of black cord measuring 3m and one length of brown cord measuring 3m.
2. Thread a small bead onto the middle of one of the cords and tie the other cords together in the middle with a double knot using the first cord. Position the cords on the disk on either side of the dots.
3. Follow instructions 3-8 in the Button hole fastening in Round Braid.
4. Return the disk to the ususal position and resume braiding using Round Braid. The first few moves will seem a little loose, but the braid will tighten up once all 8 cords have been moved.
5. Braid for 15-20cm, depending on how long you would like the necklace to be.
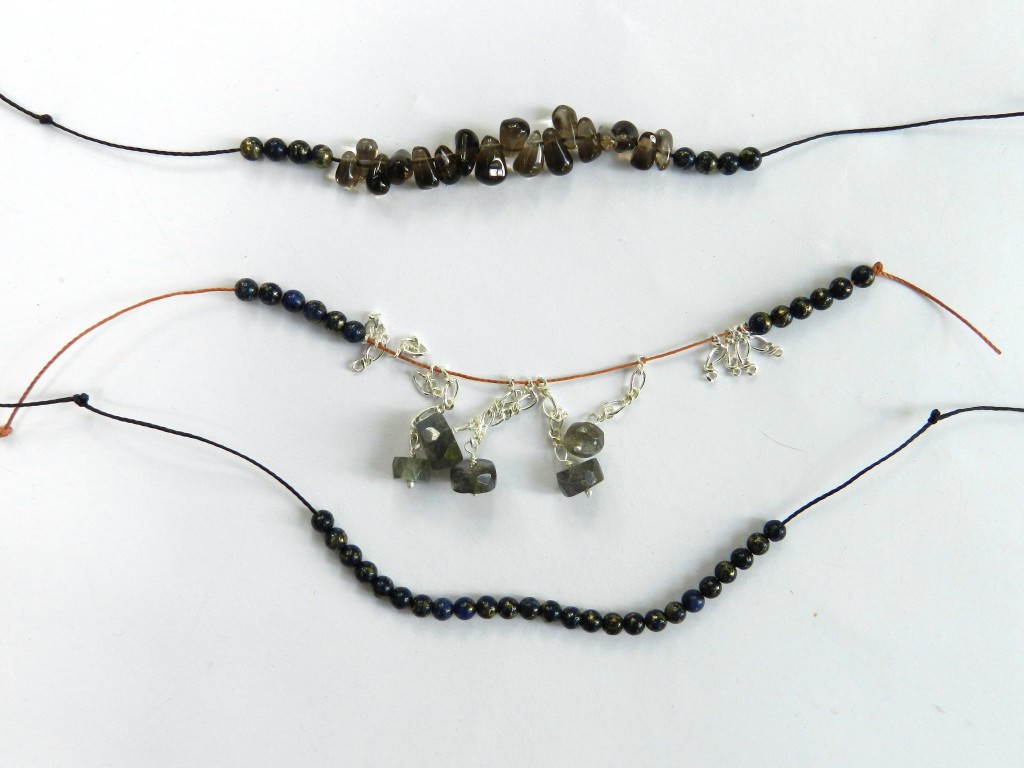
6. Thread on the following beads and chain.
On 4 cords, 4 x 4mm – 17 drops – 4 x 4mm
On 2 cords, 25 x 4mm
On 2 cords, 6 x 4mm – 4 short pieces of chain – 5 longer pieces of chain with labradorite attached – 4 short pieces of chain – 6 x 4mm
7. Start to add beads when the cords are at the dots. Braid in 2 beads from each cord, a total of 16 beads. The cords will now be half way between the dots. Carry on braiding without beads until the cords reach the next set of dots. Then carry on until the cords have reached the next set of dots. This method helps to ensure that the gaps between beaded sections are even.
8. Repeat step 7 to create a second ‘beaded bead’.
9. You have now reached the central section. Add the beads until you reach the point where there are no more drops on the cords and there are 4 x 4mm beads on all 8 cords.
10. Make sure the cords are either at the dots or half way between. Repeat steps 7 and 8 in reverse to create the second side of the necklace.
11. Braid without beads for the same length as on the first half of the necklace.
12. Thread 2 x 4mm beads onto all 8 cords and braid them in. Tie 6 of the cords in a double knot in pairs across the disk. Thread one bead onto the last 2 cords and tie them in a double knot across the disk.
13. One by one, thread the cord through a needle and stitch through the bead a couple of times. Trim the cord close to the bead.
Bracelet
1. Cut 4 x 1m of black cord.
2. Thread all 4 cords through the ring on one end of a clasp.
3. Braid for 8 moves using Round Braid.
4. Thread 20-30 4mm beads onto 2 diagonally opposite cords. Braid them in, leaving 2 or 3 sections without beads. Random spacing works well with this bracelet.
5. When the required length for the bracelet has been reached braid without beads for 8 moves, thread the cords through the ring on the other side of the clasp and knot into position. Seal the knot with clear nail varnish or glue.
6. Thread beads onto the cords and keep them in place with an overhand knot on either side.
Earrings
1. Use spacers and gemstone beads on headpins to make the decorative endings. Finish with a wrapped loop.
2. Cut 4 x 25-35cm black cord, depending on whether you are using the small or large disk.
3. Thread all the cords through the loop, position the cords on the disk on either side of the dots and braid for 2-3cm.
4. Bind, glue and trim the end of the cord.
5. Push a decorative headpin through braid and bend up the headpin away from the beads.
6. Slide on a small coil of wire and a 4mm bead. Finish with a wrapped loop and attach to an earring hook.
7. Repeat for the other earring.
Pendant Necklace
1. The cords for the braided section need to be 2.5-3 x the desired length. Cut 16.
2. Position the cords so that there are 2 in each of the slots on either side of the dots.
3. Braid using Round Braid.
4. To make the loop, remove one cord from each slot and pull them through to the other side of the disk.
5. Continue to braid using Round Braid for 2-3cm.
6. Pull the cords back to the top of the disk and replace them in the slots.
7. Resume braiding, making sure that the cords are pulled up tightly until the braid comes together fully.
8. Attach beads to chains and to the toggle from a toggle clasp. Slip the toggle through the loop in the braid.
9. Attach a double length of chain to each braid end and add a clasp.
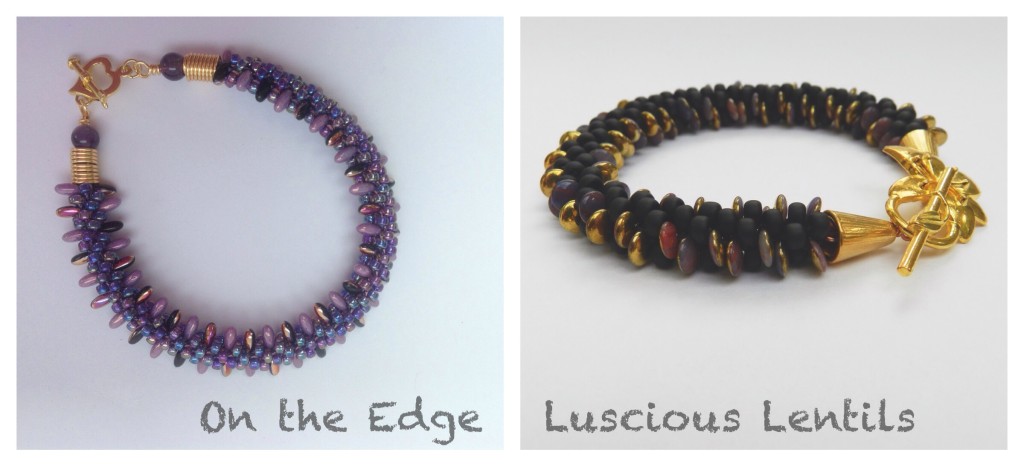
The position of the beads on the cords is what creates the design. If you would like to try some designs with very specific placement of the beads, such as on the edges of the braid or just on one side, then take a look at some of the tutorials in the shop. These are very detailed and full of step-by-step photos and ideas of how to develop you own variations.
Try Luscious Lentils or On the Edge for two different effects where the beads are only on the edges of the braid.

