
There is no need for anything other than beads and cord to make this attractive and effective button hole fastening.
![]()
![]()
![]()
![]()
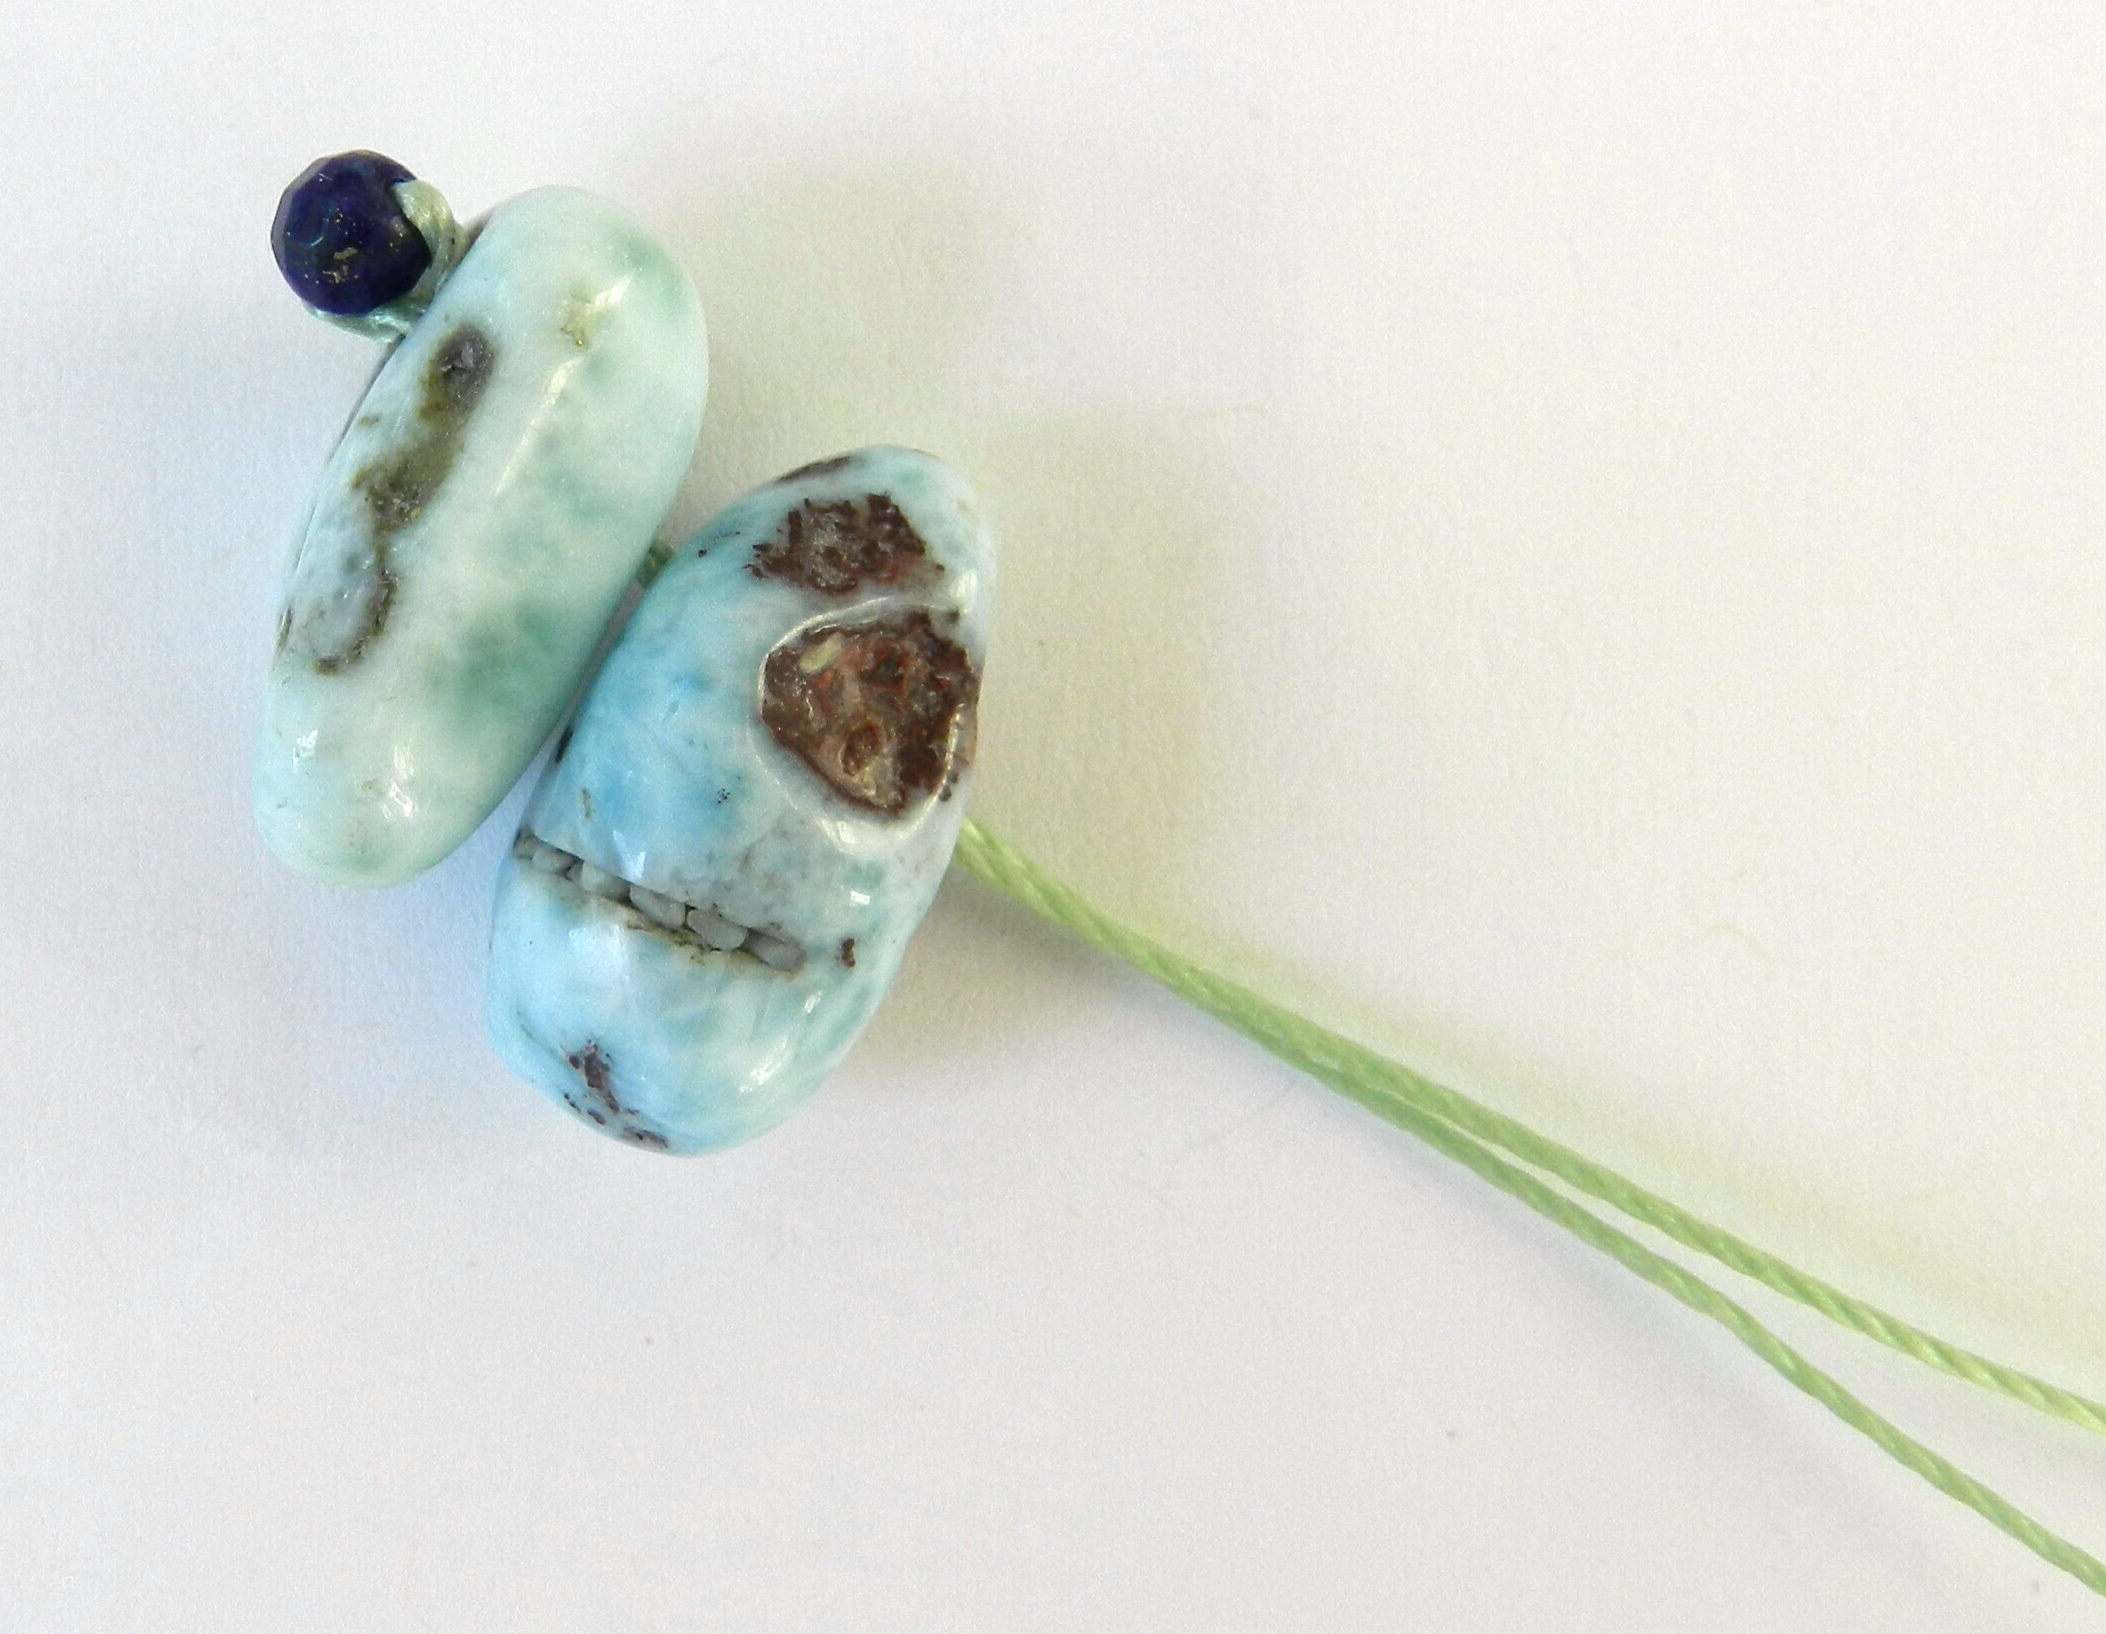
1. Start by making the ‘button’. Start with 4 double lengths of beading cord (instead of 8 lengths for an 8 warp braid). Thread one small bead onto the middle of one of the cords and then thread both ends of this cord through one large bead or two or more smaller beads to form the decorative end of the fastening.
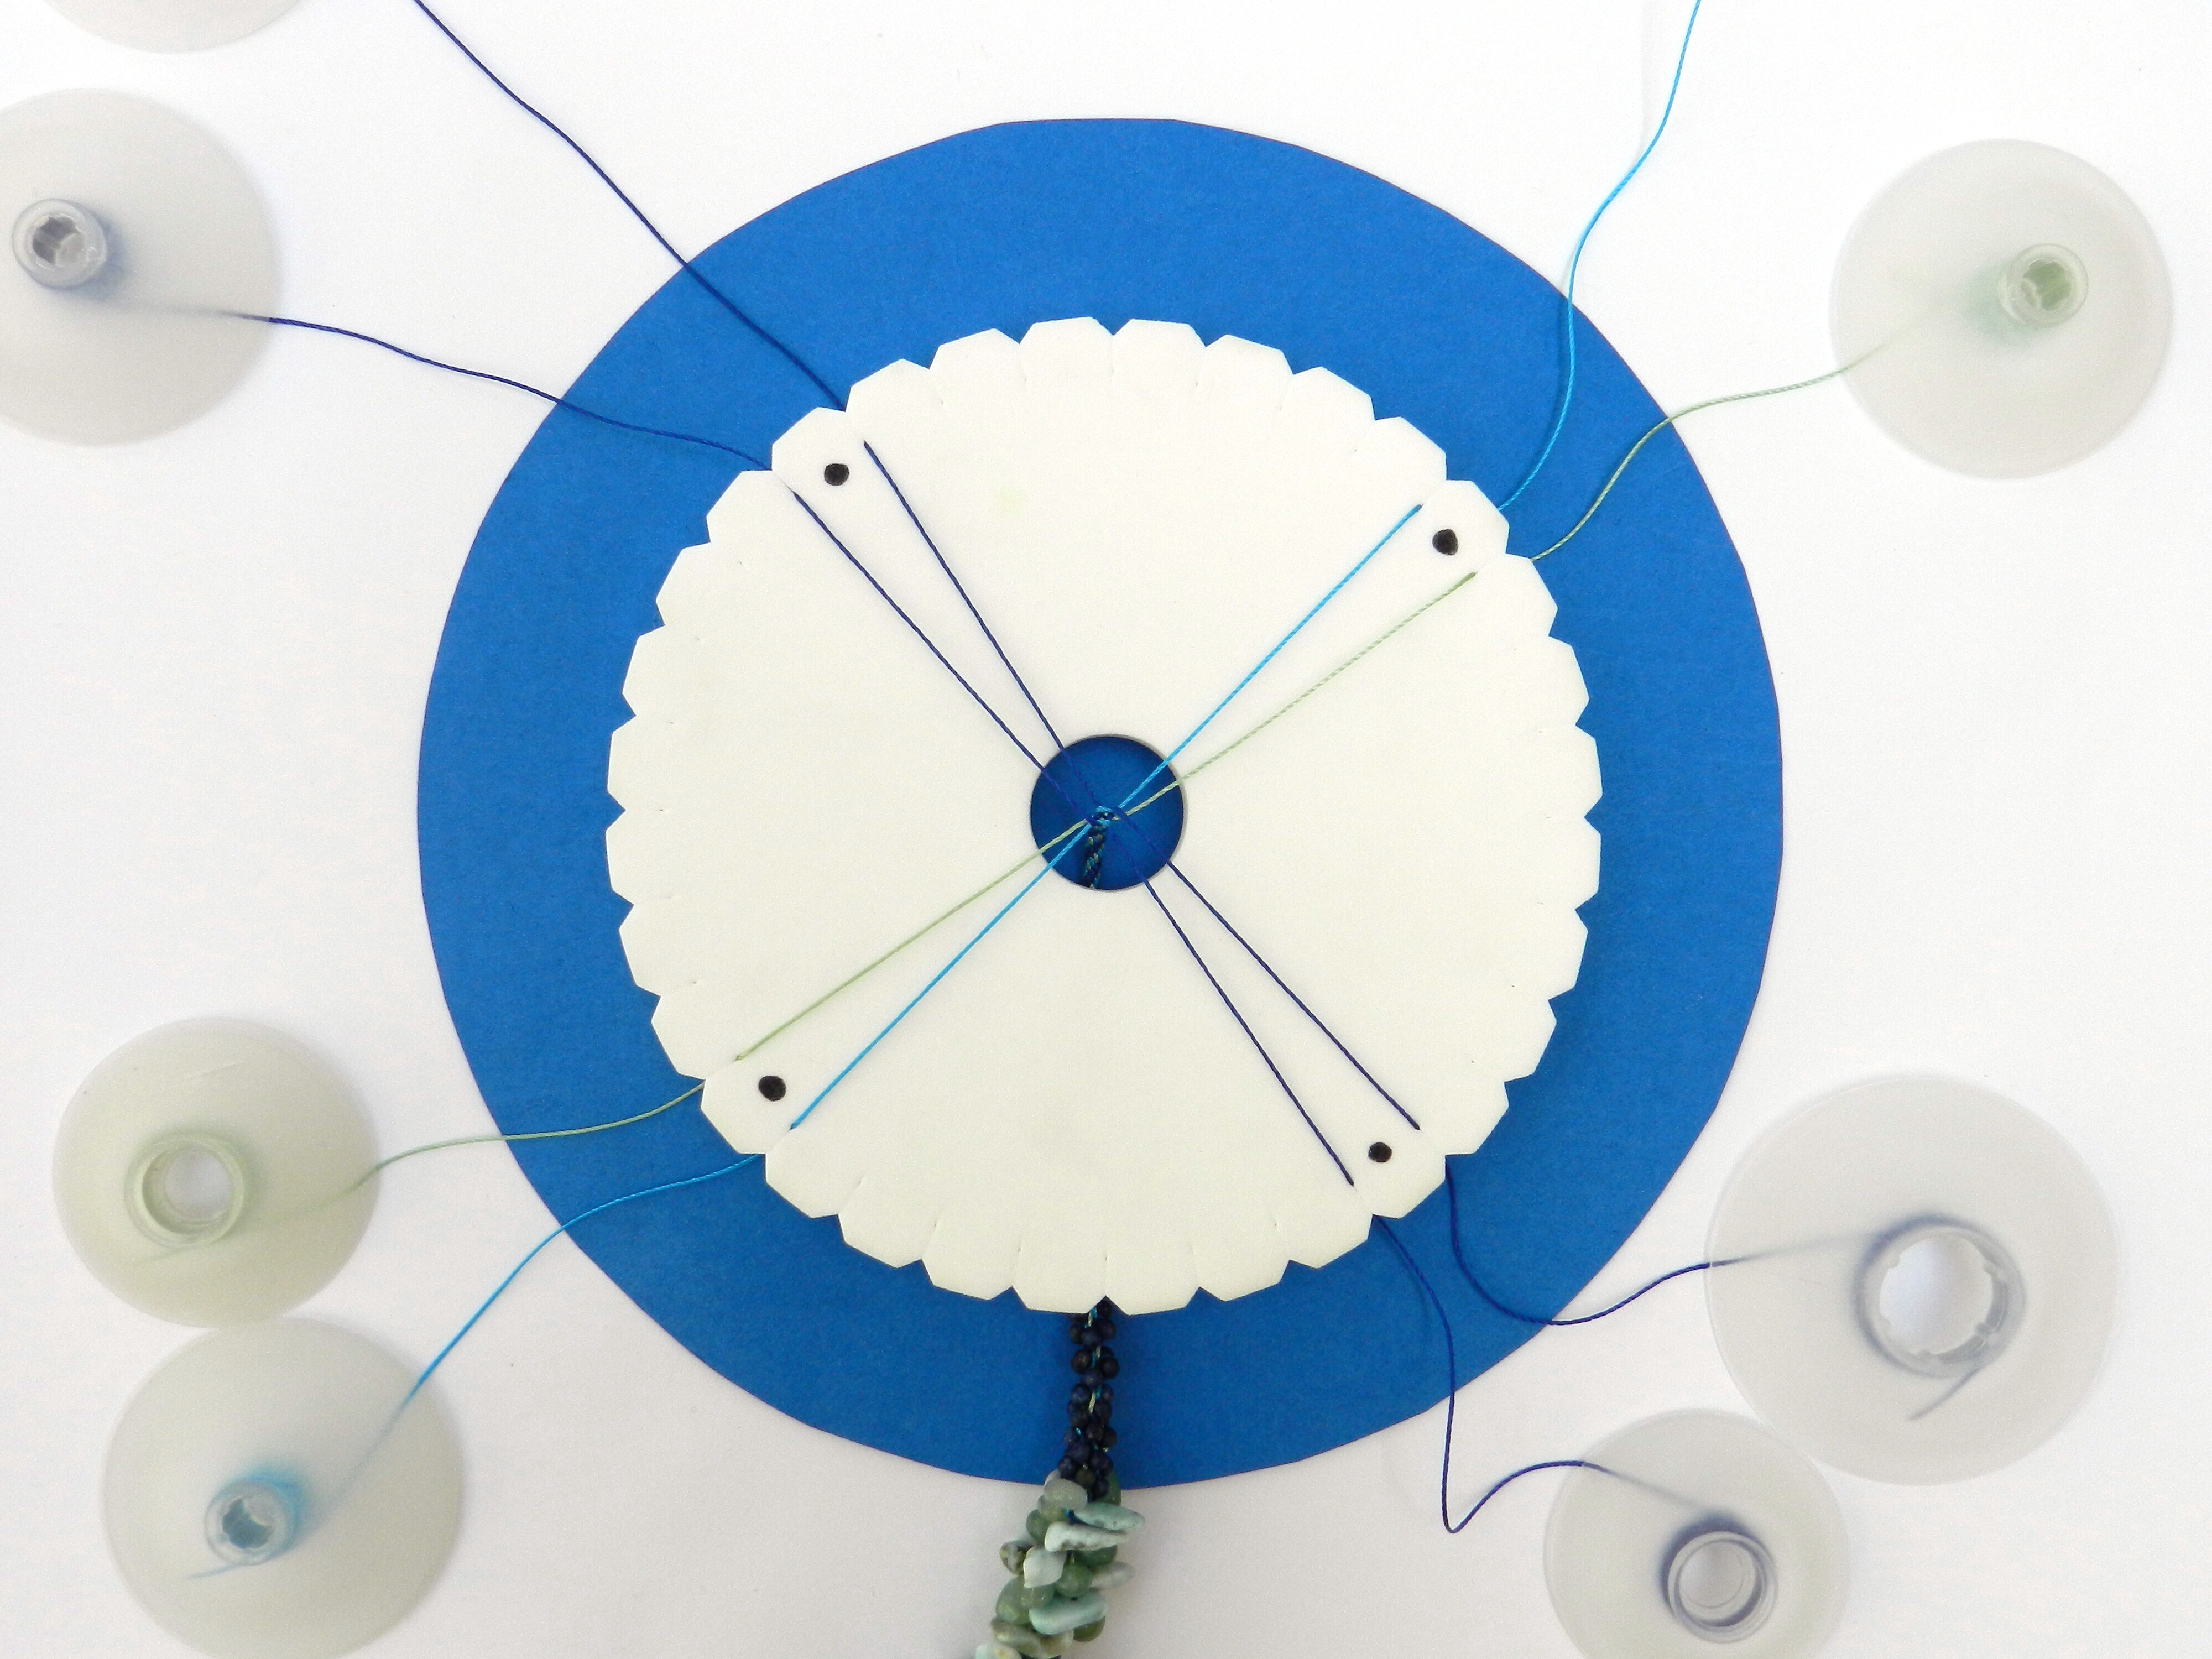
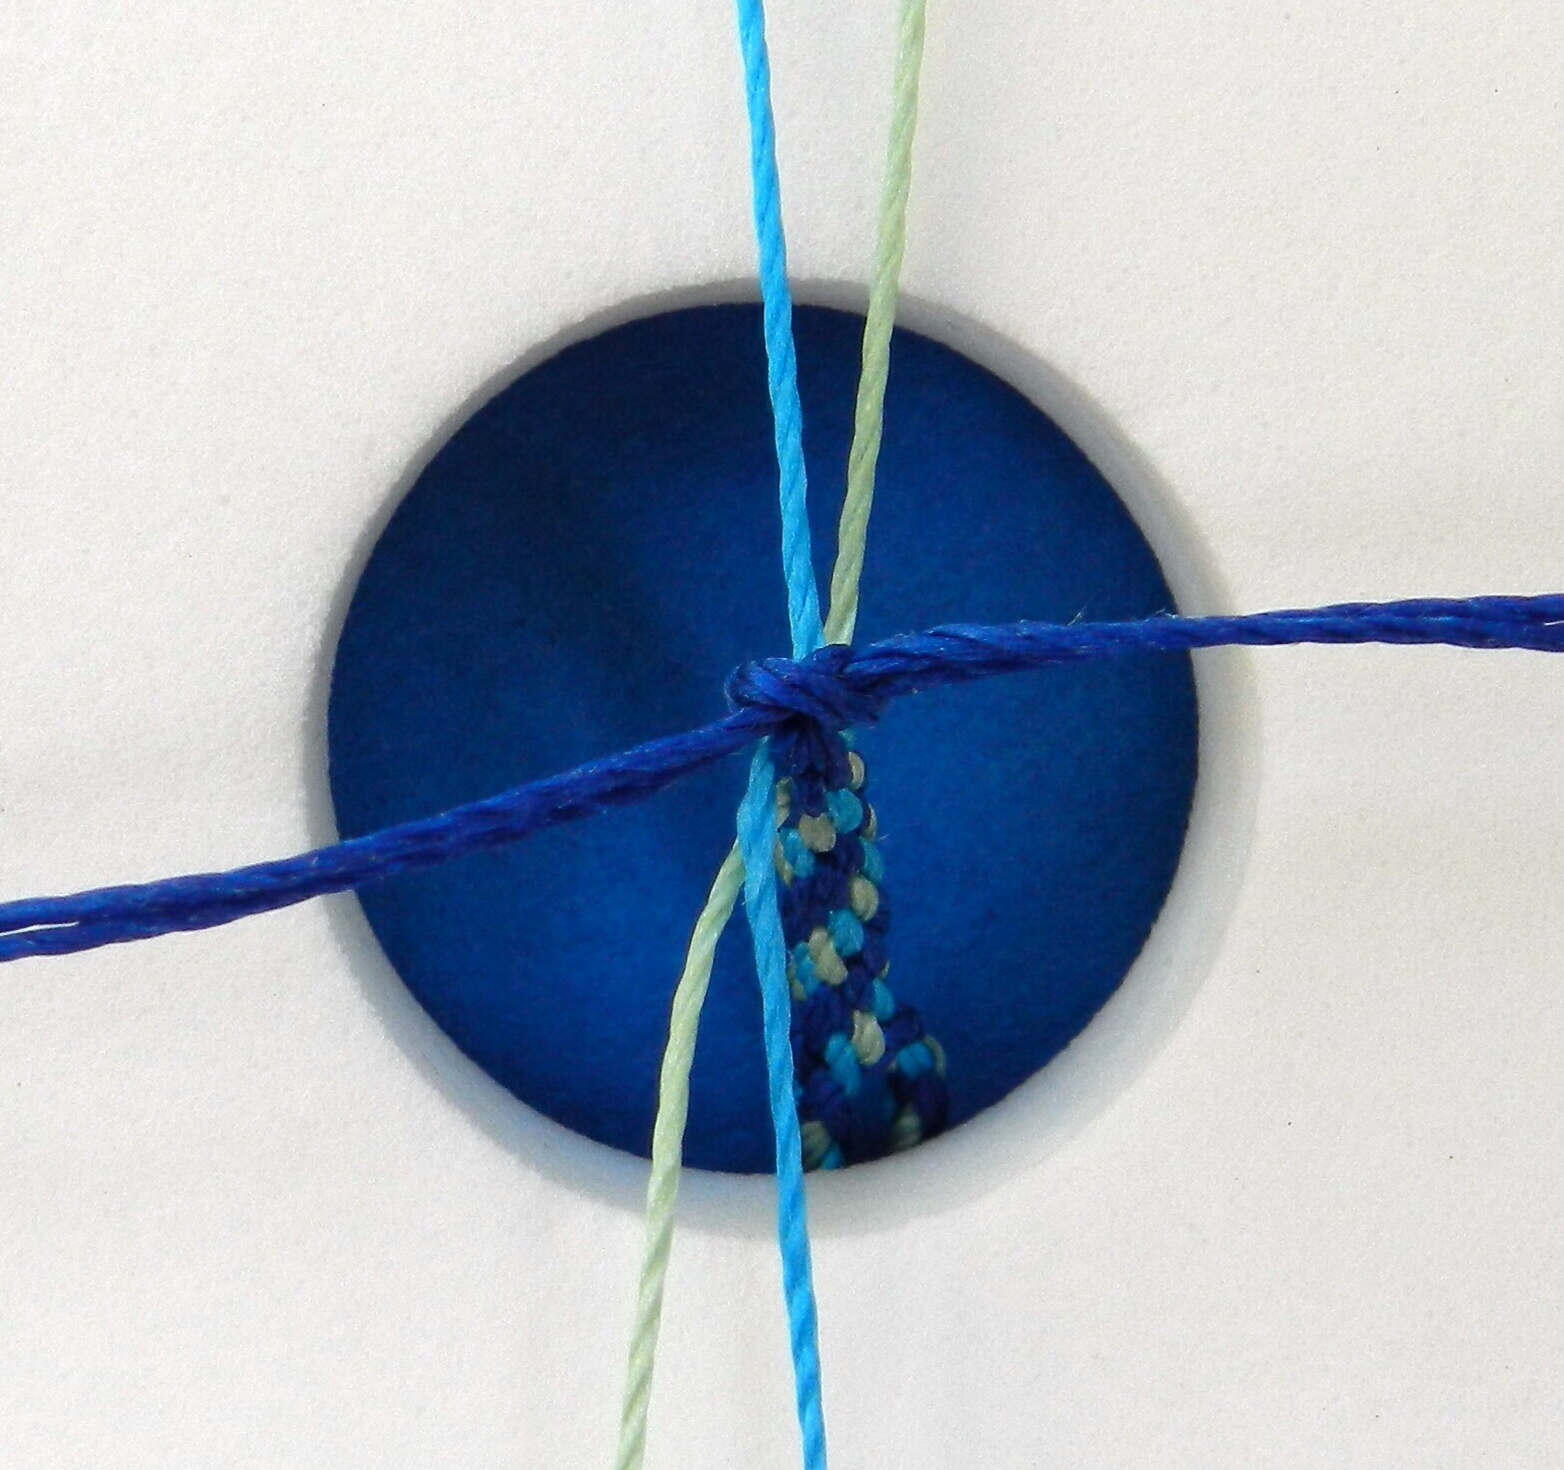
2. Tie the other cords together in the middle with a double knot using the first cord. Position the cords on the disk on either side of the dots and braid using Round Braid for the required length.

3. Turn the disk so that the cords are in an X formation. The two pairs on the left will now be worked separately from the two pairs on the right and a hole will form between them.
4. Start with the cords on the left. Move the top left cord to the bottom right and move the cord to its left to the top left.

5. Move the top right cord to the bottom left and move the cord to its right to the top right.

6. Move the bottom two cords back to either side of the dot. The disk now looks similar to the set up, but the colours are reversed on the left hand side.

7. Repeat exactly the same moves (not mirror image) for the right hand side of the disk.
8. Repeat the moves on either side of the disk until the hole in between them is big enought for the button to slide through.
9. Return the disk to the usual position and resume braiding using Round Braid. The first few moves will seem a little loose, but the braid will tighten up once all 8 cords have been moved. Braid for the required length, minus 1-2cm to account for the length of the button hole.
10. Remove two opposite pairs of cords from their slots and tie them in a double knot close to the end of the braid. Seal the knot with a drop of glue or clear nail varnish.
11. Remove the braid from the disk. Take two cords and tie an overhand knot 2-3 cm from the braid. Thread a bead onto the two cords, separate the cords and tie them into a double knot. Seal the knot with glue or nail varnish and trim the cord ends close to the knot. Alternatively the ends can be trimmed to within 1mm of the knot and then melted into a blob with a naked flame.
12. Take two cords and tie an overhand knot 2-3cm from the braid. Thread a bead onto both cords and position it close to the knot. Separate the cords and tie them in a tight double knot. Seal the knot with glue or nail varnish and trim the cord ends close to the knot. Alternatively the ends can be sealed with a flame, as above.