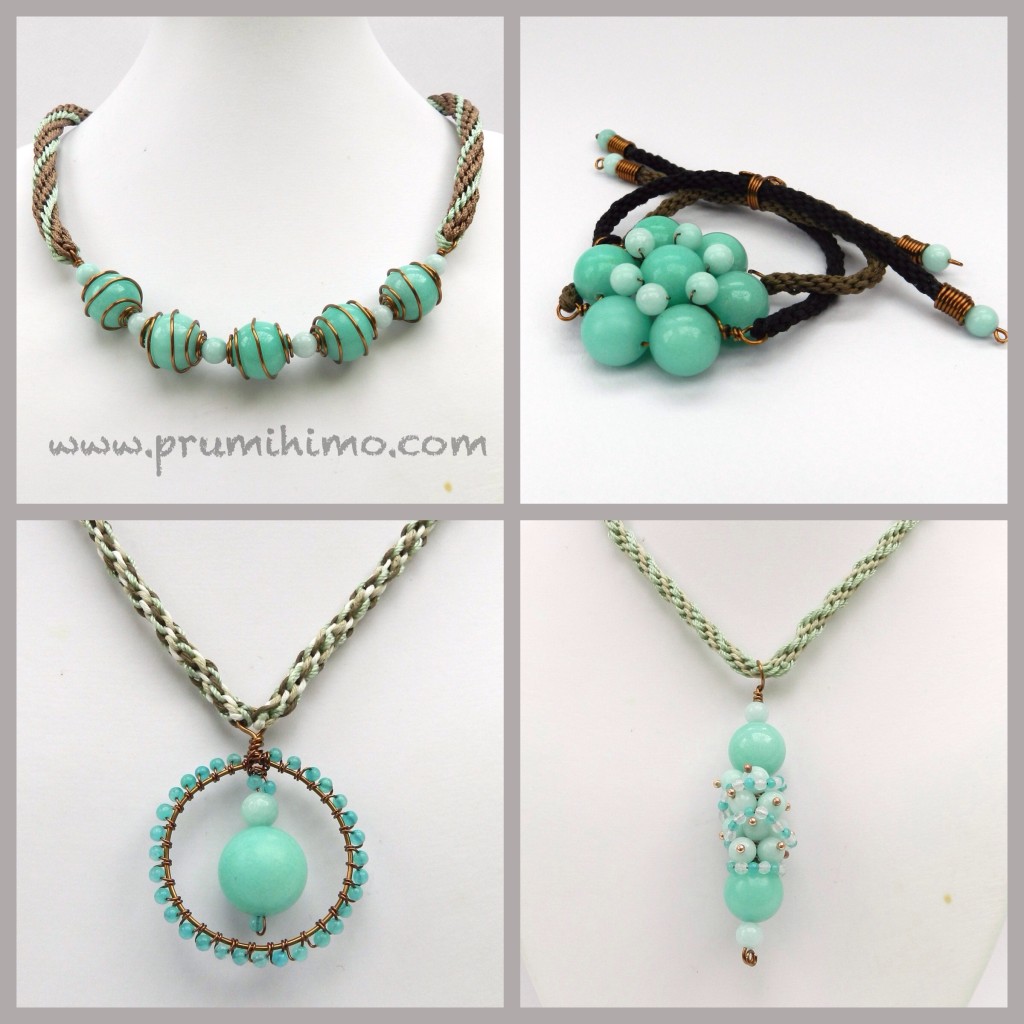
For this kit I asked for some wire, so that I could show how kumihimo could be worked straight off a wire connection. My wirework is pretty basic, but for talented wireworkers this can be a great way to combine two mediums and to add softness and flexibility to wire. I am not proposing to go into great detail about the wirework. The important issue is to know how many cords you will be using for the kumihimo, so that the connections are the right size to accommodate the cords.
The kit contained 0.8 mm and 0.4 mm wire and a selection of gemstones in different sizes. The cords included S-Lon, hemp cord and waxed cord.
Spiral Necklace
This is the design I demonstrated on the show.
To make the focal connector, cut 20cm 0.8 mm wire and form a large wrapped loop at one end. Thread on a selection of beads and form another large wrapped loop at the other end.
To make the spiral around the beads, cut 20 cm 0.8 mm wire. Mark the centre of the wire. Form a spiral from one end to the mid-point. Make sure the spiral is larger than the circumference of the bead. Make a spiral from the other end of the wire to meet the first spiral in the middle. Bend the wire in the middle to form a clam shell shape. Thread wire through one side of the clam shell, then through the bead and then through the other side of the clam shell. Grip the two ends of the spirals and twist them in opposite directions to tighten the wire around the bead. (Watch the YouTube clip if this is not clear)
To make the braid cut 80 cm x 4 x waxed cord and 80 cm x 6 S-Lon. Thread all the cords through one of the loops on the connector and centre the connector on the cords. Position the cords in 12 slots evenly spaced around the disk, with 3 cords of S-Lon together in each of 4 diagonally opposite slots. The braid structure is Round Braid and it is performed in the same way as if there are only 8 slots in use. Braid to the end of the cords and finish off with a binding and glue. Use your preferred method of attaching the clasp, such as fold-over ribbon ends, glue-in clasps or a wired on cone, as was shown on the show.
Bracelet
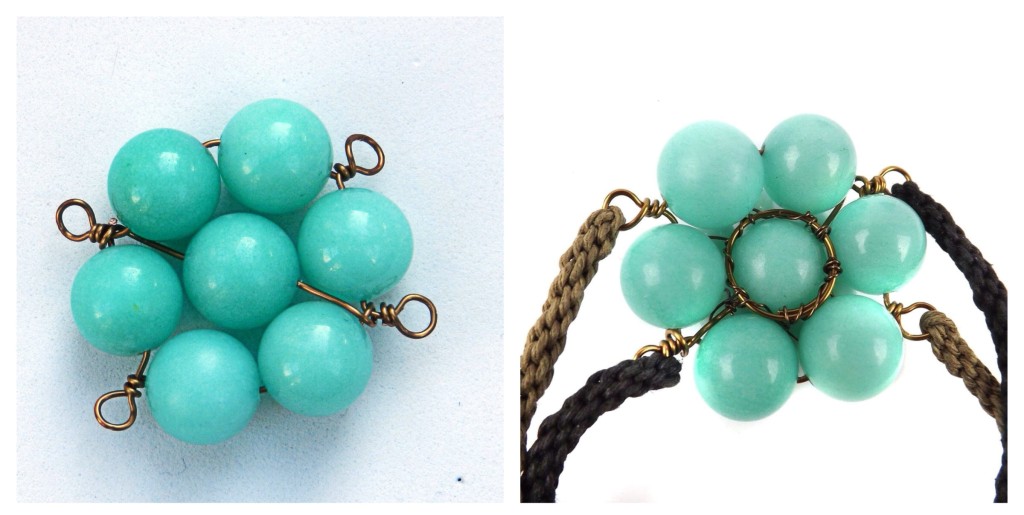
To make the focal connector, cut 50 cm 0.8 mm wire. Make a large wrapped loop at one end. Thread on one large bead and form another wrapped loop. Thread on 2 beads and make another wrapped loop. Thread on 1 bead and make another wrapped loop. Thread on 2 beads and wrap the wire around the base of the very first wrapped loop to form a circle. Thread on the final large bead and bring the wire across the frame to the opposite wrapped loop. Secure the wire. If you wish to add an extra layer of small beads, form a ring of 0.8 wire just larger than the central bead. Attach 60 cm 0.4 mm wire to the ring and bring the wire up through the circle. Thread on a small bead and bring the wire back down to the underside. Wrap the wire around the wire circle and bring it up to the front again. Attach the other 5 smaller beads in a similar manner.
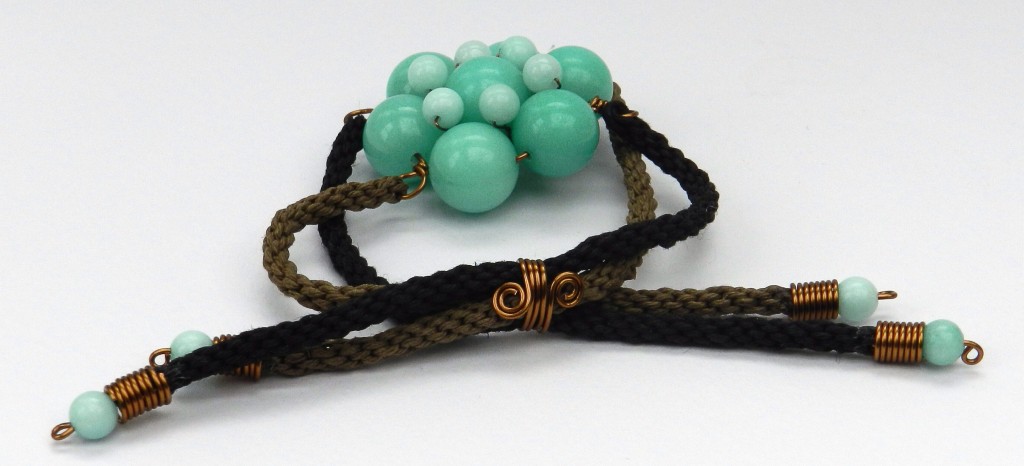
To make the braid, cut 4 x 80cm hemp cord and thread it through one of the wrapped loops. Centre the loop on the cords and braid in Round Braid. Secure the braid ends with a binding and glue. Pierce the end of the braid with wire, thread on a coil of wire to cover the binding and a small bead. Secure the end with a simple loop. Repeat for the other 3 braids.
To make the slider, cut 20 cm 0.8 wire, make a small spiral at one end, wrap the wire firmly around all 4 braids and finish off with another small spiral. The wrap needs to be tight enough to hold the braids, but loose enough to allow them to be tightened around the wrist.
Pendants can either be hung straight onto a braid. (Make sure that you do not attach both ends of the clasp before the pendant is attached!) Or the braid can be started straight from the pendant in the same way as the braids in the other designs have been started. Make a large wrapped loop at the top of the pendant from which you can start one side of the necklace and then make the other side, starting from the same wrapped loop.


