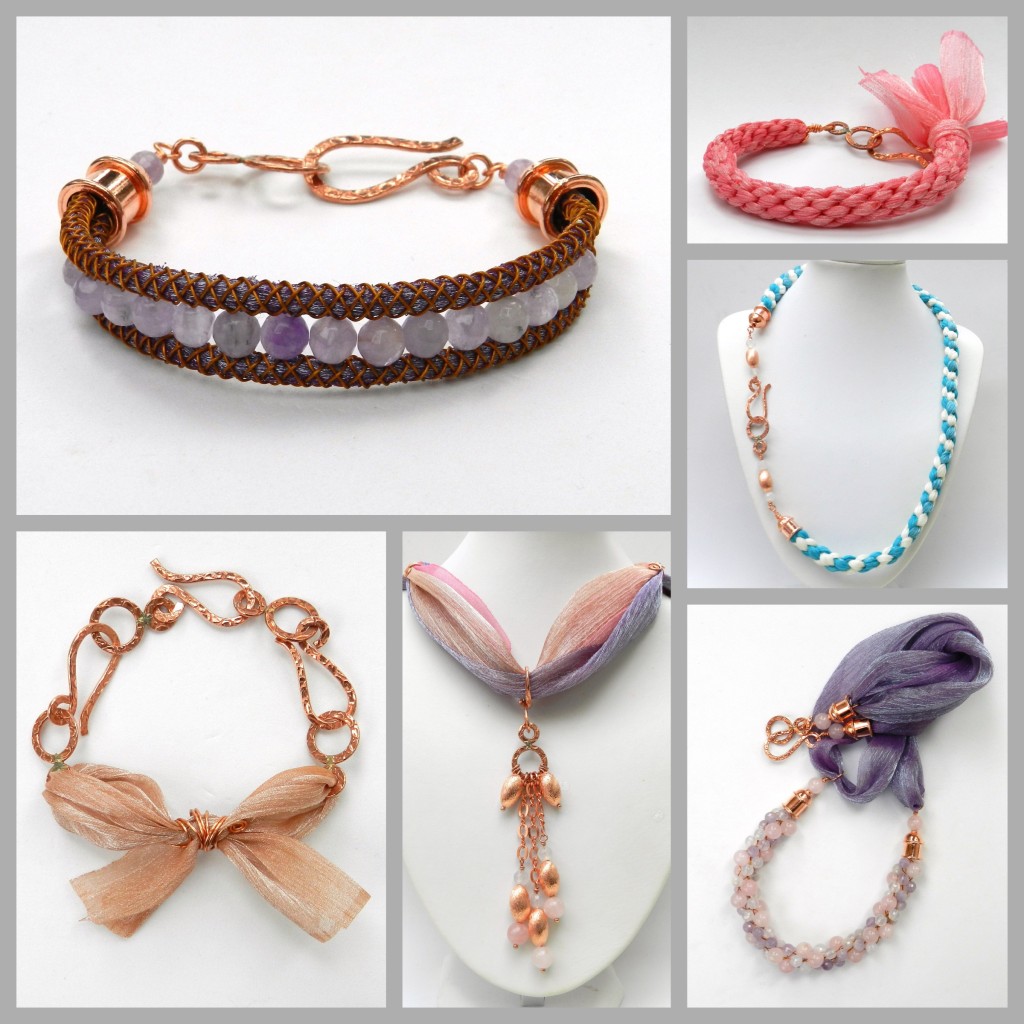
On 12.2.16 I demonstrated a kit full of pretty colours and shimmering ribbon. Braiding with such wide ribbon presents some challenges, but a bit of experimentation brought about a great new braid effect which I plan to explore further. The kit also included some oversized copper clasps and some chunky end caps. These designs can be made with other sorts and widths of ribbon. As this is a kumihimo workshop I will only be giving instructions for the braided designs.
To watch the show click here
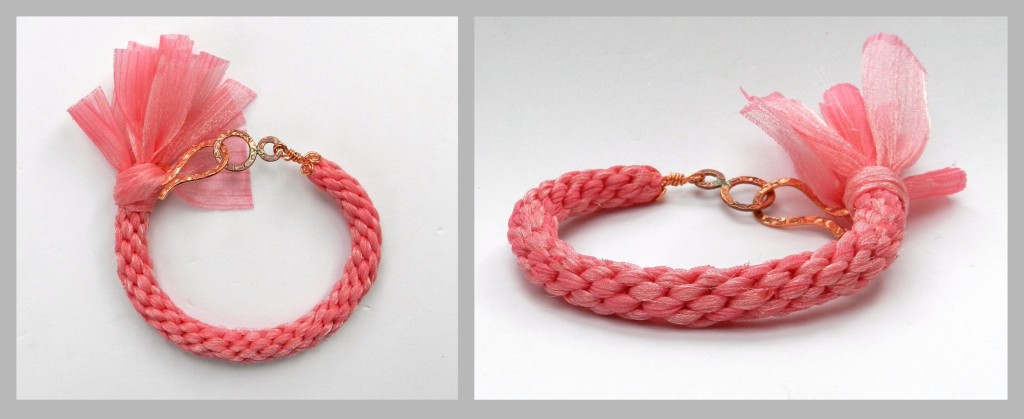
Corsage Style Bracelet
Use the full length of pink ribbon. Cut the ribbon down its length to make 2 narrower ribbons. Cut these into 2 and fold them in half. Wrap 15cm of 0.8mm wire through the fold. Position the 8 ribbons on the disk on either side of the dots and braid in round braid. When the required length of braid has been reached, remove from the disk and bind the end with thread. Add glue to the binding, thread one end through the ring on the hook clasp and wrap that ribbon end around the binding while the glue is still sticky. Spread a stripe of glue across each ribbon at the required length. Leave to dry. Cut through the glue strip. This will prevent fraying. There will be a few frayed ends on the braid. Trim these with sharp scissors.
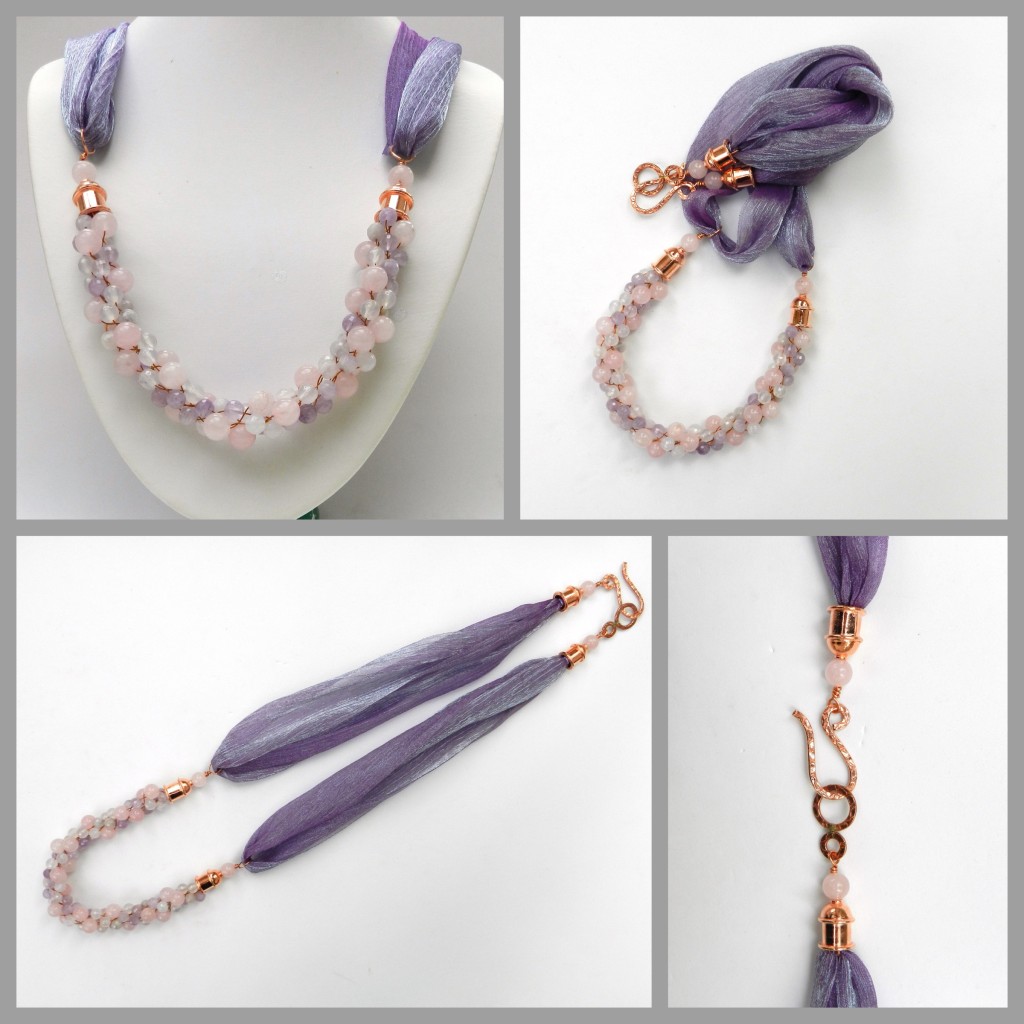
Gemstone Braid Necklace
This is a 7 strand braid. Instructions can be found at the bottom of this page.
Cut 7 x 60cm beading thread (wire). Crimp all 7 strands together at one end. Thread rose quartz on 2 strands, amethyst on 2 strands and quartz on 3 strands. Braid in the beads. Lift up 3 opposite strands and crimp close to the braid. Crimp the other strands together. Use wire to attach the end caps and finish with a large wrapped loop. Thread ribbon through the loop and finish off with another end cap. Repeat for the other side and add a clasp.
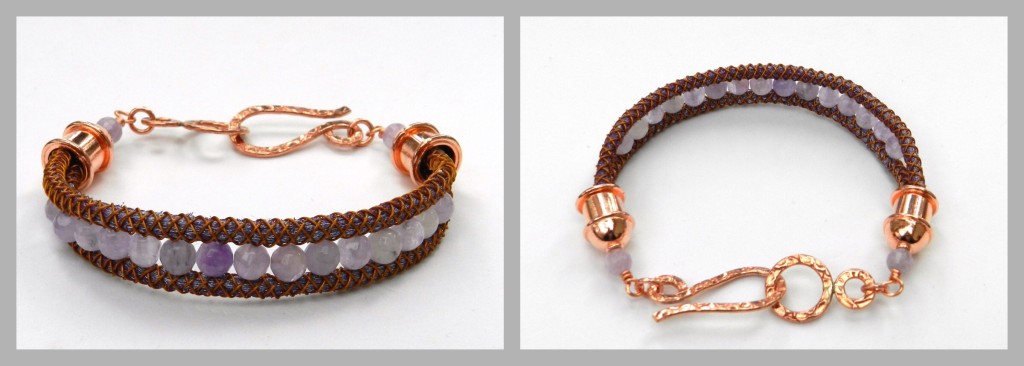
Amethyst Double Bracelet
This was the design demonstrated in the show.
The braid structure is Hollow Braid using 6 strands, instead of 8 strands. The best result will be achieved if it is practised with cord first.
- Cut 6 x 2m beading thread (beading wire). Crimp together at one end and postion on the disk in 3 pairs evenly spaced around the disk. Braid for 2 complete sequences of moves. Hold the ribbon so it lies across the point of braiding and continue to braid the beading thread so that the braid forms around the ribbon. Watch the YouTube recording to see exactly how this works.
- Braid to the required length, taking account of the length of the clasp, especially if using the oversized copper clasps in the kit. Trim the ribbon close to the braid and crimp all the beading thread together close to the braid.
- Fold the braid in half. Use wire to attach the folded end into an end cap, finishing with a bead and a wrapped loop. Bind the other end with thread and use wire to attach it into the other end cap, finishing with a bead and a wrapped loop. Attach the clasp with jump rings.
- Use strong thread to sew 6mm beads inbetween the two braids. Sew through each bead at least twice.
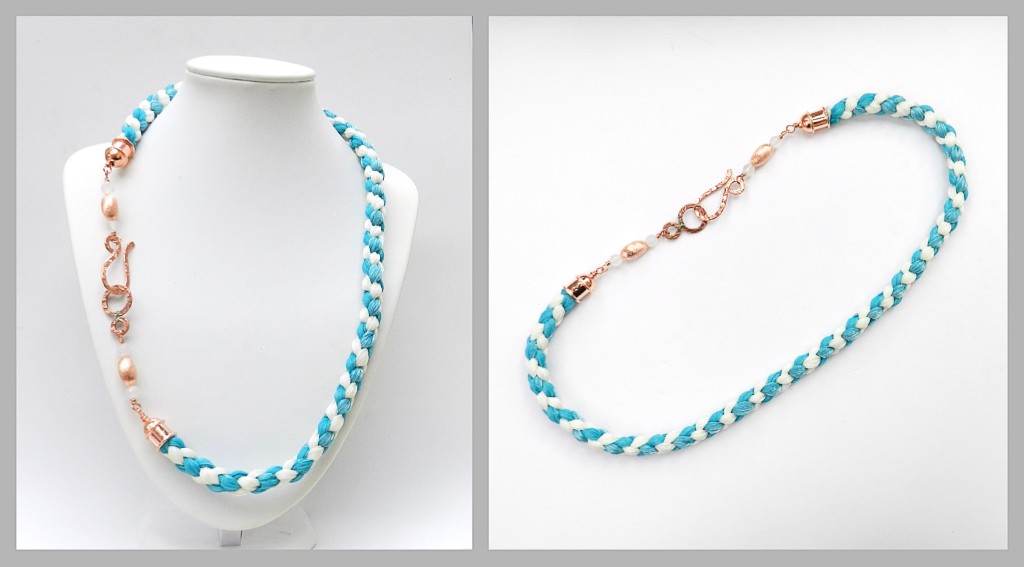
Blue and White Necklace
This is a 4 strand kumihimo braid, using the full width of the ribbon. I do not currently have instructions for this braid on the website, but the braid was demonstrated on the show.

