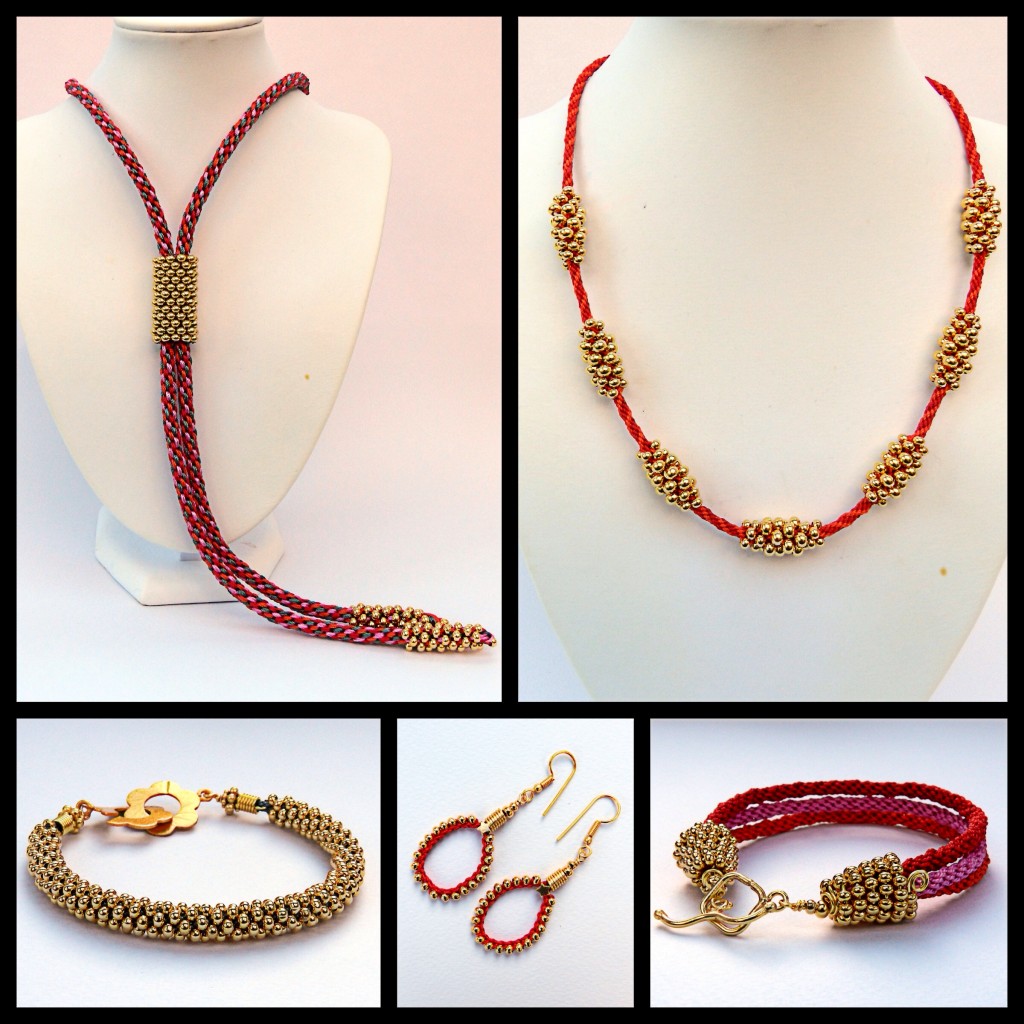
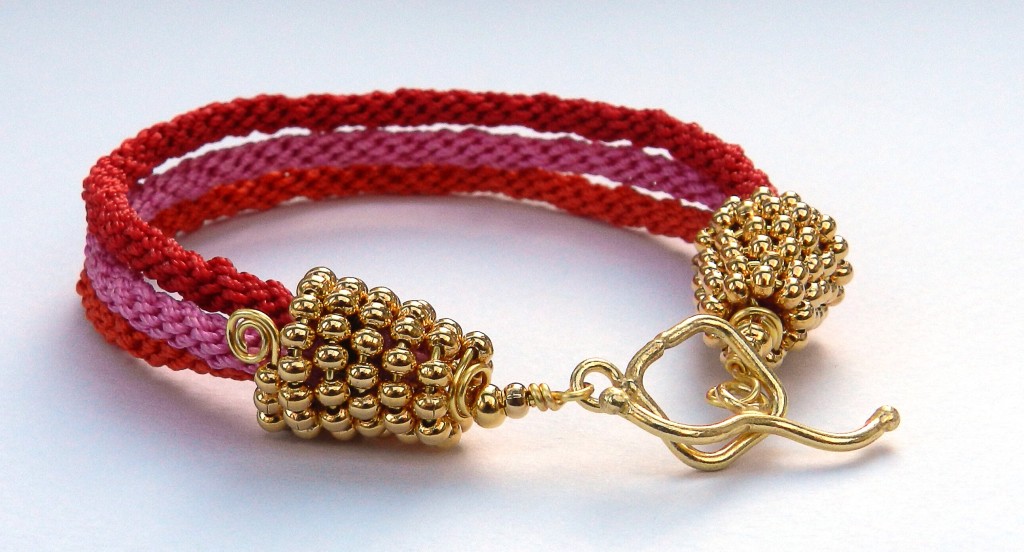
This was an unusual kit to receive from Jewellery Maker because it contained no gemstones. This gave me the opportunity to concentrate on the metal seed beads and to introduce a bead weaving technique to compliment the kumihimo. These designs got a great reaction from both the production team and the viewers and they were also great fun to make. The show aired on 22.1.15 and the recording of the show can be found by clicking here.
The kit contained 4 colours of S-Lon cord and metal seed beads in size 8/3mm and size 6/4mm.
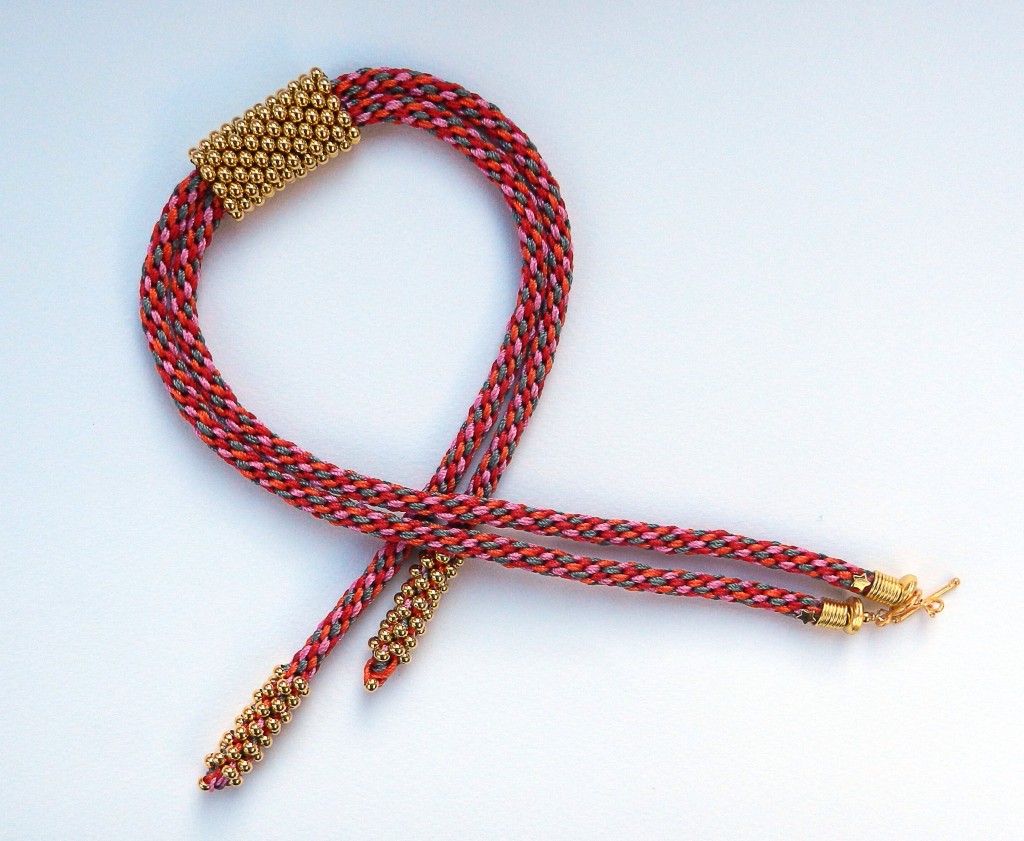
Lariat
This is the first design I demonstrated in the show. If you are unsure about how to work Peyote stitch it is best to watch the Youtube clip.
1. Cut 4 x 2m of each of the 4 colours of cord. This will give you 16 cords, which will be doubled so that you are working with 32 cords.
2. Only size 6/4mm seed beads are used in this design. Thread one seed bead onto one cord and centre it on the cord. Tie this cord around the mid point of the other cords. Hold the bead in the centre of the disk and position all 32 cords in the slots with 4 cords in each of the 8 slots on either side of the dots.
3. Braid Round Braid for 8 individual moves.
4. Thread 5 seed beads onto all 4 cords in all 8 slots. Braid in the beads and then carry on braiding without beads until the cords are too short to braid. Remove the braid from the disk, tie the end in a knot and give the braid a firm stretch. It will lengthen and become narrower.
5. Bind and glue the end of the braid. Pierce the end of the braid with a decorative headpin, bend up the headpin and thread on a coil of wire or wide hole bead to cover the binding. Add a spacer bead and finish with a wrapped loop. This was demonstrated on the show.
6. Repeat for the other side of the lariat and join the two ends with a clasp.
7. Make a peyote stitch rectangle by starting with 12 beads and make 10 rows. This was very clearly demonstrated in the show. Wrap the rectangle around both braids and stitch the two sides together.
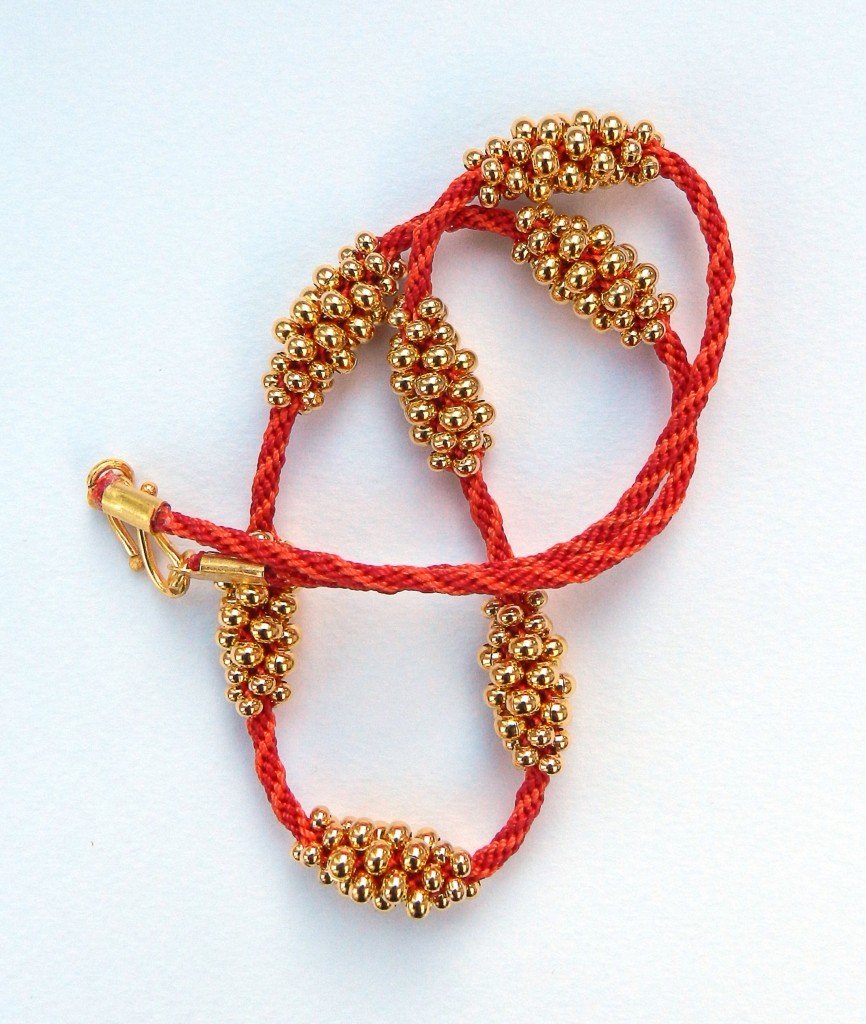
Beaded Necklace
This is a wonderfully versatile design. By simply changing the colour of the cord the necklace is transformed. You can make one to suit every outfit and you still won’t have used up all the beads!
1. Cut 120cm x 4 x red cord and 120cm x 4 x orange cord. Position the cords with the red on either side of the north and south dots and orange on either side of the east and west dots.
2. Braid for approximately 10 cm. Stop braiding when the cords are on either side of the dots.
3. Thread on the following seed beads to all 8 cords to make each beaded section, 1 small bead – 2 large beads – 1 small bead. Repeat this for the required number of beads. An odd number works best, the necklace pictured has 7 beaded sections.
4. Braid in the first 4 beads on each cord. The cords should now be on either side of the dots. Braid without beads until the cords are on either side of the next set of dots. Braid on until the cords are on either side of the following set of dots.
5. Braid in the next 4 beads on each cord.
6. Repeat this pattern, using the dots to indicate when to change from adding beads to braiding without beads.
7. After the last beaded section has been braided, continue to braid until the two sides of the necklace match and finish off with a clasp.
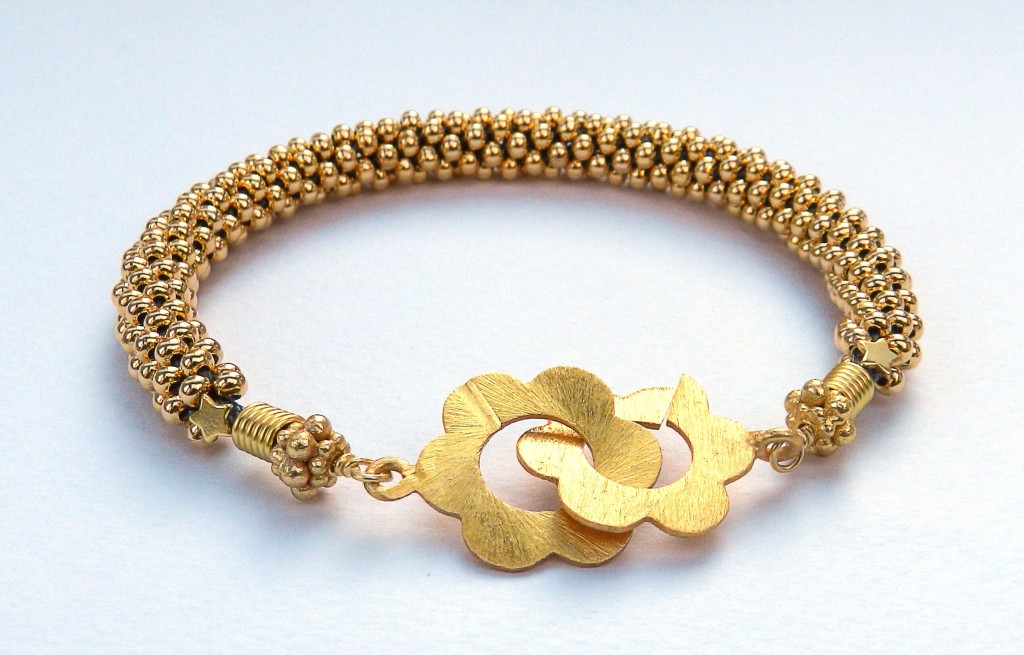
Fully Beaded Bracelet
This is my favourite use of metal seed beads. The effect is timeless and makes a big statement, but the method could not be easier!
1. Cut 8 x 60cm cord. The cord colour will be almost invisible. Using different colours of cord will produce subtly varied effects.
2. 36-40 size 8/3mm seed beads on all 8 cords
3. Finish off the ends in the way shown in the demonstration and as described in the lariat instructions, using a decorative headpin, a coil of wire and a fancy spacer bead.
Triple Bracelet
This is a very simple bracelet, which has been given an exotic touch with the addition of beaded end cones. To make these either a Wags Wicone or a Conetastic is required.
1. Make 3 braids in different colours by using 60cm x 16 for each bracelet and braiding with 2 cords in each slot on either side of the dots.
2. Secure each braid with binding and glue at either end and then bind all 3 together at each end. Hook a length of 0.8 wire through the middle braid and thread on a beaded cone*. Top with a couple of beads and a wrapped loop. Attach a clasp.
3. *To make the beaded cone, thread 70 size 8/3mm beads onto 0.8mm wire, while it is still on the coil. Start the Wags Wicone with 2 full coils and then continue to turn the wicone and feed on the beads at the same time. When the beads come to an end, cut the wire 2.5cm from the last bead and form a spiral to keep the beads in place.

