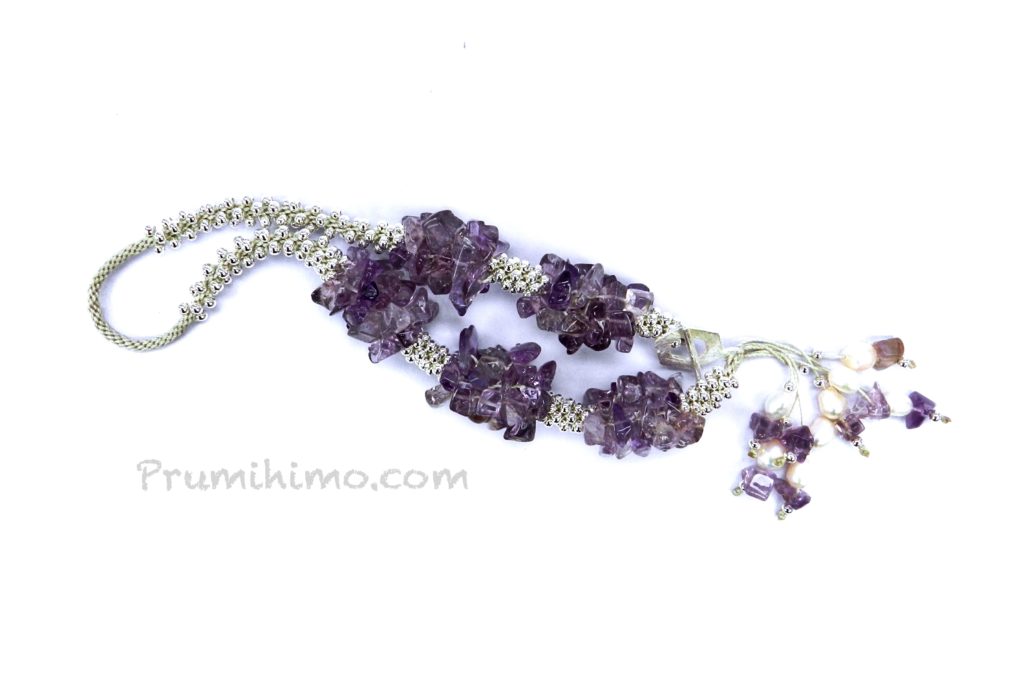
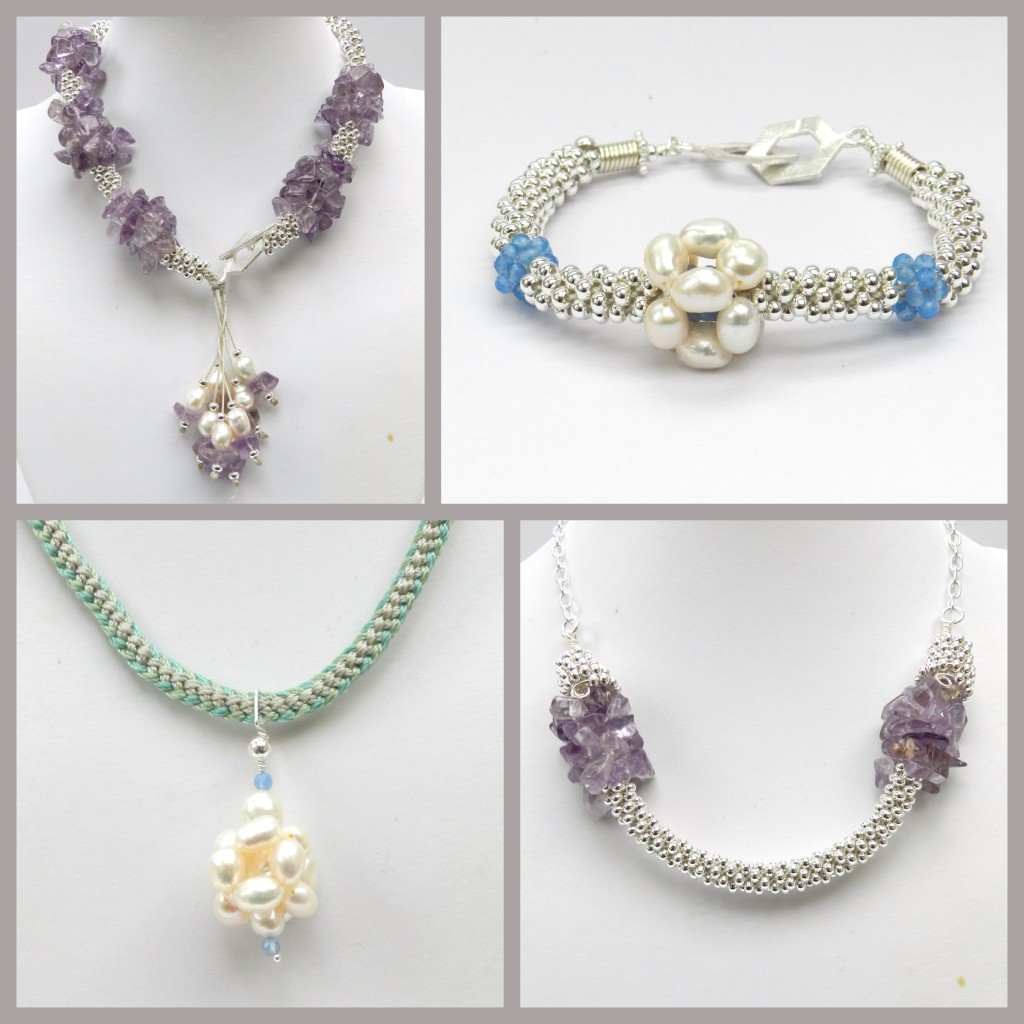
I got a great reaction on the show to these designs, particularly the front fastening amethyst and pearl necklace with the tassel, which is the one I demonstrated. The kit contained a long strand of amethyst chips, medium sized potato pearls, 3mm quartz faceted rounds as well as S-Lon, findings and a threading pack.
The demonstration starts at around 1.34 hours into the show.
Front Fastening Amethyst Necklace
This necklace is made in one piece of braid, starting from the bar on a toggle clasp. I decided to make an asymetrical design with three clusters of chips on one side and two on the other, but the design can be adapted to produce different effects. Each chip cluster is made with 3 chips on each cord. The seed bead sections inbetween are also made with 3 beads on each cord. The back of the necklace is plain braid to reduce the weight, so that it is comfortable to wear.
1. 4 x 2.5m S-Lon (this necklace is designed to quite short, for a longer necklace add more cord), centre on the ring on the toggle and position the cords on the disk, one in each of the 8 slots on either side of the dots.
2. Braid for 8 moves.
3. Thread onto two diagonally opposite cords (eg 32 and 16), 3 seeds – 3 chips – 3 seeds – 3 chips – 28 seeds
Thread onto the other 6 cords, 3 seeds – 3 chips – 3 seeds – 3 chips – 3 seeds
4. Braid adding beads with every move until the beads are finished. The beads in the last part will be more widely spaced. Braid without beads for 10cm or more for a longer necklace.
5. Thread 23 seed beads on two diagonally opposite cords and braid until they are finished. Thread the following beads onto all the cords, 3 seeds – 3 chips x 5 and then another 3 seed beads (33 beads in total per cord). Braid until the beads are finished.
6. Remove one cord from the disk and thread on the other end of the clasp. Replace the cord in its slot before threading on another 1-3 cords.
7. Braid for 16 moves without beads. Apply a small amount of glue to the end of the braid while it is still on the disk. Allow the glue to dry, but not harden and remove from the disk. Tie all the cords in an overhand knot and tighten it up as close to the beading as possible.
8. Thread pearls chips and beads onto a cord end and tie a double overhand knot. Trim and seal the with a thread burner or glue. Repeat for the other cords.

Beady Beads
Excellent instructions for beady beads are available on the JM website. Use these to make both the bracelet and the pendant.
Bracelet
1. Make 3 beady beads using the 3mm seed quartz seed beads. Then make another beady bead over the top of one of them using the pearls.
2. Cut 8 x 60cm s-lon, tie an overhand knot in the middle (do not make this knot too tight as it will need to be undone later!) and thread one side of the cords through the middle of the inner bead. Position the cords on the disk and braid for 16 moves without beads.
3. Thread 5 metal seed beads onto each cord and braid them in. Braid for 16 moves without beads.
4. Thread one of the small beady beads onto all of the cords, one by one. Replace each cord in its slot before removing the next one. Braid for 8 moves without beads.
5. Thread 9 metal seed beads onto all of the cords and braid them in.
6. Undo the knot and repeat for the other side.
7. The bracelet can be finished off in many ways, such as glue-in clasps, fold over cord ends or using a headpin, as explained in previous instructions (Lariat point 5).
Amethyst, Seed bead and Chain Necklace
1. Cut 8 x 60cm s-lon. Thread 3 chips – 20 silver seed beads – 3 chips on all 8 cords. Braid in the beads and finish the ends with a binding and a drop of glue.
2. Use a Wags Wicone to make end cones. To make the beaded cone, thread 70 size 8/3mm beads onto 0.8mm wire, while it is still on the coil. Start the Wags Wicone with 2 full coils and then continue to turn the wicone and feed on the beads at the same time. When the beads come to an end, cut the wire 2.5cm from the last bead and form a spiral to keep the beads in place.
3. Thread some wire or a headpin through the end of the braid, thread on the cone and a spacer bead and form a wrapped loop. Repeat for the other end. Attach chain and a clasp.
Please Note – I threaded some wire down the middle of the braid to give it a bit more structure, but this is not essential.

