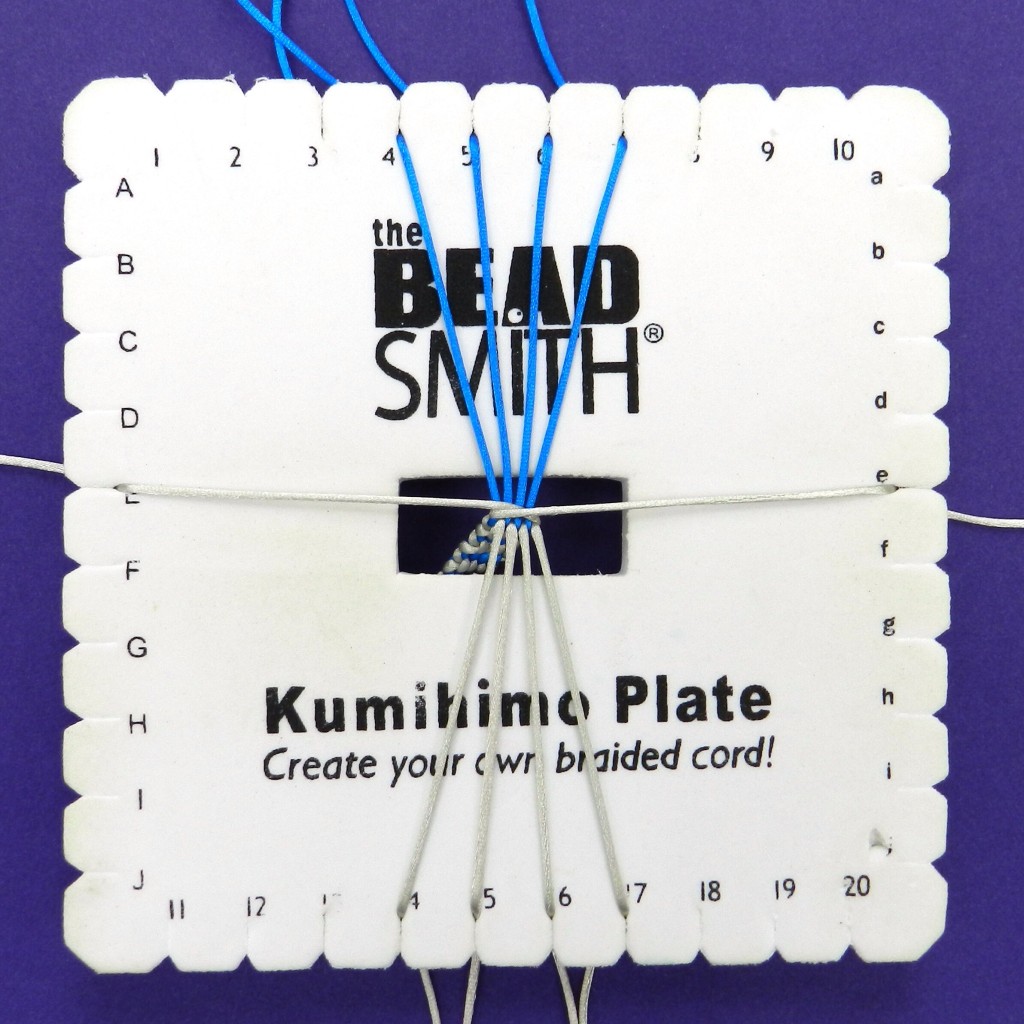
This braid is a firm, chunky braid, which curves well and can be made wider or narrower by varying the number of cords on the top and bottom.
1. Start with 4 cords in the top slots (4, 5, 6 and 7), 4 cords in the bottom slots (14, 15, 16 and 17) and 1 cord in the slots on both sides (E and e).
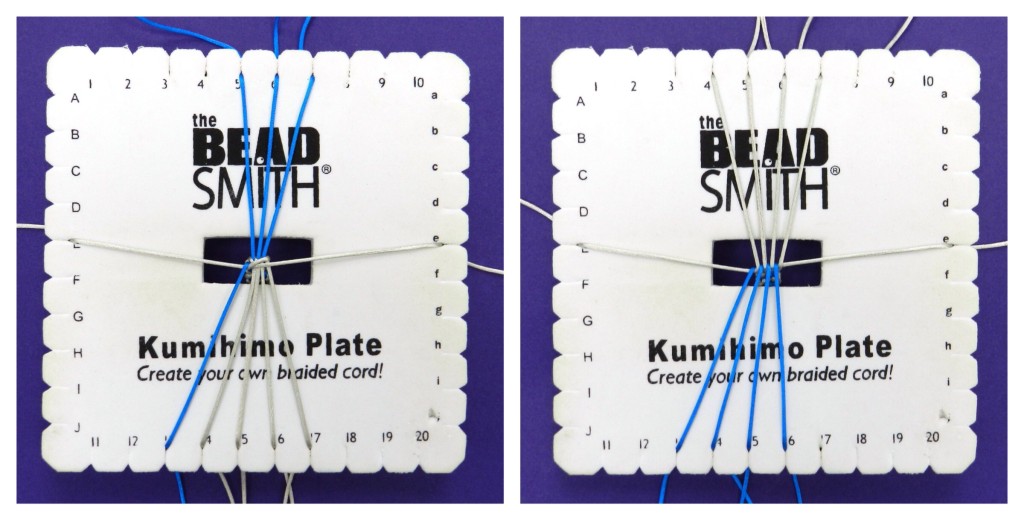
2. The first movements move from left to right. Move the cord in slot 4 down to slot 13.
Move the next cord on the bottom to the free slot on the top and continue to move the cords from top to bottom and bottom to top until each cord has been moved in turn. Note that in this example the blue cords have changed places with the grey cords.
3. Now move the cords at the sides. Move the cord on the right in slot e to slot F and move the cord on the left in slot E to slot e. Note that the cords at the sides are now slanting across the plate.
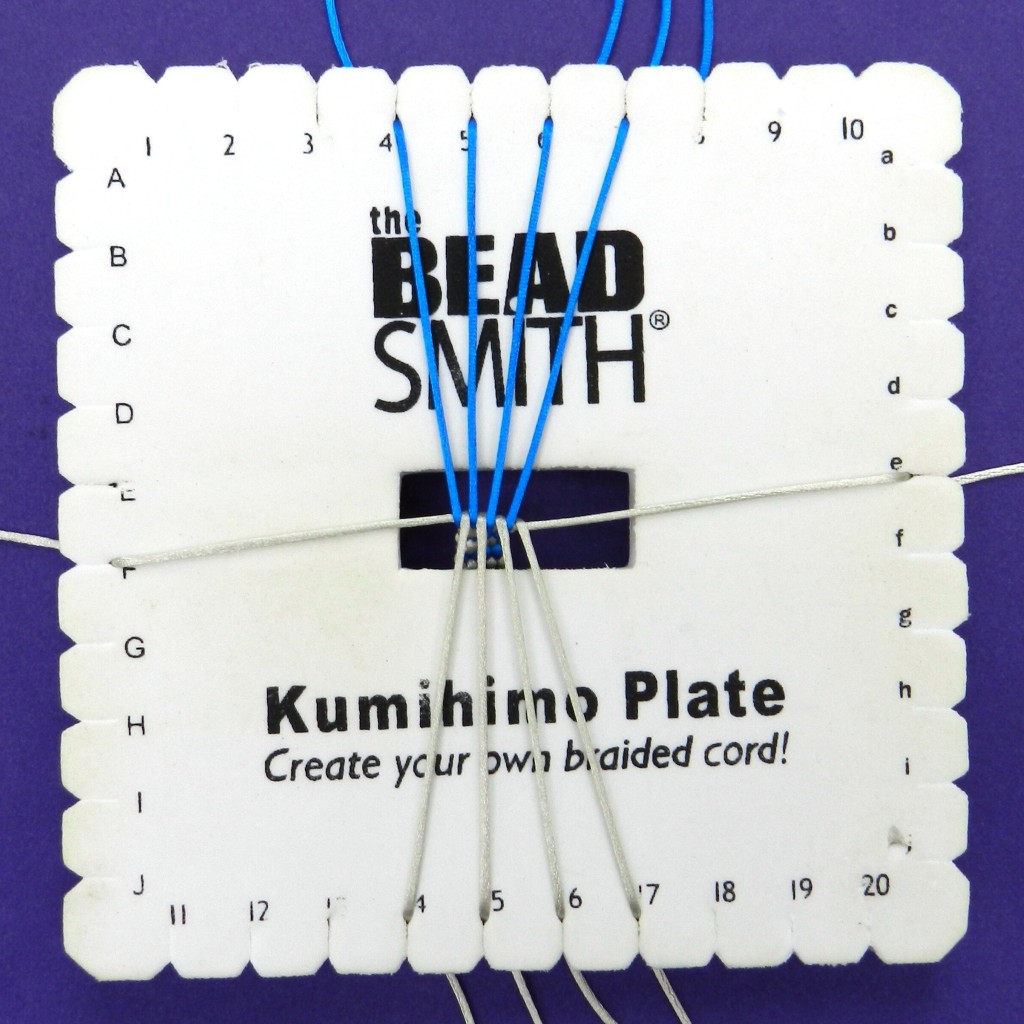
4. The cords on the top and bottom are now worked in the opposite direction. Move the cord in slot 7 to 17 and continue to move the cords from top to bottom and bottom to top until each cord has been moved in turn. Note that the cords on the top and bottom have returned to the original positions.
5. Move the cord in slot e to slot E and the cord in slot F to slot e. All the cords will now be in the starting positions.
Repeat all the moves until the desired length has been reached.
Important
The cord moves from side to side pull the braid together and control the width of the braid. It is important to be consistent when making these moves or the braid will vary in width.
Cord Length
Allow 2-2.5 times the required finished length for each cord on the top and bottom. The cords on the sides need to be 40-50 per cent longer.


