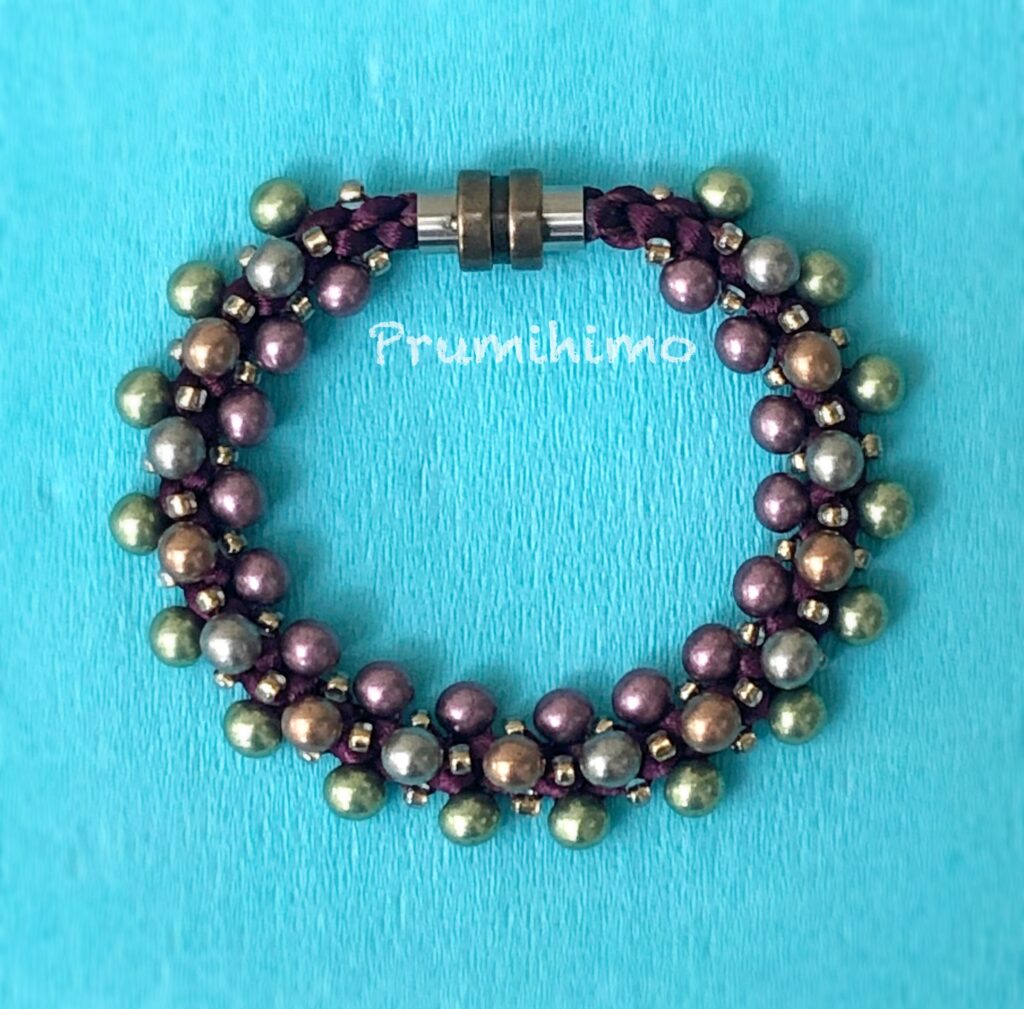
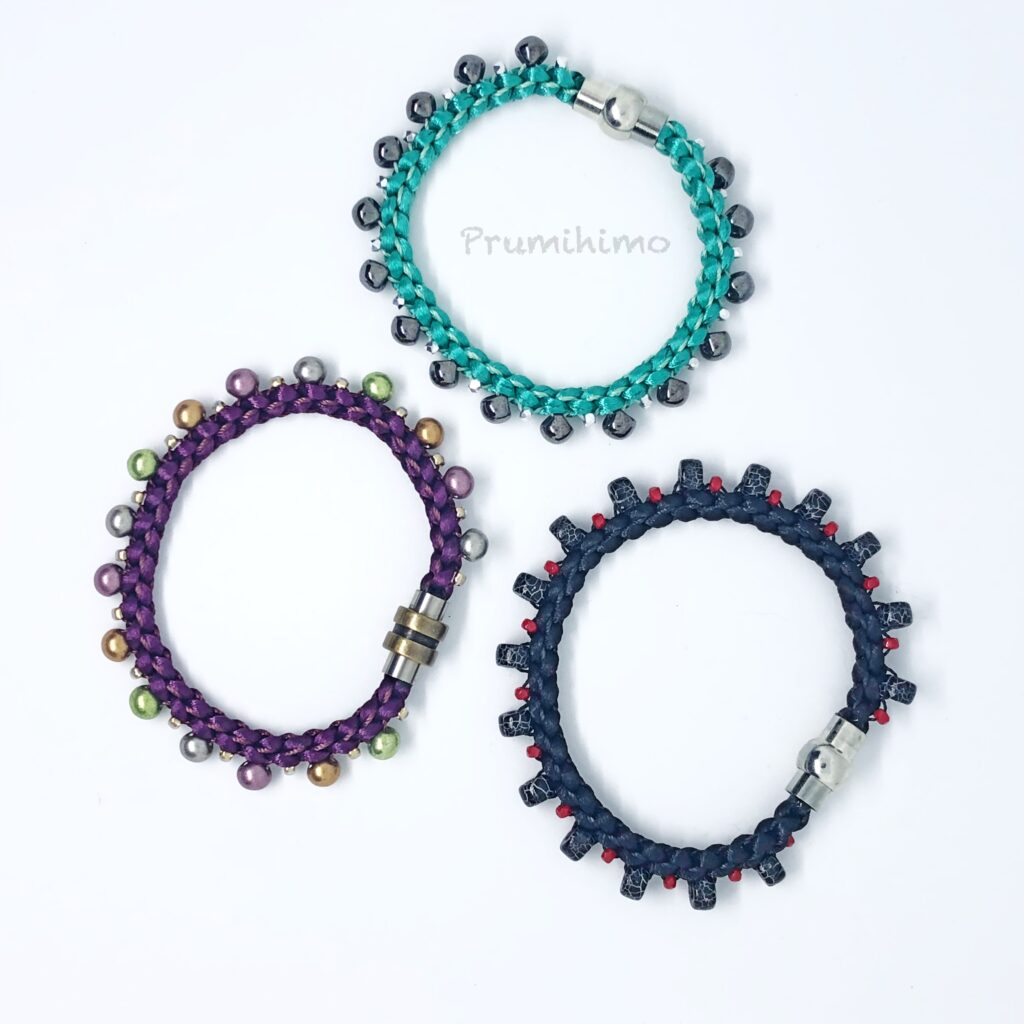
The second group braid-along started on 12th July 2021 and lasted for just over 4 weeks. The aim of the braid-along was to teach braiders how to use the Prumihimo disk with beads. Each week I introduced a different bead placement and encouraged people to make a bracelet and post it in the Kumihimo by Prumihimo and Friends facebook group. People chose a wide variety of beads and cords to use for the bracelets, producing a wonderful range of designs, which in turn inspired others to experiment more with their own materials. Although the braid-along has now come to an end, all the instructions can be found here, so that anyone can work through the steps in their own time. It is recommended that the weeks are followed in order. To view the participants designs you will need to go to the facebook group and search for #braidalong2. It is well worth taking the time to expand each photo to see the braid clearly.
Start date – Monday 12th July
Projects – 4 bracelet projects, one per week
Duration – 4 weeks
Equipment – Prumihimo disk. The Prumihimo disk was designed by me and it is protected by design patent and trademark. Please respect this and be aware that no other type of equipment is permitted for this braid-along.
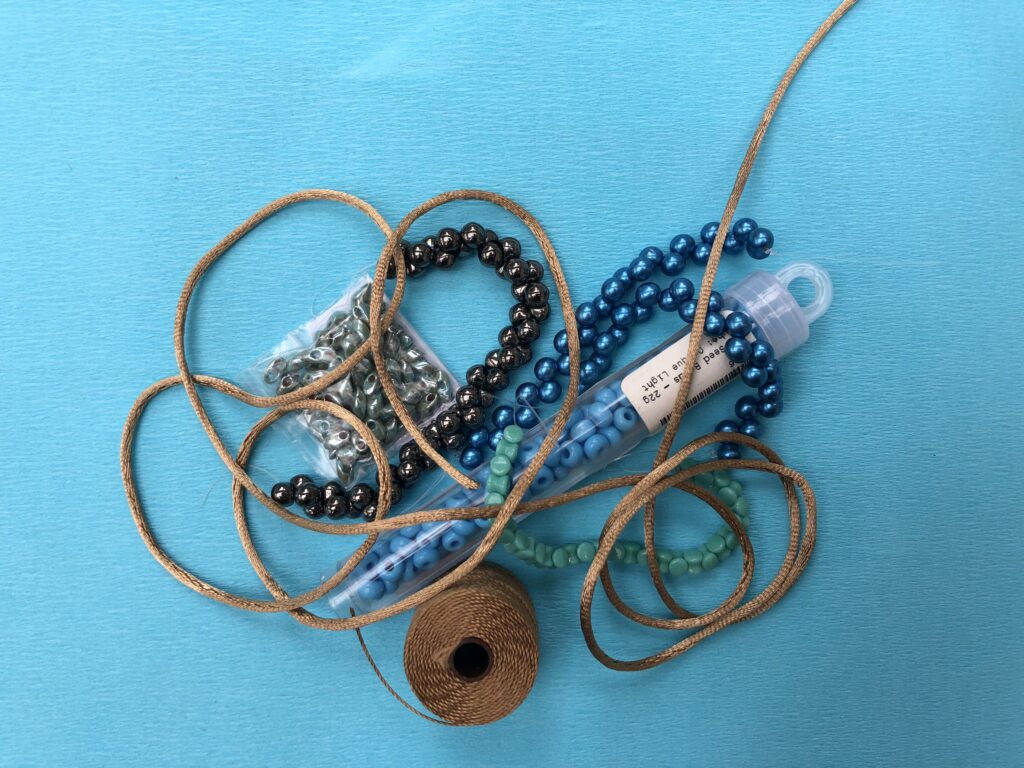
Materials – These are just approximate amounts to make all 4 bracelets. You might decide to make them all in the same colour/bead combinations or you might decide to make them all different. If you are not a bracelet person, you could make necklaces instead, which would require 2-2.5 times the bracelet quantities. If you use thinner cord you will need more beads because they will be more closely spaced. Look to see what you have in your stash and be ready to be flexible!
Cord – 10m (11 yards) 2mm satin cord and 12m (13 yards) beading cord (eg S-Lon 0.5mm/Tex210)
Beads – 250 size 8 seed beads, 150 larger beads approximately 4-6mm (eg long magatamas, 6mm top-drilled beads, 4mm gemstone rounds, 2/0 seed beads, pellet beads, 6mm mushroom beads, etc)
4 clasps, internal diameter 6mm
Skill level – Anyone who can make a basic braid on the Prumihimo disk. My aim is to make this enjoyable and informative for newbies and experienced braiders alike.
How it will work – Every Monday I will post instructions for a bracelet made on the Prumihimo disk and will give a link to a YouTube video for instructions for the technique. You will have one week to make the bracelet and post your work. Some people will probably want to stick close to the pattern I supply, while others will want to try something different. The designs will allow for lots of individual creativity, as well as the chance to use up items from your stash. It makes no difference if you are new to the Prumihimo disk or you have been using it for years, because it is all about joining in, sharing and having fun. We will all learn from this braid-along and I include myself in that. Seeing how different braiders make use of the same basic instructions will be so interesting and inspiring. Using up forgotten items from your stash will be so satisfying and cost effective. Seeing the progress made by other participants will perk up your mojo. What a great way to spend the summer and strengthen our braiding community.
What will I learn? – You will learn how to use beads on the Prumihimo disk using the single, double, triple and quadruple beading methods. These are the underlying techniques of all beaded designs on this disk. You will also learn how different beads can be used to achieve different effects. You will learn some great colour and bead combinations from your fellow braiders. These skills will allow you to experiment with your own designs with confidence. You will also gain the necessary skills to be able to attend my zoom workshops, which are all aimed at intermediate braiders. Most of all, if you didn’t know already, you will learn what fun it is to braid on the Prumihimo disk.
Can the braid-along be completed at any time? Yes it can, but the real fun is joining in when everyone else is at the same stage. The work-in-progress posts, the critique from me, the encouragement of other participants and the time frame are all part of the learning process and the enjoyment. After the 4 weeks of braid-along it will still be possible to work through the instructions on your own because the information will be transferred across to this website as a permanent record.
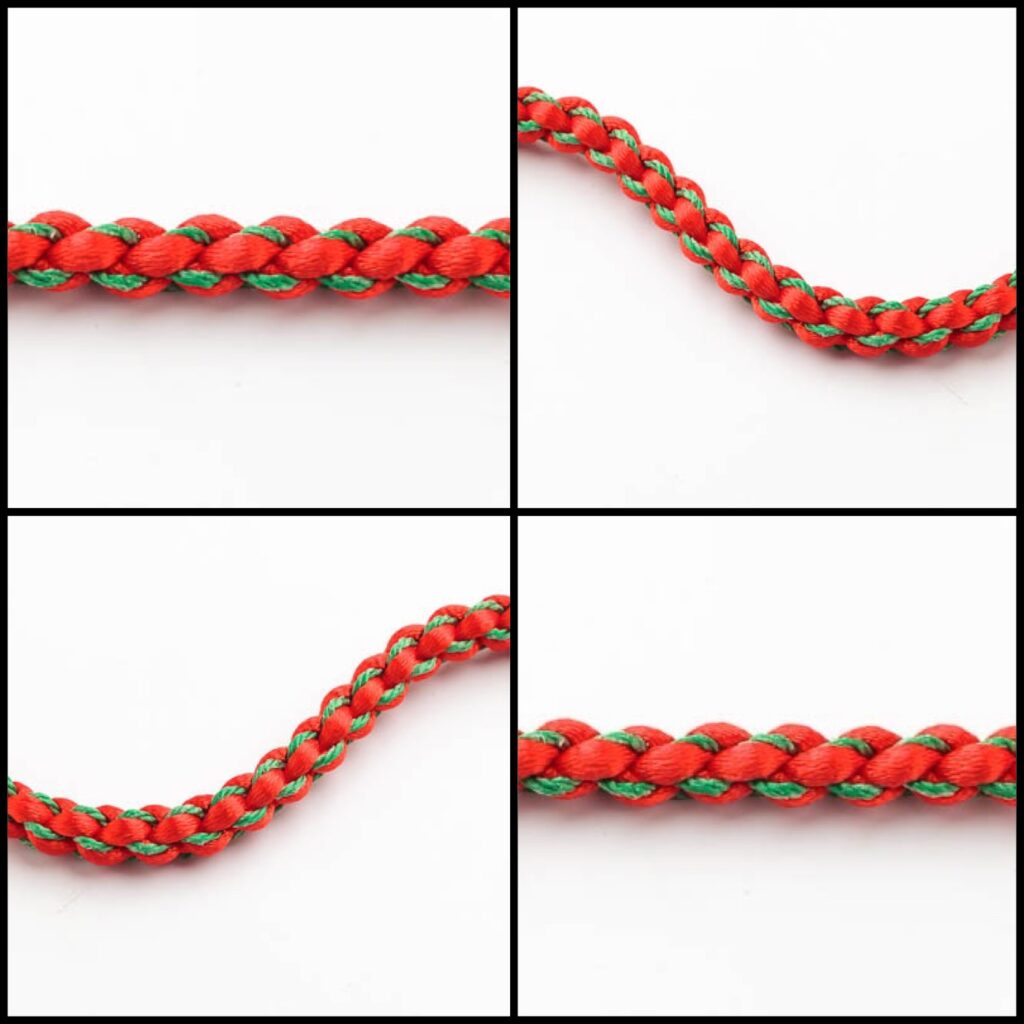
Preparation – Find your Prumihimo disk or order one if necessary. These are currently only available from the UK, so if you live in another country time to get one is now getting tight. If you order now it should arrive in time, but there is no guarantee! Gather your supplies. Practise the basic braid without beads on the Prumihimo disk. It is important to be able to carry out the braiding moves confidently and accurately. If there is a slight twist in your braid it is ok, but bumps, lumps and irregular stitches are not!
Where will I find the information? – I aim to post the information for each bracelet on Monday 12th July and on each Monday for the next 3 weeks. The posts will be found in the Kumihimo by Prumihimo and Friends Facebook group. Look out for the posts on a turquoise background and they will be tagged #braidalong2 to make them easy to find. The information will also be available in the blog posts on this website and once the braid-along has finished they will be transferred to the Resources section of this website.
Let the fun begin!
- Watch this video
- Gather your materials 4 x 60cm (24 inches) 2mm satin cord, 4 x 70cm (28 inches) beading cord 0.5mm/Tex210, 15-18 size 8 seed beads and 15-18 larger beads
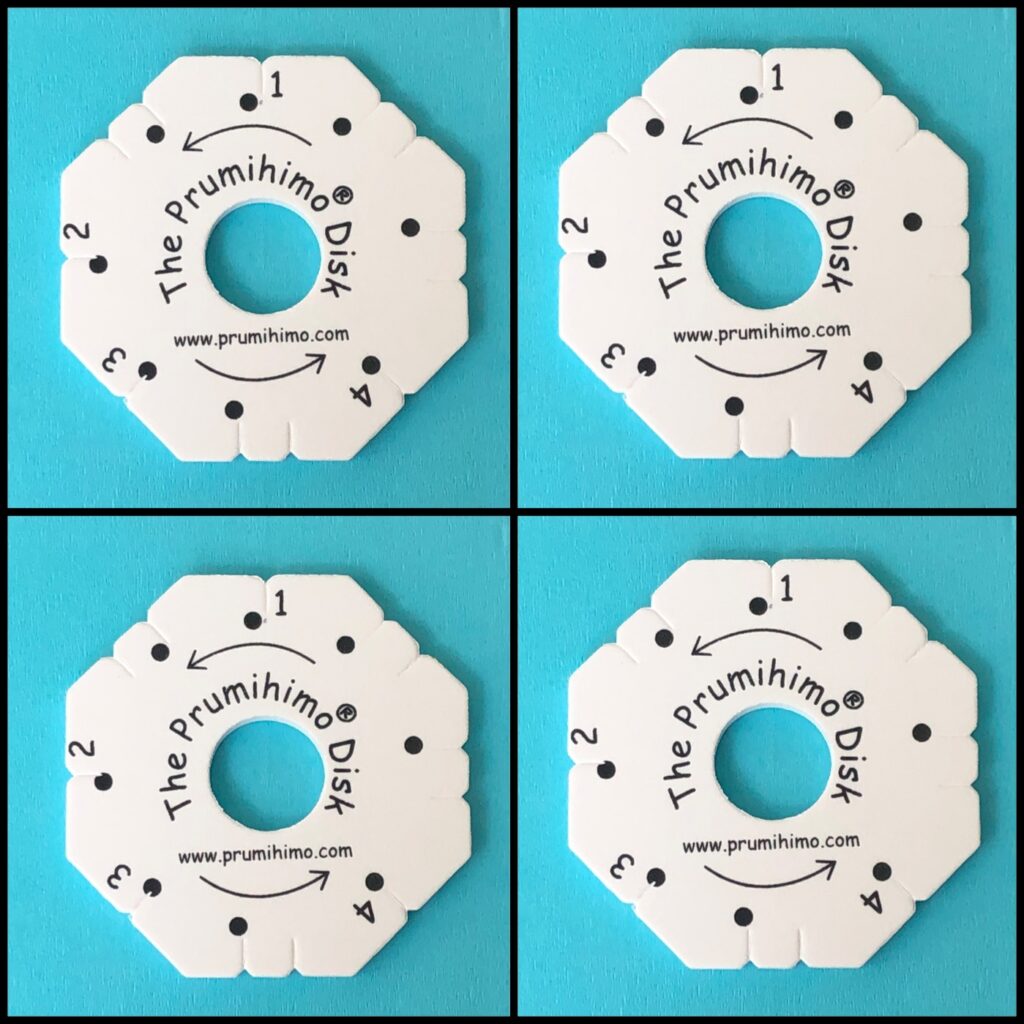
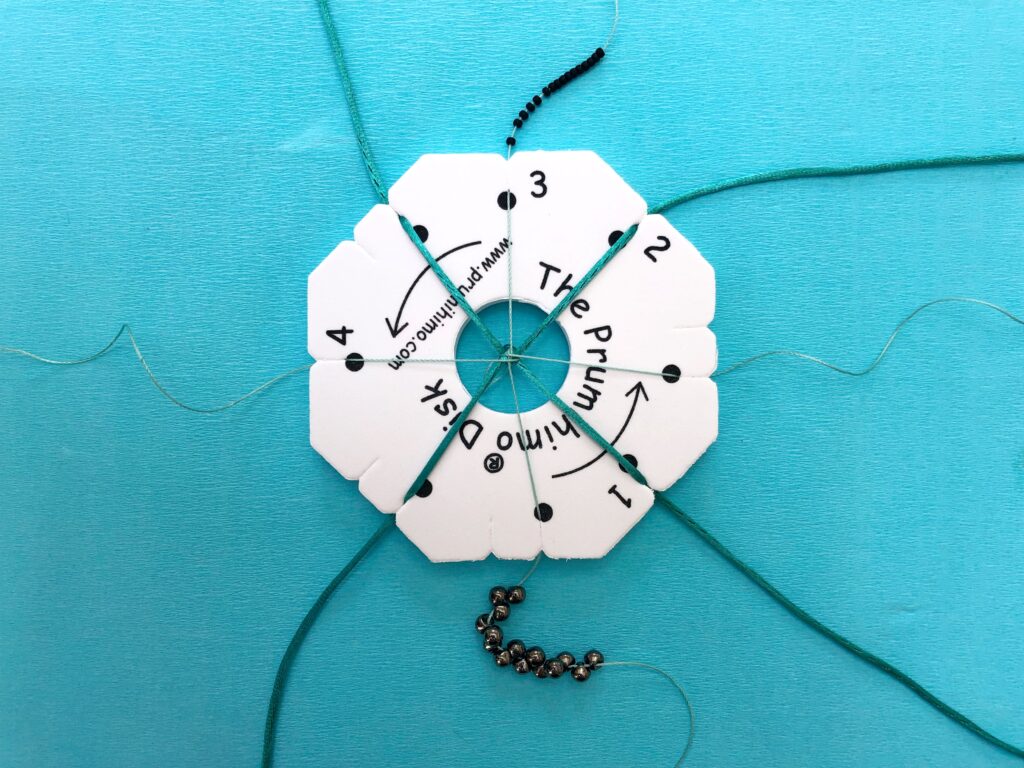
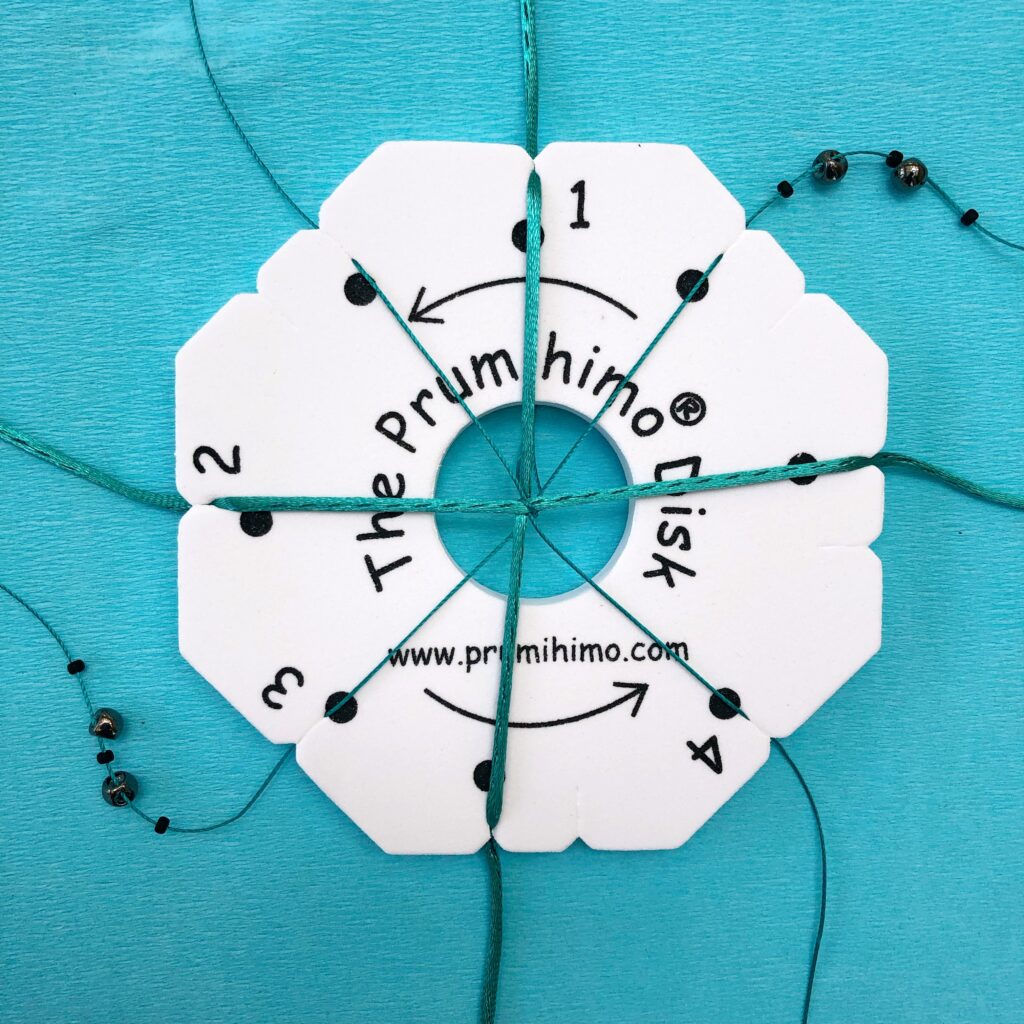
- Set up your disk. Tie all the cords together at one end and put the satin cord in the top and bottom slots with dots at numbers 1 and 2. Put the beading cord in the top and bottom slots with dots at numbers 3 and 4.
- Braid for approximately 2cm (1 inch)
- Thread 16-19 size 8 beads onto the top cord at 3. (You will start and end with a small bead, so one more than the large beads is required)
- Thread 15-18 larger beads onto the bottom cord at 3.
- Continue to braid, adding in a bead from the top cord at 3 in every sequence of moves.
- Check your braid. The beads should be forming in a straight line along the braid, alternating between small and large beads.
- Continue to braid until the length is correct for you, taking into account the length of the clasp and how much of the braid will be inside the clasp. Make sure you finish with a small bead. Every braid and every wrist is different, so it is never possible to give instructions for exactly how many beads to use. This part is up to you!
- Remove your braid from the disk. Knot the braid to prevent unravelling
- If your braid is slightly twisted you can straighten it using the steaming method. Click here to find instructions.
- Attach your clasp. If you need help attaching your clasp please watch this video.
- If you like what you have made, try making another one with different beads. If you were left with lots of unused cord you can adjust the cord lengths for the next one. The single beading method is particularly effective for necklaces, so perhaps you could try a matching necklace.
Trouble shooting
If your braid is moderately twisted you can flatten it by steaming it.
If your braid is knobbly, lumpy or kinky you need to return to practising the braid without beads. Watch this video. Make sure you are following the instructions correctly and practise until you can braid accurately and confidently. Then try again.
If your braid is floppy it is probably the result of using cord that is too soft or of using a disk with stretched slots. Try again with a firmer cord. Try using weighted bobbins or tape a couple of coins to regular bobbins to increase the tension.
If the braid is too long or short make sure you learn from it because this first braid will be used to get the sizing right for the next bracelets.
Many people in the group are very proficient and creative braiders on the Prumihimo disk and this relatively simple task may not seem to be of interest to them, but I really hope they will join in too. There is more to the braid-along than just learning the skills. It is also about having fun and encouraging others, while strengthening our braiding community. The contribution from those at different stages in their kumihimo adventure is what will make this braid-along a success.
Week 2
Now it is time to move on to Week 2 of our group braid-along and for this week we will concentrate on Double Beading, which is how two parallel rows of beads can be added into the braid. As before, I have filmed a quick video to demonstrate the technique and I recommend that this is watched first. Then the following bracelet instructions can be used to make a beautiful bracelet to match your first one and they can be worn very effectively as stacking bracelets. Perhaps you would like to try something different, based on what you have seen in the first week. It may be that someone else’s beads have reminded you of something in your stash, so why not give it a go? The instructions below are based on 2mm satin cord and beads no larger than 6mm. If your cord is thinner or your beads are larger, you may need to space out the beads more by braiding for one complete sequence of moves (sequence = all 3 moves at all 4 numbers) in between the bead sequences. If you would prefer to make a necklace you will need to multiply the quantities by 2-2.5 times. Perhaps you would like to make something else using the double beading technique, such as a key fob, a lariat, a bookmark or whatever your imagination comes up with.
Every braid is different, depending on the condition of the disk, the materials used and the tension of the braider. If you found that you were left with a lot of unused cord for the first bracelet you can make adjustments for the second one. You may also need to adjust the number of beads used. Keeping careful notes of your cord and bead consumption helps you to reduce waste and helps you to understand your own particular style of braiding.
- Watch this video
- Gather your materials – 4 x 60cm (24 inches) 2mm satin cord, 4 x 70cm (28 inches) beading cord 0.5mm/Tex210, approximately 32-38 size 8 seed beads and 30-36 larger beads
- Set up your disk. Tie all the cords together at one end and put the satin cord in the top and bottom slots with dots at numbers 1 and 2. Put the beading cord in the top and bottom slots with dots at numbers 3 and 4.
- Braid for approximately 2cm (1 inch)
- The beads are threaded in an alternating pattern of large and small beads on both the top and bottom cords at number 3. Thread on approximately 31-37 beads, starting and ending with a seed bead.
- Continue to braid, adding in a bead from both the top cord and the bottom cords at 3 in every sequence of moves.
- Check your braid. The beads should be forming in a straight line along 2 opposite sides of the braid, alternating between small and large beads.
- Continue to braid until the length is correct for you, taking into account the length of the clasp and how much of the braid will be inside the clasp. Make sure you finish with a small bead. Every braid and every wrist is different, so it is never possible to give instructions for exactly how many beads to use. This part is up to you!
- Remove your braid from the disk. Knot the braid to prevent unravelling
- If your braid is slightly twisted you can straighten it using the steaming method. Click here to find instructions.
- Attach your clasp. If you need help attaching your clasp please watch this video.
- If you like what you have made, try making another one with different beads. If you were left with lots of unused cord you can adjust the cord lengths for the next one.
Alternative bead layout
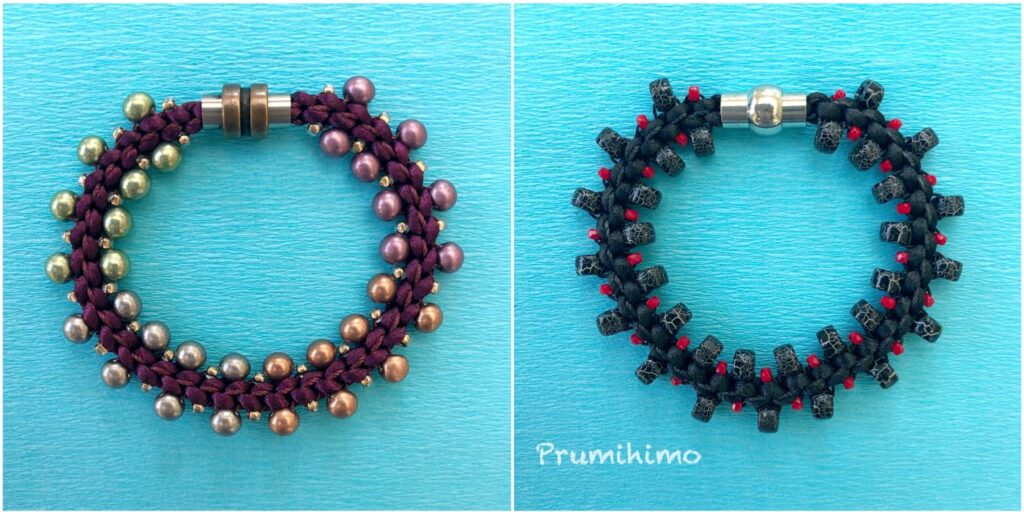
The bracelet on the left has been made following the instructions above. This positions the same type of bead directly opposite on the braid. The bracelet on the right has the same type of bead diagonally opposite. For this braid thread one type of bead on the top cord at 3 and the other type on the bottom cord at 3.
If you want to work out different bead placements remember that the cords swap positions in each sequence of moves, so that the top cord for one sequence will be the bottom cord for the next sequence.
Confused? Just load on a few beads of different colours, shapes or sizes and see what happens when you braid them. Keep a note of the effects you like and then try them for a full bracelet or necklace.
Have fun!
Week 3

Here are the instructions for week 3
- Watch this video.
- Set up your disk using the cord lengths that have worked for you in your previous braids.
- Thread beads onto the top and bottom cords at number 3
- For wide spaces between the beads thread beads only onto the top cord at number 4. For narrow spaces between the beads thread beads onto both cords at number 4.
- When you braid the cords at number 4 only drop in from the top cord. After a few sequences check your braid to make sure that you have beads on 3 sides of the braid.
- If your braid is slightly twisted you can straighten it using the steaming method. Click here to find instructions.
- Attach your clasp. If you need help attaching your clasp please watch this video.
- If you like what you have made, try making another one with different beads, different cords or with different spacing. If you were left with lots of unused cord you can adjust the cord lengths for the next one.