

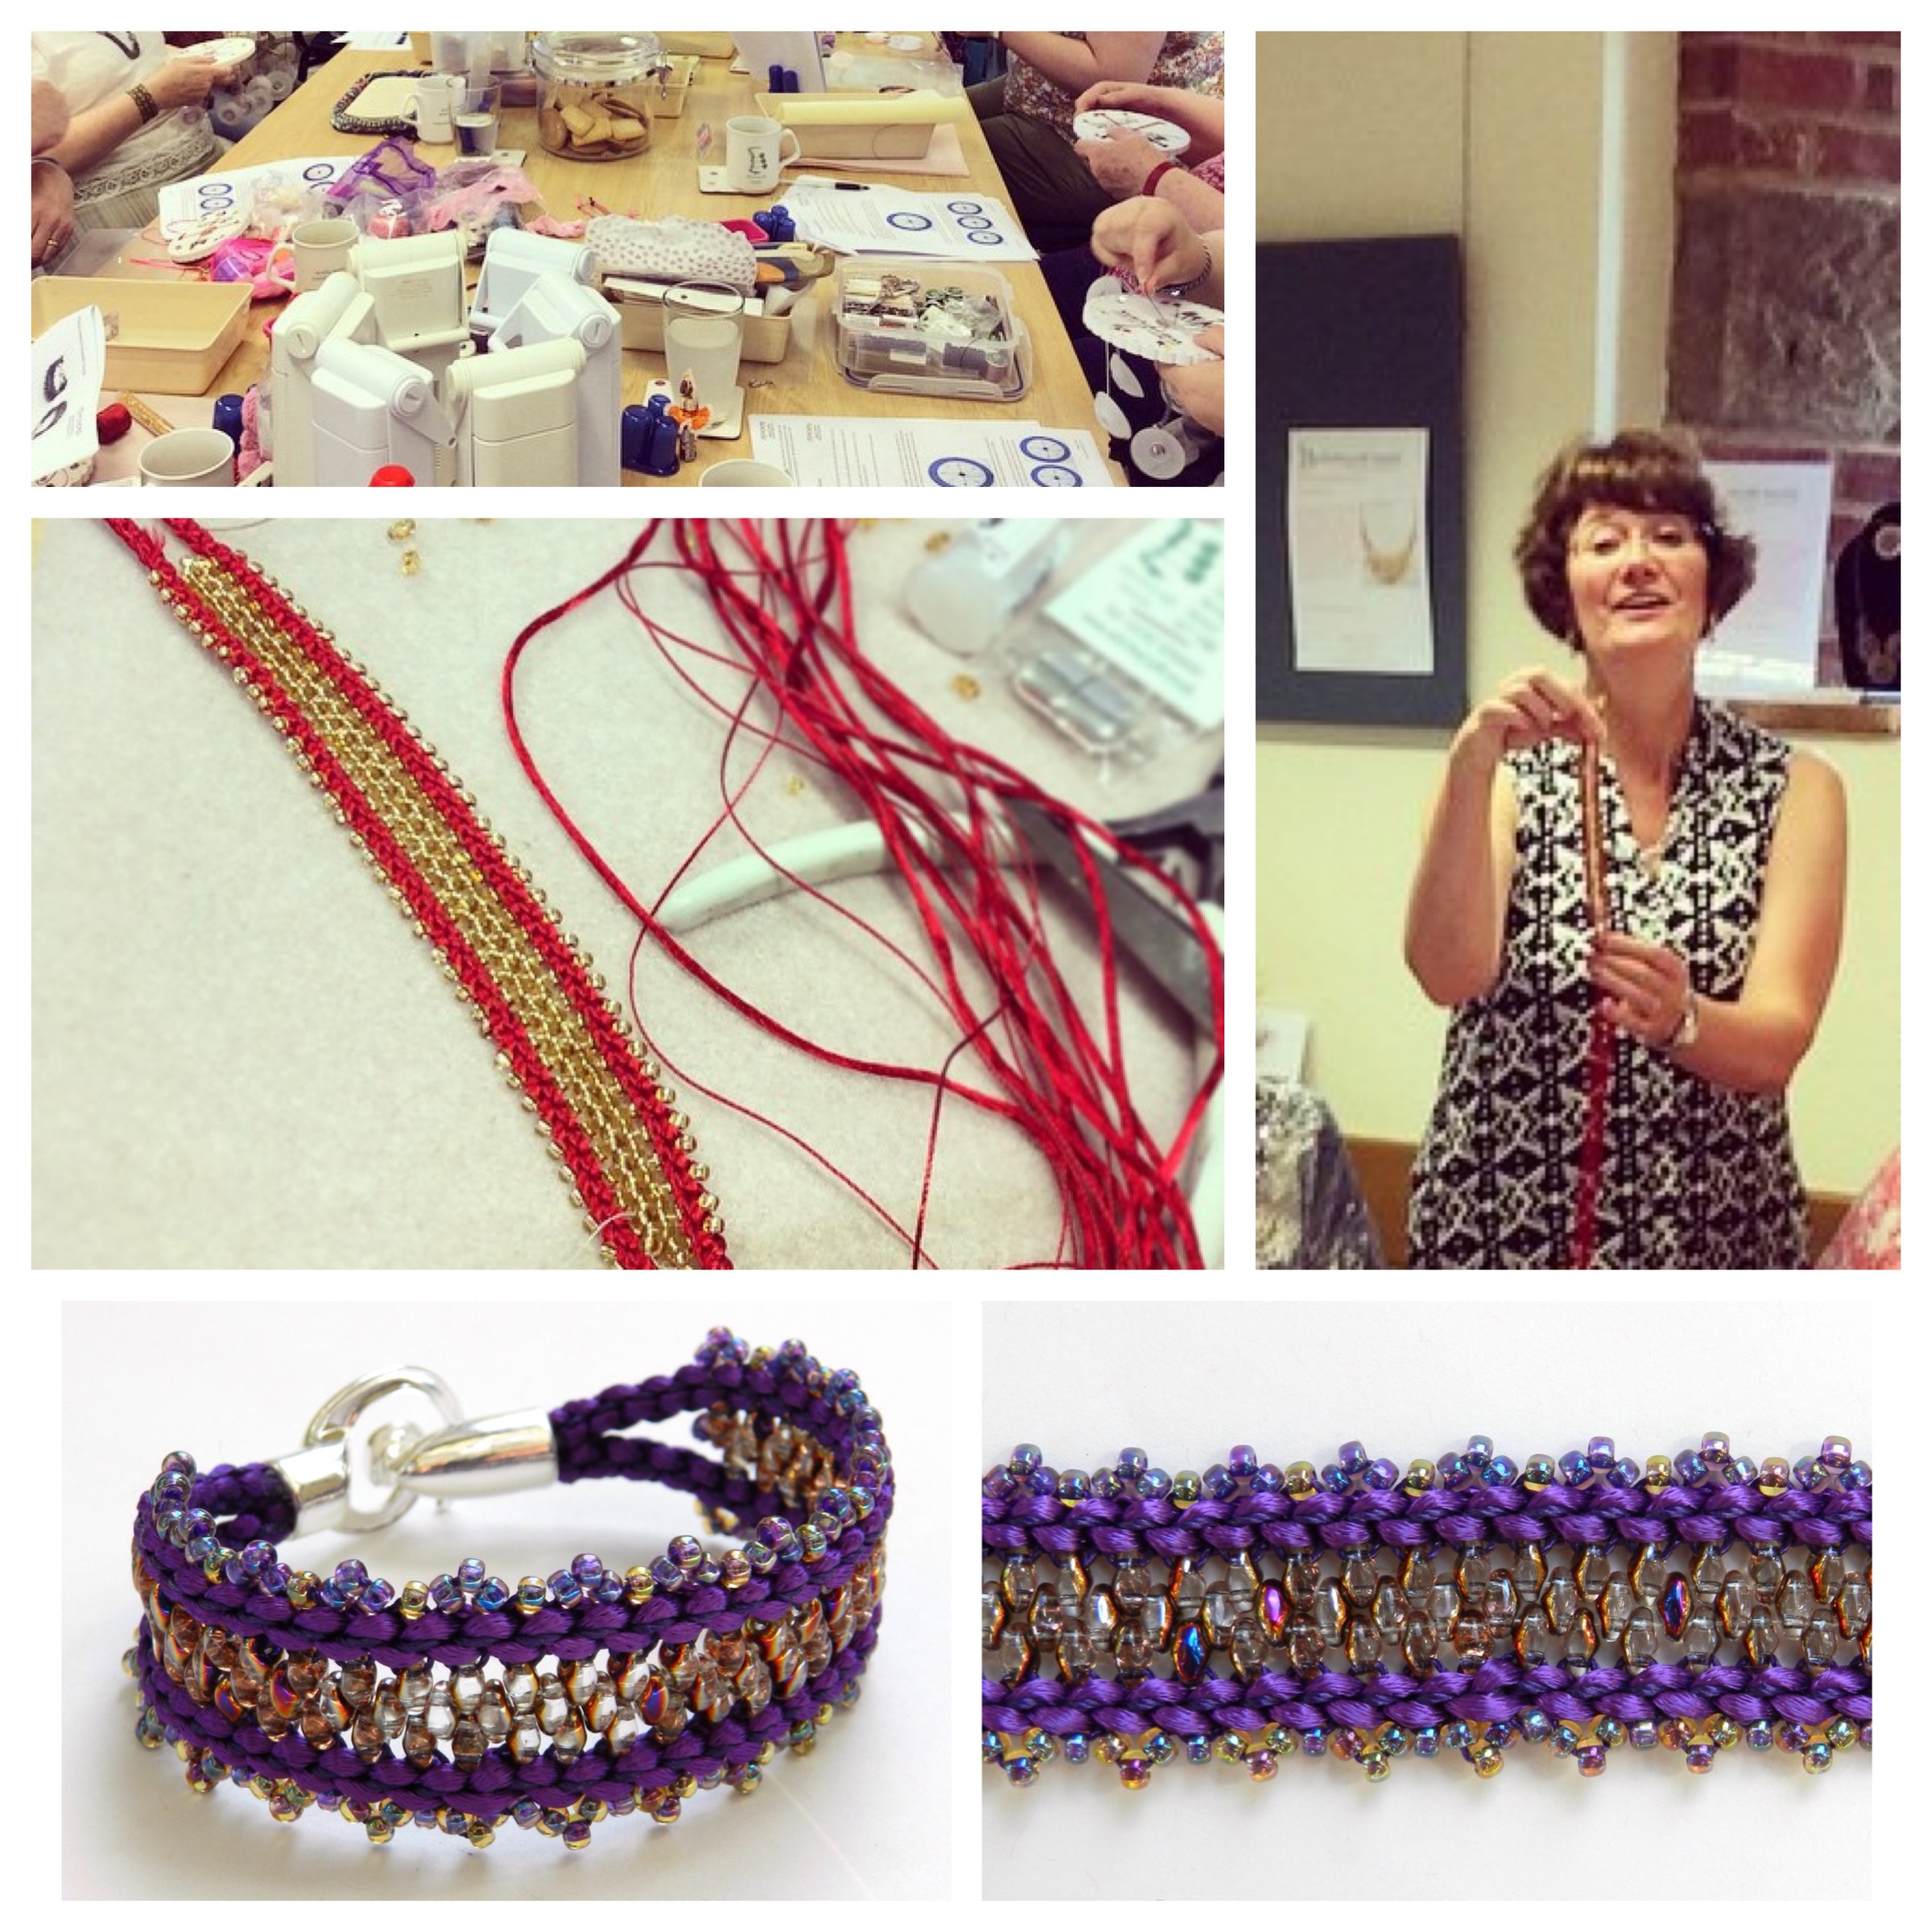
I had a most enjoyable day yesterday at Stitchncraft bead shop in Dorset instructing at a kumihimo workshop. It was an intermediate design and all the lovely ladies worked so hard. I was really delighted by the way they mastered a complex braid and learnt how to add beads. Seeing my design take shape with all their fabulous bead choices was great fun for me.
I thought it might be interesting to write about how a workshop is put together. Every beadshop has its own style of workshop and its own timetable. This is the story of how this particular workshop was developed.
Back in June 2014 Lynn Firth, owner of Stitchncraft bead shop, contacted me and asked if I would be interested in taking part in her workshop program. I was very flattered to be asked because Lynn has been running workshops for many years and is able to attract the most prestigious and experienced national and international tutors. As I had no experience at all I knew she was taking a bit of a risk, but I also knew that it was too good an opportunity to pass up. We discussed what she wanted and later that month I traveled down to the shop to meet Lynn and discuss the workshops. I brought with me a selection of designs which I felt could be appropriate. We agreed on a couple of bracelets for a beginners’ workshop, a variation of one of my kumi-cab necklaces and an early version of this bracelet. We also agreed on three dates.
My next job was to rework the designs to fit the requirements and restrictions of a workshop, while taking into account the fact that each design would need to be easy to photograph and look appealing in a small photo in both a printed booklet and the website. I also needed to ensure that the majority of the materials could be purchased from the shop and not cost too much. I felt that the original version of this design would benefit from additional embellishment and I changed the type of 2 hole bead used because I felt it created a neater effect. I made up the bracelet in pretty tones of purple, which I have found to be a very successful colour when advertising tutorials. The final designs and descriptions were submitted to Lynn at the end of August. The full workshop timetable was available for viewing from mid October and bookings were taken from the first week in November.
In the months before each workshop I made up a selection of samples. Some were sent to the shop to be used to advertise the workshop and others were kept to be used for photographs in the handouts. Making up a number of samples also gave me the opportunity to review the construction of the designs and make a few amendments. Then it was time to write the handouts. For this workshop I produced a 6 page A4 handout with lots of photos. The final part of the preparation was to make up a few step-by-step examples for demonstration purposes and to plan the structure of the day.
I was lucky enough to have a full class of enthusiastic braiders who were prepared to concentrate and work hard. I really enjoyed the workshop and they seemed to as well. This was an intermediate project and I was very pleased at the way they all picked up the techniques so well. One of the pleasures of instructing at a workshop is seeing the colour choices made by the participants and there was wide range of colours and finishes being used. This provides very useful feedback for me and helps me when I am planning future workshops.
The planning for next year’s workshops at Stitchncraft is already well under way. I have committed to 3 dates and I am currently working on the designs.
I believe that my final workshop for this year at Stitchncraft is fully booked, but it might be worth checking for cancellations. I recommend having a look at the workshop listings because there is such a variety of classes, covering all aspects of beading and jewellery making, and there may well be availability on some of them.