
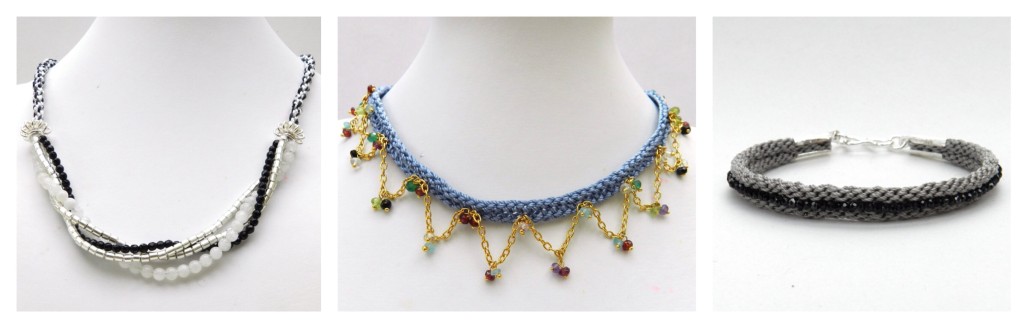
I am a little bit behind schedule this week because of all the excitement about the DVD last week and my preparations for my second workshop at the weekend, but finally here are the mini instructions for designs shown on the Jewellery Maker show last week.
I have no hand in deciding what is in the kits, beyond giving a few guidelines of what works well and what does not for kumihimo. So when the kits arrive it is with some trepidation that I open them up. Will the next few days be easy peasy or will I spend them wrestling with the impossible?! What is probably best for all is that the kit falls somewhere between those two extremes. It should play to my strengths, but also give me a challenge and the opportunity to develop a new technique or two. I would say that each of these three kits hit that mark and I learnt something from each of them.
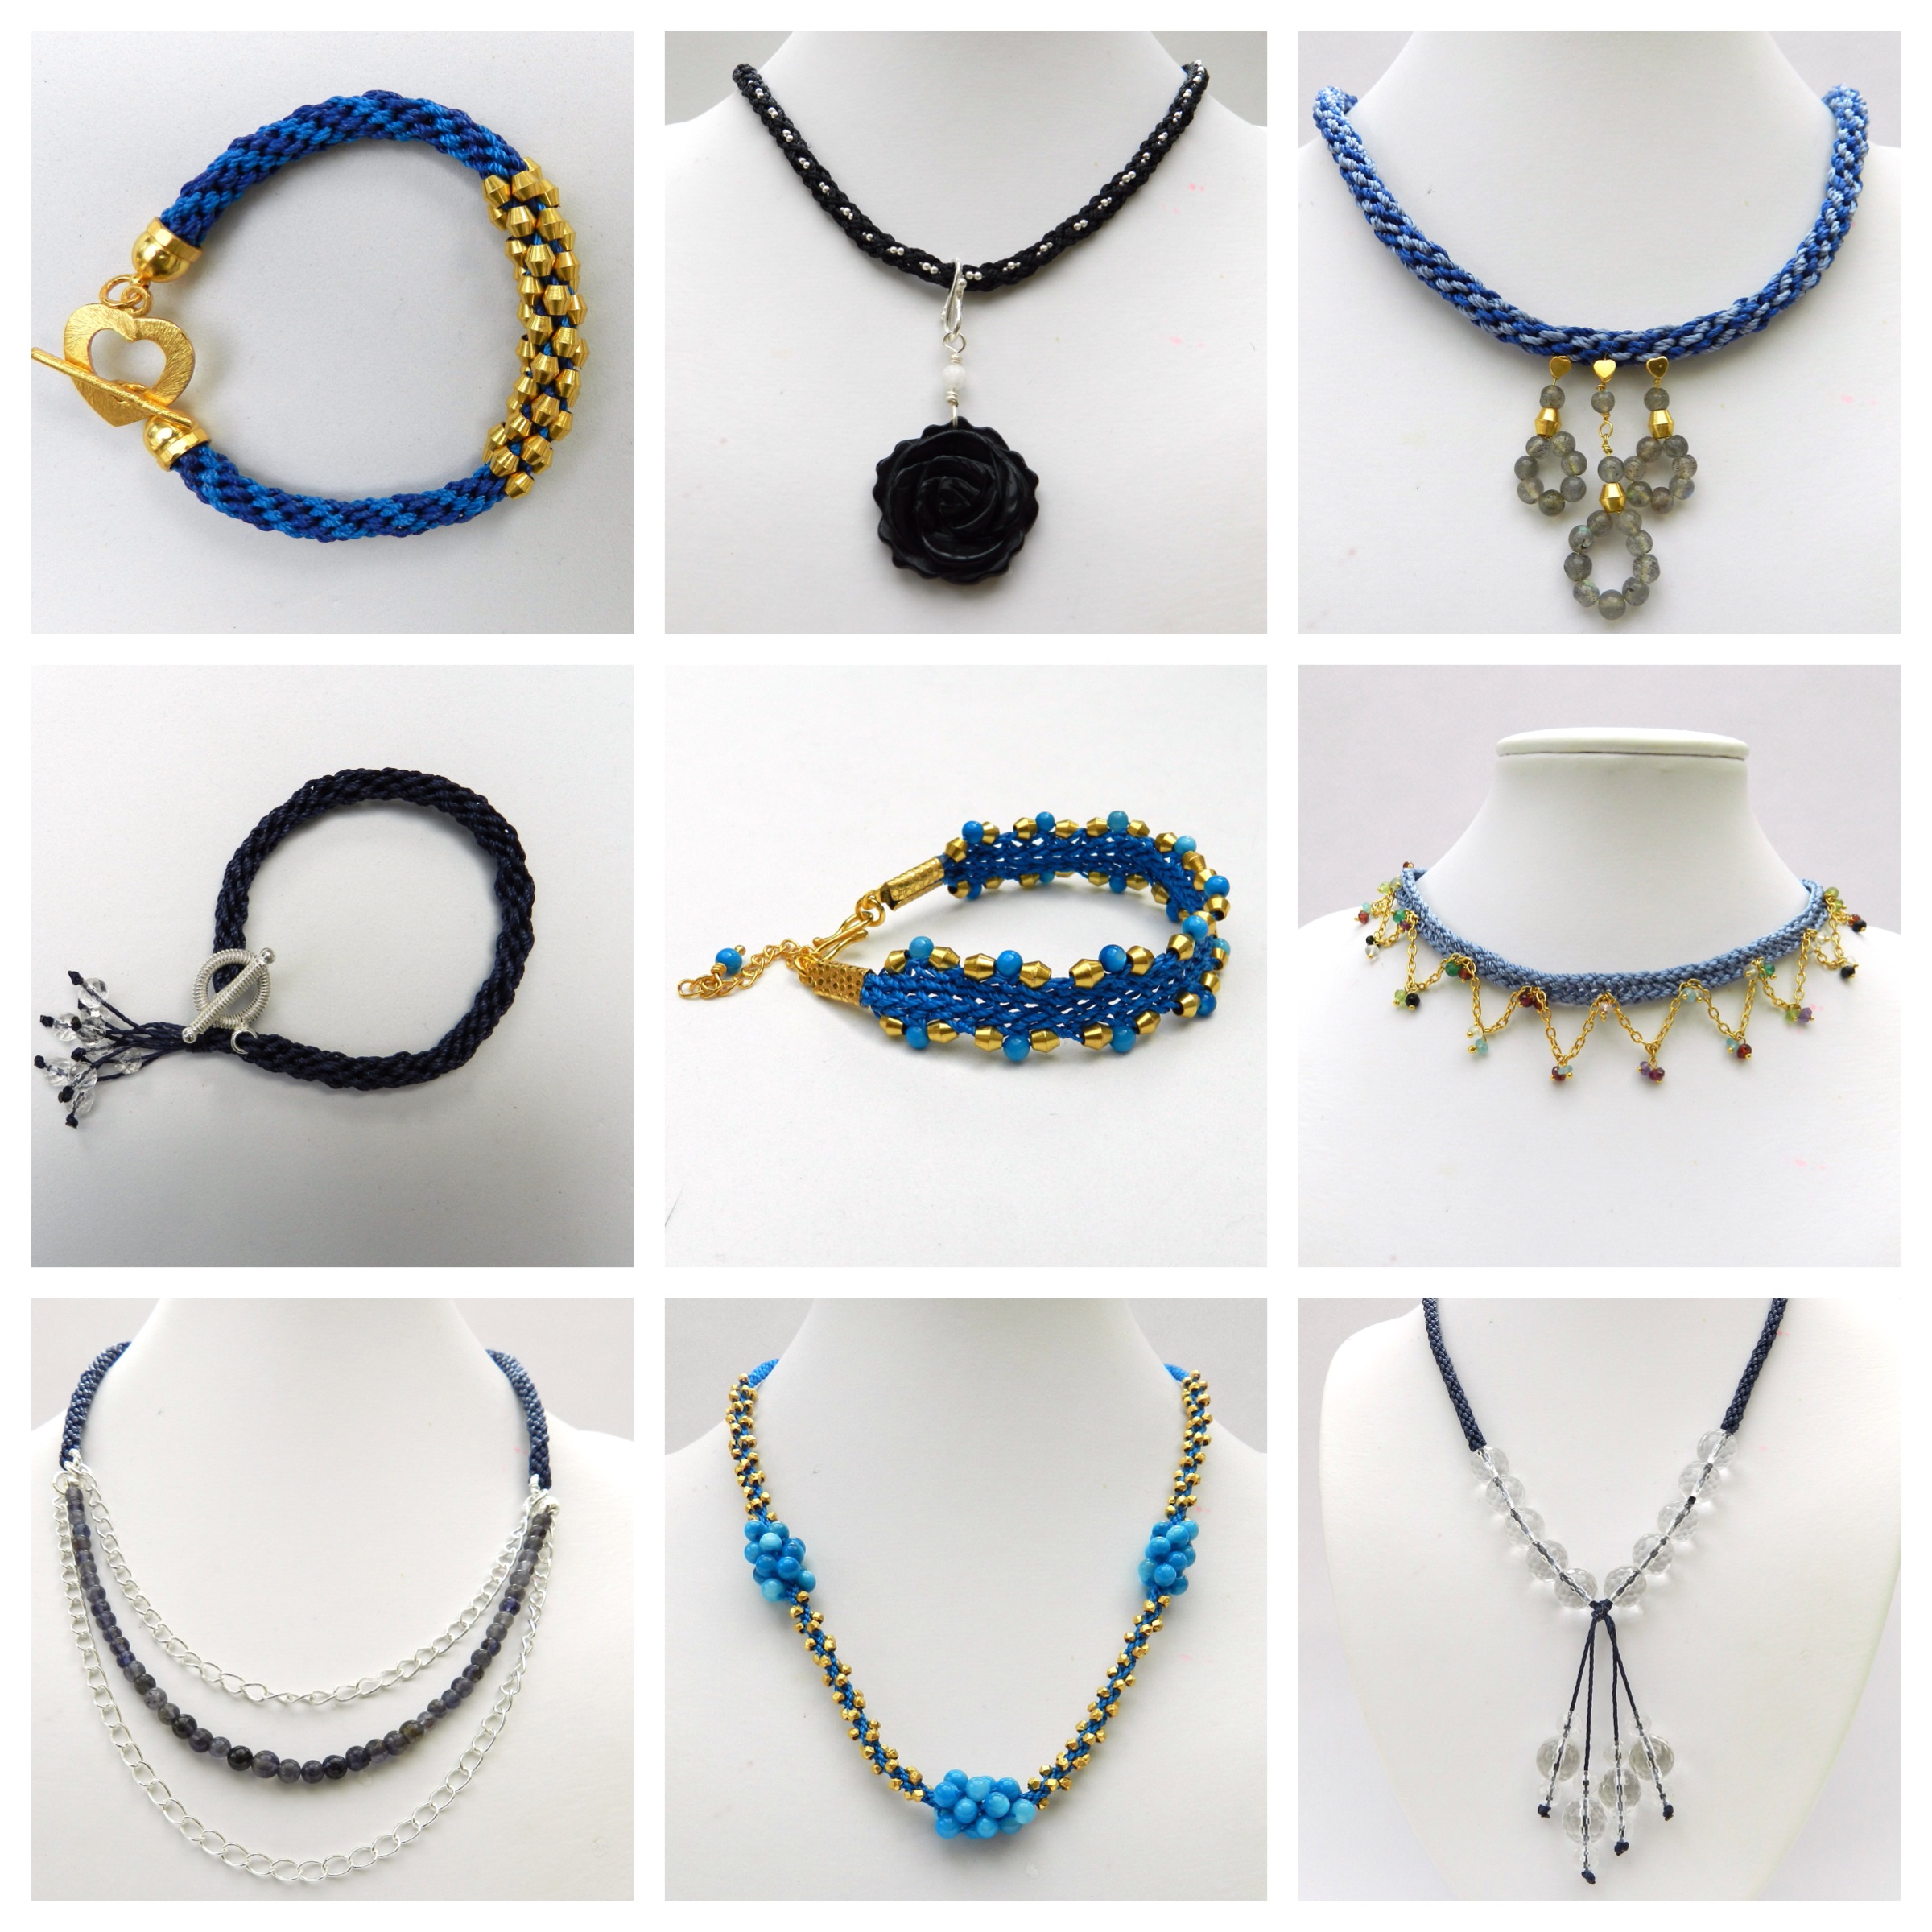
Gemstone Chain :

Delicate gemstone chain like this is so pretty on its own that it is not easy to find a way to enhance it! I decided to use the subtle grey cord as a backdrop and worked out a way of working it securely into the braid. This means that the chain is definitely the star of the show, but the design is far more substantial and more chain is visible than when it is used simply on its own. The method is explained here.
Ball Chain :

I have been meaning to try ball chain in kumihimo for ages, but I just hadn’t got round to it. I decided to try it with a Hollow Braid and the results surprised and pleased me. The semi-rigid ball chain flattened the Hollow Braid into a neat flat braid and I really liked the way the ball chain peeped out between the cords. This is a technique I am looking forward to exploring further. Click here to find the instructions.
Large Beads :
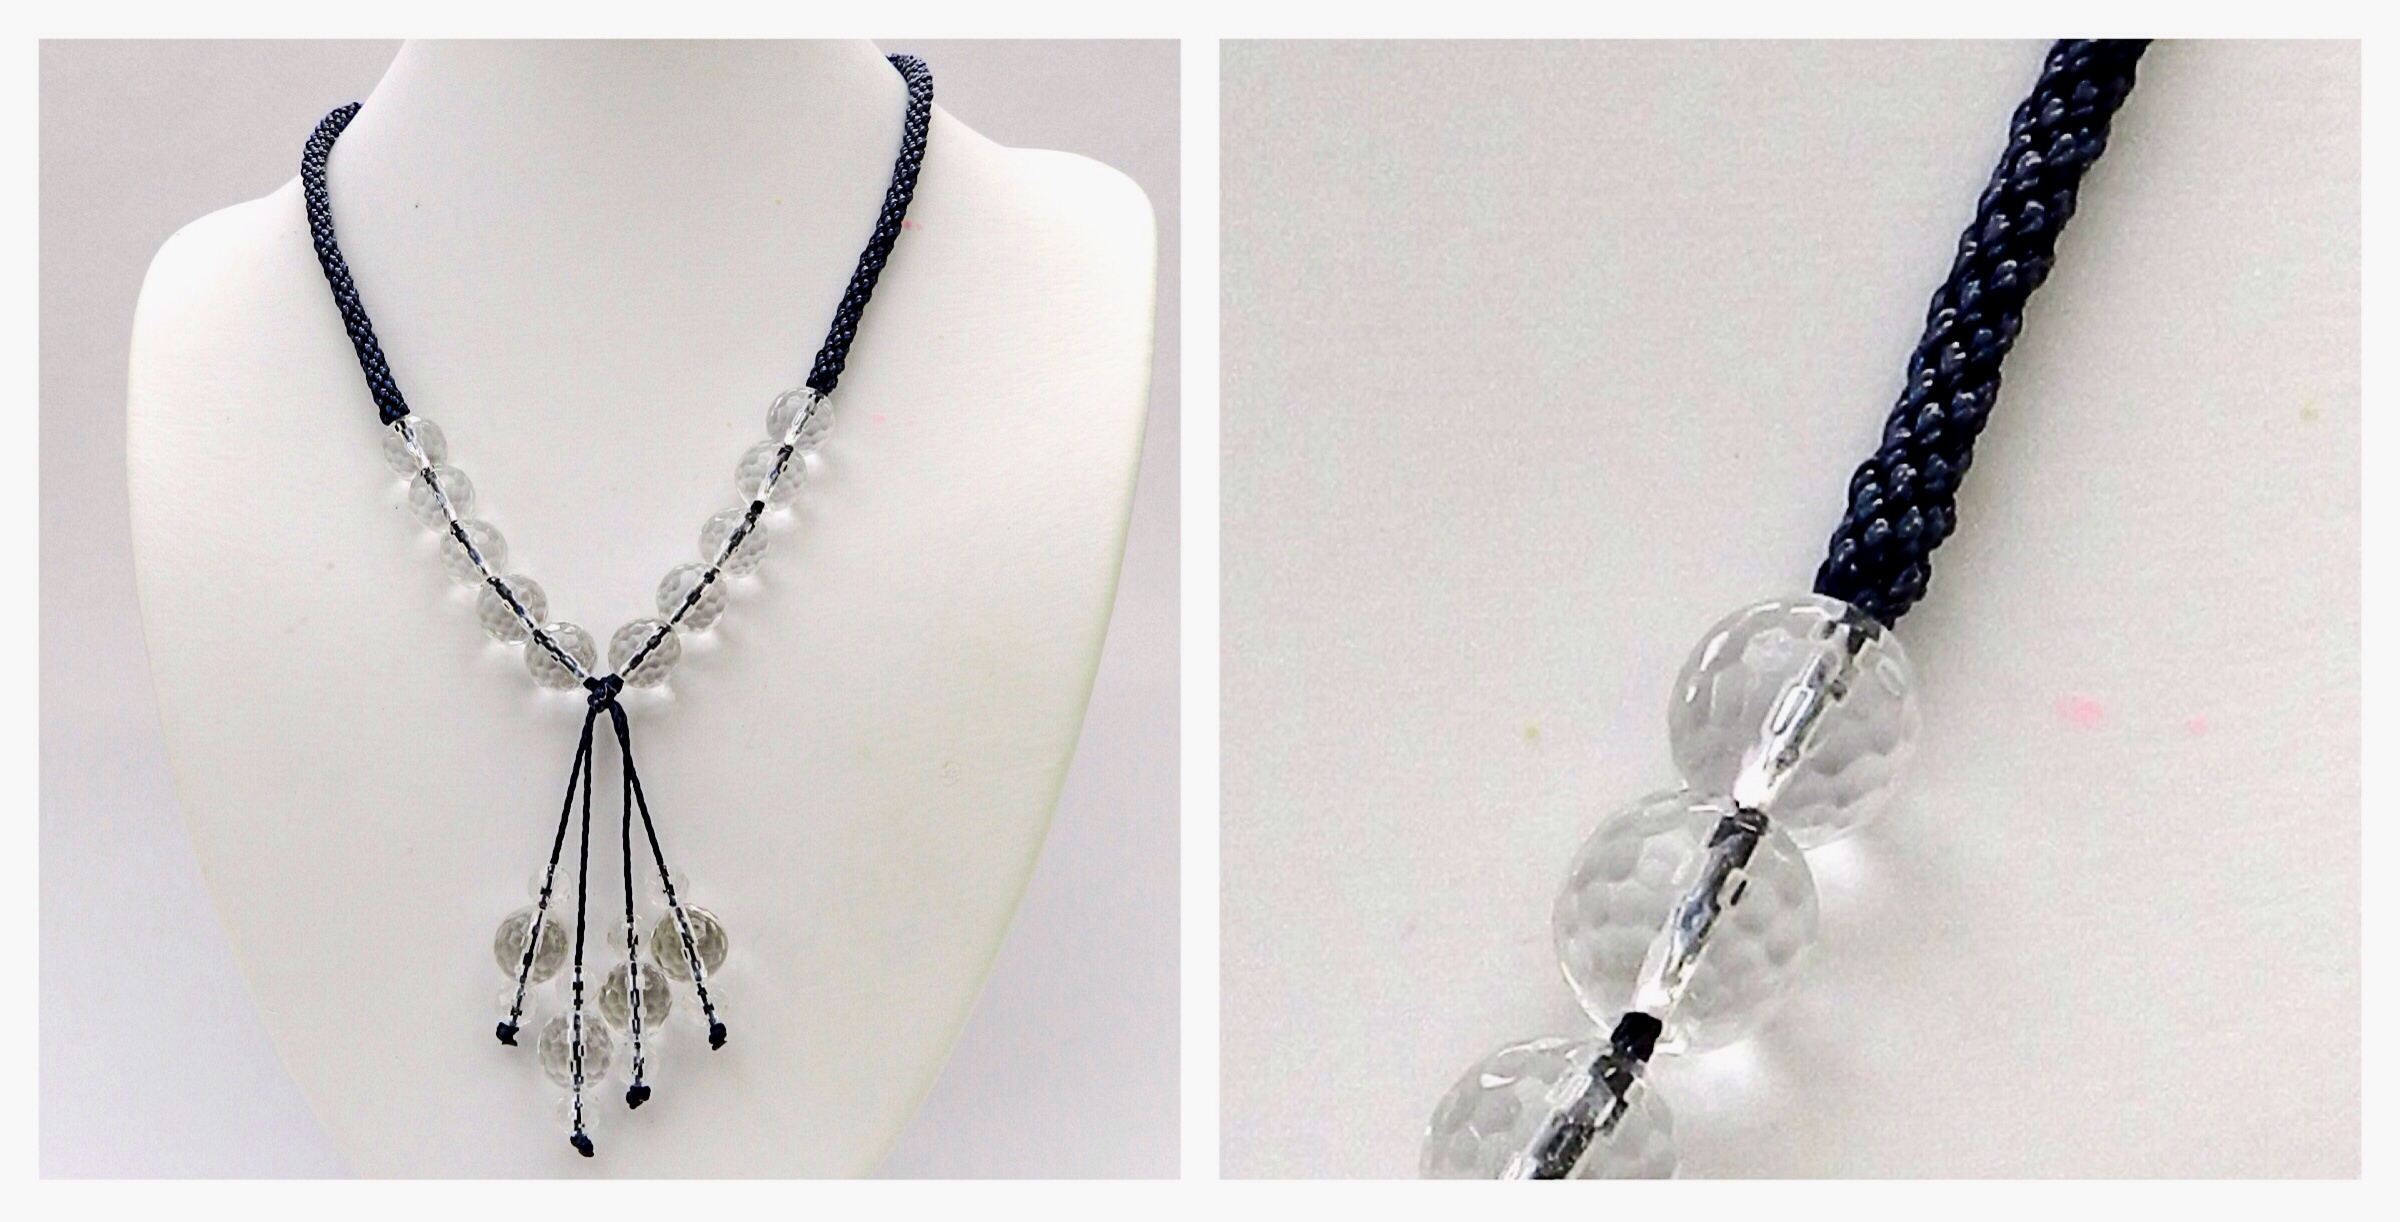
It is not easy to braid with beads larger than 6mm, but there are ways of incorporating them into the braided design. I wanted to make the beautiful 10mm faceted quartz rounds into the focal part of the necklace, but I needed to make a really neat connection between the bead and the braid. With a length of fine thread and a bit of tugging I achieved the effect I was hoping for. This is another technique which could have some very useful applications. To find out how to do it click here.
I have just receive the kit for my next show, on Tuesday 5th May. It looks fabulous, but there is a massive challenge waiting for me. My mind is buzzing with ideas, but I can already see that this one is going to be tough!