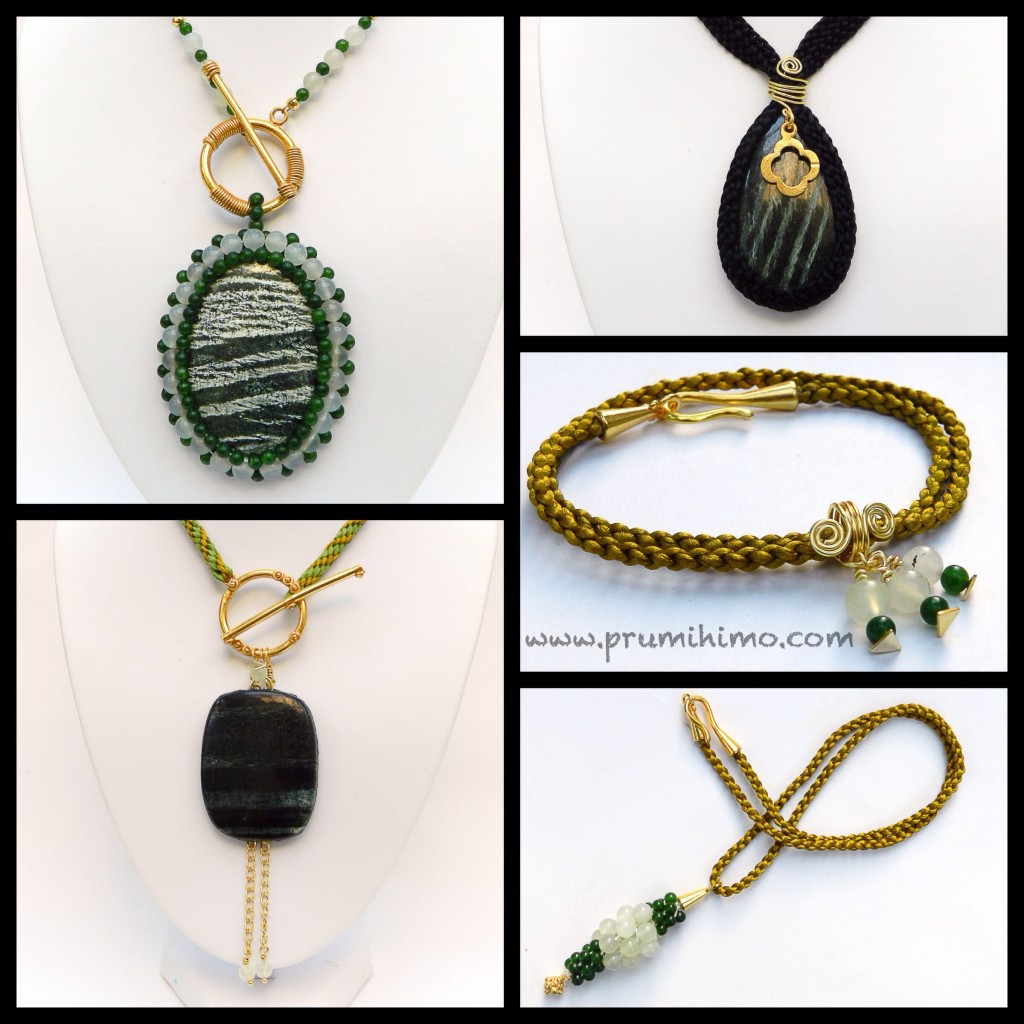
Huge cabochons and oversized clasps were the highlights of this kit. These designs can be made using a range of different braid structures and the designs can be made using any size or shape of cabochon. This was the second kit to be demonstrated in the show and comes about 2 hours after the start. To view the show click here.
I have written two very detailed tutorials for designs using cabochons with kumihimo, which can be found by clicking here and here.
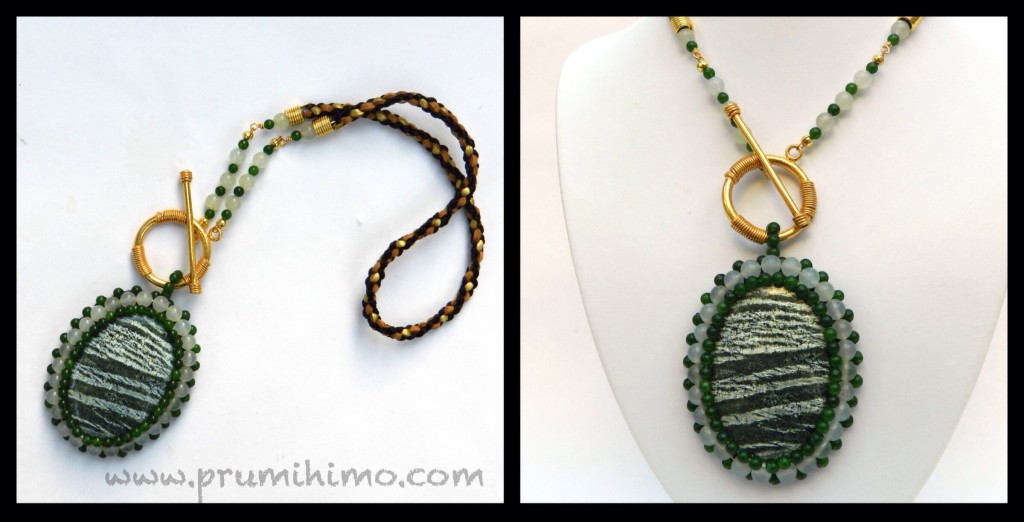
Embroidered Cabochon
This is the design which was demonstrated on the show.
The braid for this design is a 4 cord braid. Position the cords on either side of the north and south dots and then perform the following moves,
32 to 15, 16 to 32
1 to 18, 17 to 1
15 to 16, 18 to 17
Other braid structures such as Round Braid or Half Round Braid would also work well.
1. Stick the cabochon on a piece of beading foundation fabric or ultrasuede measuring 1cm larger all round than the cabochon.
2. Sew 6mm beads all around the cab, using backstitch. When all the beads are in position pass the thread through the beads 2-3 times more.
3 Sew 4mm beads around the cab, between the stone and the 6mm beads using backstitch. Pass through all the beads 2-3 times more.
4. Trim off the excess backing fabric close to the beads. Stick a piece of ultrasuede onto the back and trim off the excess.
5. Stitch 4mm beads around the outside, positioning them in between the 6mm beads. Make sure both layers of fabric are stitched through and extra stitches through the fabrics can be added between each bead.
6. Make a bail at the top of the cab by picking up 7-9 beads, passing through the ring of the clasp and sewing through the fabrics to create a ring. Pass through the beads several times more to make a really strong bail.
7. Attach the clasp to the braid with a connection made with a few beads on beading wire/thread, crimped at either end. Pass a decorative headpin through the end of the braid, add a coil of wire and a couple of beads, then make a wrapped loop to attach to the beaded section.
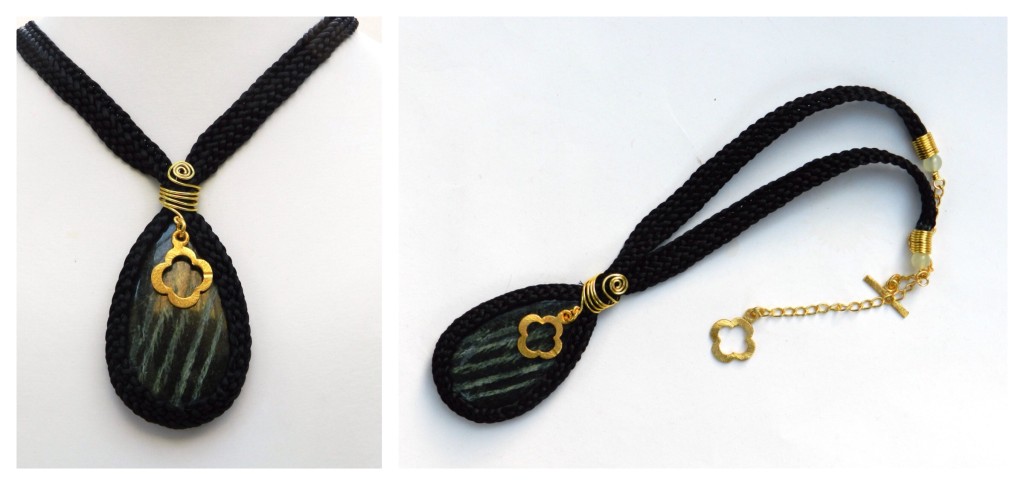
Braid Wrapped Cabochon
This design works particularly well with teardrop shaped cabochons.
1. Cut 10 x 1m satin cord. Use a square plate to make a 10 cord flat braid.
2. Stick the cabochon onto a piece of ultrasuede and trim to the exact size of the cab.
3. Wrap the braid around the cab and use pins to mark where the top of the cab should be on either side of the braid. Thread some strong thread or monofilament onto a needle and sew small running stitches along one edge of the braid between the two pins. Try to sew through gaps in the braid rather than piercing the satin cord. Repeat for the other edge.
4. Holding the cab in position, pull up on the ends of the threads to make the braid fit securely around the cab. Wrap the threads around the top of the braid and knot securely.
5. Cover the threads with a coil of wire and hang a charm or decorative clasp from the end of the coil.
6. Finish off the ends of the braid and add a clasp. Chain can be added to make a longer necklace.
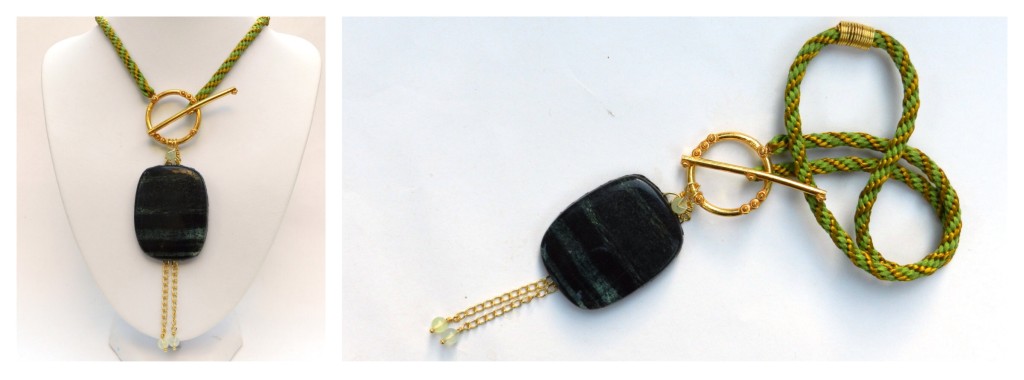
Cabochon with Dangles
1. Use strong glue to stick a loop of wire to the back of the cabochon and then glue a piece of ultra suede to the back. Trim the ultrasuede to the exact size of the cab.
2. Thread a bead onto a headpin and then pass the headpin through the loop on the cab and attach it to the ring of the clasp with a wrapped loop. Add two lengths of chain with beads attached to the bottom.
3. Cut 2 x 1m gold satin cord and 2 x 1m suedette thong. Thread them through the loop on the toggle and position them on the disk, with satin cord on either side of the north and south dots and thong on either side of the east and west dots. Round Braid to the end. Repeat for the other side.
4. Make a coil of wire measuring 1.5cm and slide it onto one side of the braid. Join the two braids together, either with glue or with wire. Move the coil over the join and secure it in place by bending the ends of the coil into the braid.
Pendant and Double Wrap Bracelet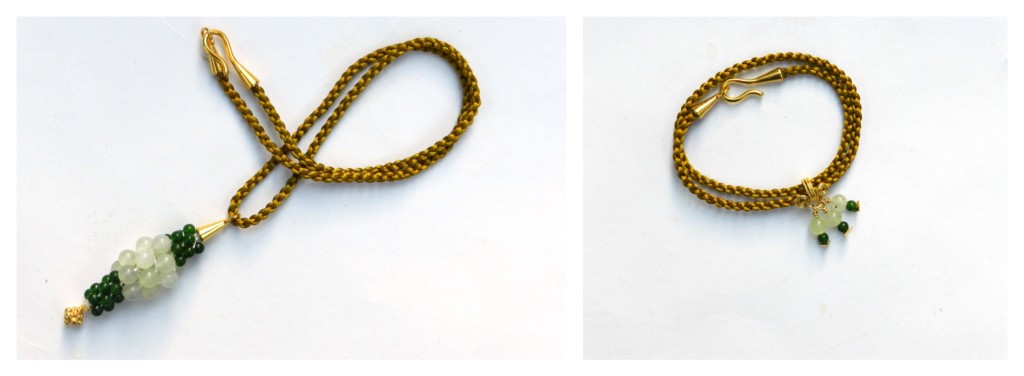
Both of these designs are made with satin cord using the instructions for 4 cord braid, which can be found above.

