
This is a really quick braid to learn and it also works up very swiftly. The great advantage of this braid is that it will accommodate beads of all different shapes and sizes more easily than the Round Braid made on the regular round disk. Having one less cord to thread with beads is also a time saver. The braid is a spiral contruction and it looks similar to Round Braid, with a slimmer width. The history of this braid has its origins in Europe, not Japan, so strictly speaking it is not kumihimo, but it is a very useful addition to your kumihimo skills and it requires no additional equipment.
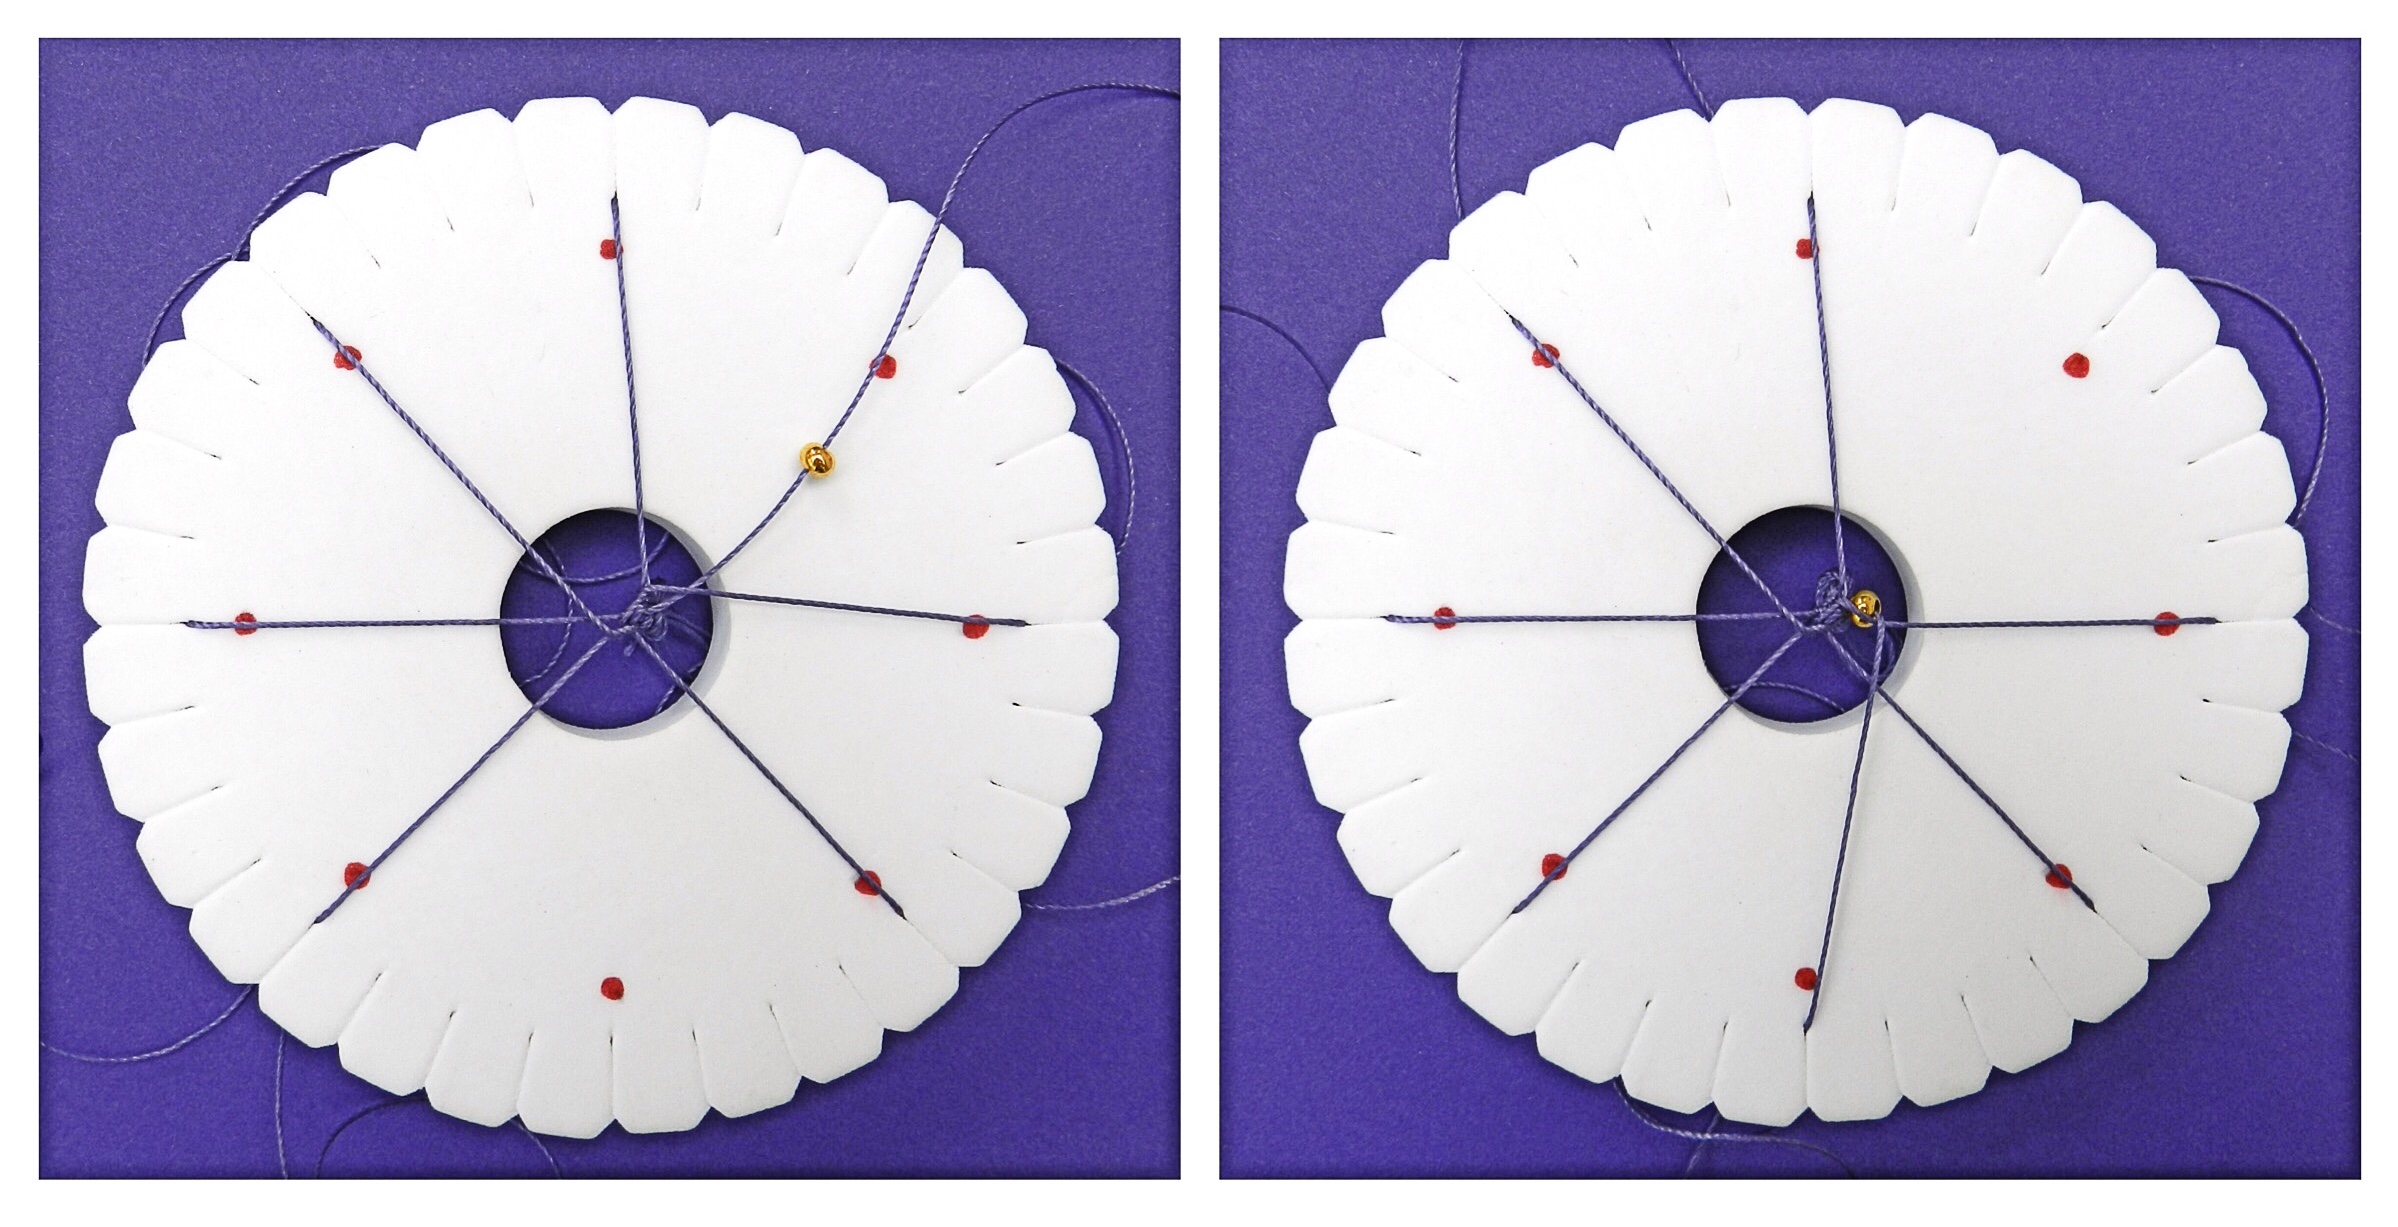
First of all mark up the reverse of the disk with eight equally spaced dots. This means that there should be a dot under every 4th slot.

Position 7 cords in the slots leaving one gap. Hold the disk so that the gap is at the bottom. Count to the third cord on the right. In order to get into the rhythm of the braid it may help to tap the disk on dot one and dot two, then pick up the third cord. Put the cord into the gap at the bottom. (This braid is sometimes known as ‘Fill the Gap’) Rotate the disk in a clockwise direction, so that the gap is once more at the bottom and again count to the right, picking up the third cord and placing it in the gap. Just repeat these movements until the braid is the correct length. Practise the braid in a peaceful environment, without interruptions and before you know it you will be performing the moves without needing to think about them at all.
It is easy to find your place with this cord if you need to put down your disk. Just position the gap at the bottom again and count to the third cord on the right.
To watch a video of me demonstrating this braid click here and fast forward to 1.32

Adding beads is really easy. When the cord is moved just slide a bead down to the point where the braid forms and tuck the bead under the cord being crossed, before placing the cord in the gap.
Beads can be used on all cords or just some of them.
These instructions are comfortable for right-handed braiders, but left-handed braiders may find it more comfortable to reverse the instructions. Count three cords to the left and turn the disk in an anti-clockwise direction.