
Length of video – 10.23 minutes
Explanation of the impact of different materials – 1.10 minutes
Number of beads required – 2.15 minutes
Demonstration starts – 4.35 minutes
Cord lengths – 5.oo minutes
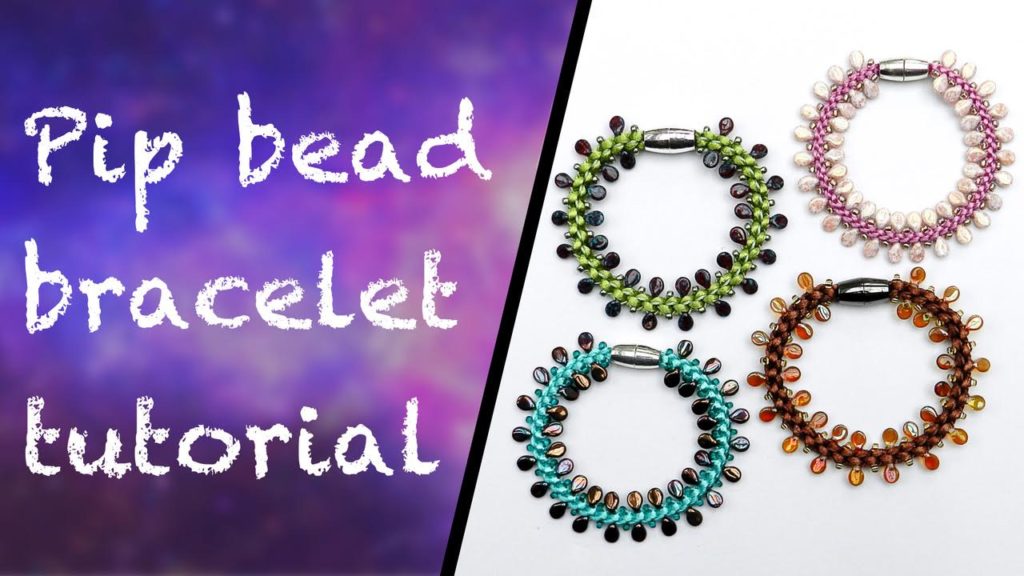
How to make a Pip bead kumihimo bracelet
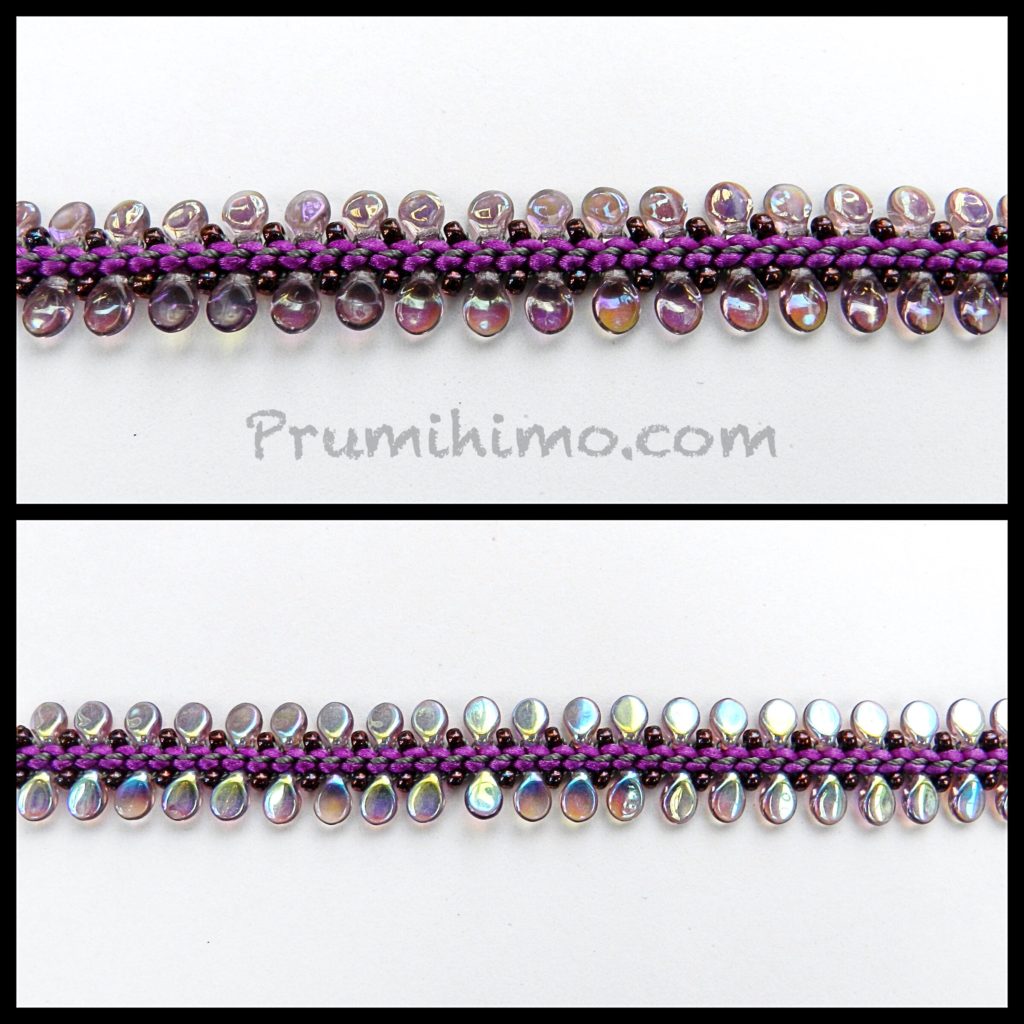
Here is a close up of the three bracelets made with different widths of cord.
From left to right, I used 1mm, 1.5mm and 2mm satin cord. The different widths affect the spacing of the beads and the number required. In my examples I used,
24 Pips on both the top and bottom cords at number 3, 48 Pips in total, for 1mm satin cord.
20 Pips on both the top and bottom cords at number 3, 40 Pips in total, for 1.5mm satin cord.
16 Pips on both the top and bottom cords at number 3, 32 Pips in total, for 2mm satin cord.
For the size 8 beads you need the same number plus 2.

All of these 3 bracelets use Pip beads which are the same on both sides, but there are some lovely Pips available which have different coatings or effects on each side. These can be used to make a double sided bracelet, but care must be taken to thread the beads to achieve this. The Pip beads used in the example below are clear amethyst on one side and have a golden/turquoise AB coating on the other.
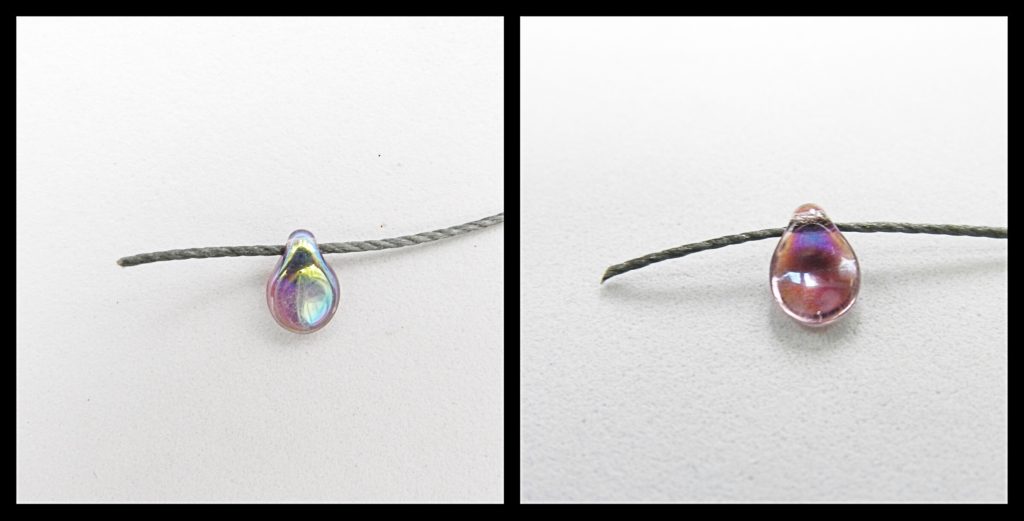
Most people have a preferred direction for threading, usually using the dominant hand to hold the cord and the non-dominant hand to hold the bead. So for example, I am right-handed, so I hold the bead in my left hand and use my right hand to pass the cord through the bead from right to left. It doesn’t matter which way round you thread the beads, but make sure you are consistent and do it the same way for both the top and bottom cords.
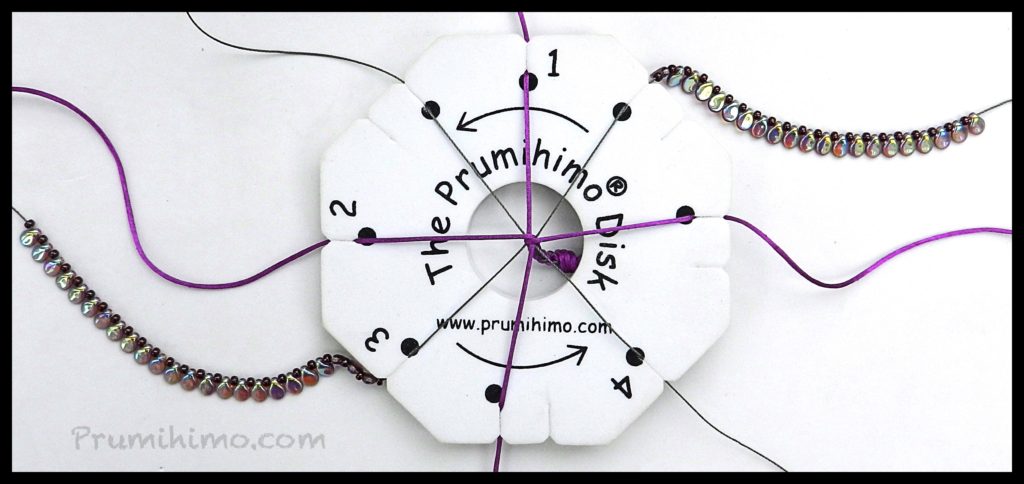
On the top cord at number 3 hold the bead with one colour facing you and thread the bead in your usual way. All the beads on this cord must be threaded with this colour facing you.
On the bottom cord at number 3 hold the bead with the other colour facing you and thread the bead in your ususal way. All the beads on this cord must be threaded in the same way.
Now check the disk. As in the photo, if you position all the beads so that the hole is at the top the same colour (which is the first colour you threaded) should be uppermost on both the top and bottom cords at number 3.
Braid for a couple of sequences and check that one colour is showing on one flat side of the braid and the other is on the reverse. If not, check the instructions and try again!

In these examples the top braid has been threaded as explained above, so that the braid is reversible. The bottom braid was threaded with the beads on the bottom cord at number 3 threaded in the same way as the top cord. This results in a braid with one colour on the top of the braid and the other on the bottom. This can work well with necklace designs.