Length – 11.02 minutes
Materials Required – 1.50 minutes
Demonstration of focal section – 3.05 minutes
Demonstration of starting to braid – 7.50 minutes
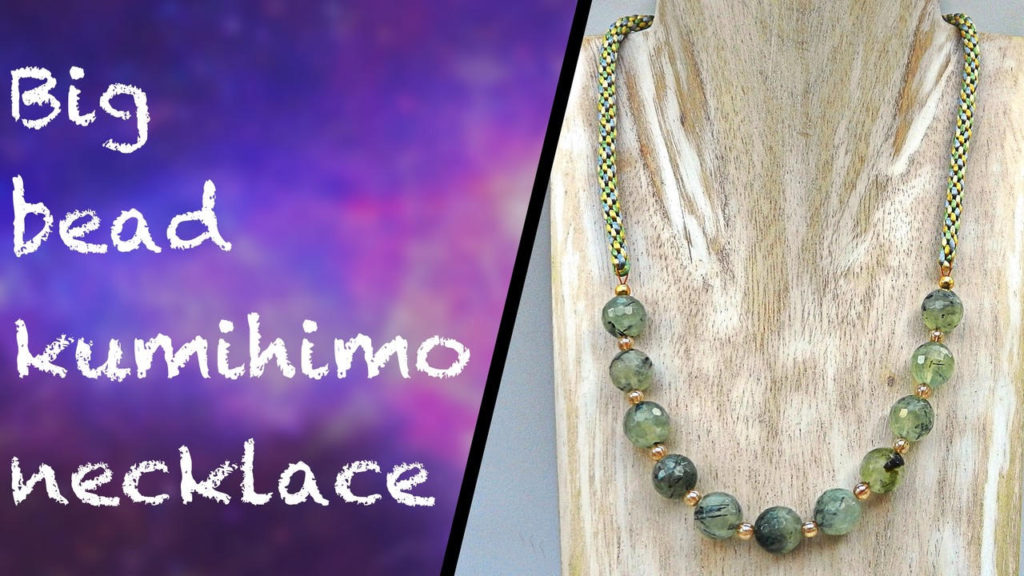
In this video I demonstrate a very useful method of attaching kumihimo to a strand of beads to make a particularly attractive and comfortable necklace. In the video I use satin cord/rattail with a 1mm diameter, but virtually any sort of cord can be used, including S-Lon, ribbon, knotting cord, knitting yarn and leather. Just make sure that the loops on the beaded section are made to the correct size to accommodate 4 strands of whatever cord you are using.
Equipment required – Set of pliers including wire cutters, round nose pliers and flat/chain nose pliers, crimping pliers, round kumihimo disk,
Materials required – 8m cord, 75cm flexible beading wire (tiger tail), clasp, 2 crimps, 2 crimp covers and a selection of beads and spacers.
This is a close-up of the join.

This design is very flexible and can be used for beads of so many different shapes and sizes.

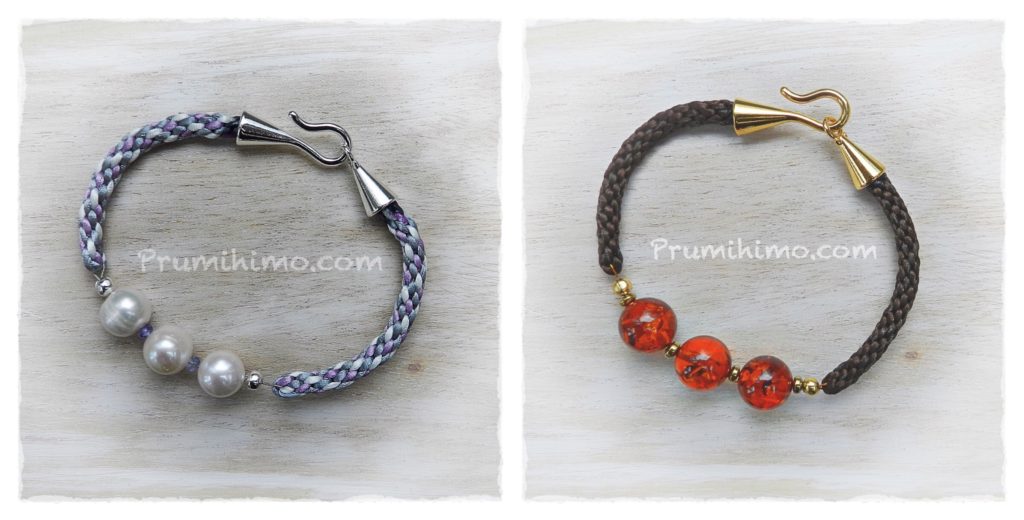
It can also be adapted to make bracelets.

The video shows how to make the focal section and how to attach the braiding, but it does not show how to finish off the necklace with a clasp because I have two other videos showing how to finish off.
