
This is a fun tutorial to teach how to use letter beads with the Prumihimo Disk. It is a great technique which can be used for personalised bracelets, promotional items or decorations.

The best type of bead to use has the hole running horizontally across the letter, so that the orientation of the letters is correct to be read along the braid. Different widths of satin cord can be used. The thinner cords, such as 1mm, will result in narrower spacing between the beads and wider cords, such as 2mm, will result in wider spacing. The choice of cord size and the length of the word will determine the precise number of beads required, so these instructions are guidelines, which will need to be adapted for different braids. Some trial and error may be necessary to get the length of the first braid just right. Keep careful notes of what worked and adjust for subsequent braids.
Before trying these instructions make sure you have mastered the braid structure and have learnt how to add beads, so that you are able to make a simple braid with beads on 2 sides, as in the free bracelet tutorial.
Letter Bracelet
(The braid shown is just for illustration. It is longer than you would need for a bracelet)
2.4m satin cord, 1-2mm (Tex 210)
2.8m S-Lon beading cord, 0.5mm
Seed Beads, size 8
Letter Beads, they ususally have to be bought as a mixed bag, so expect wastage!
Glue-in clasp

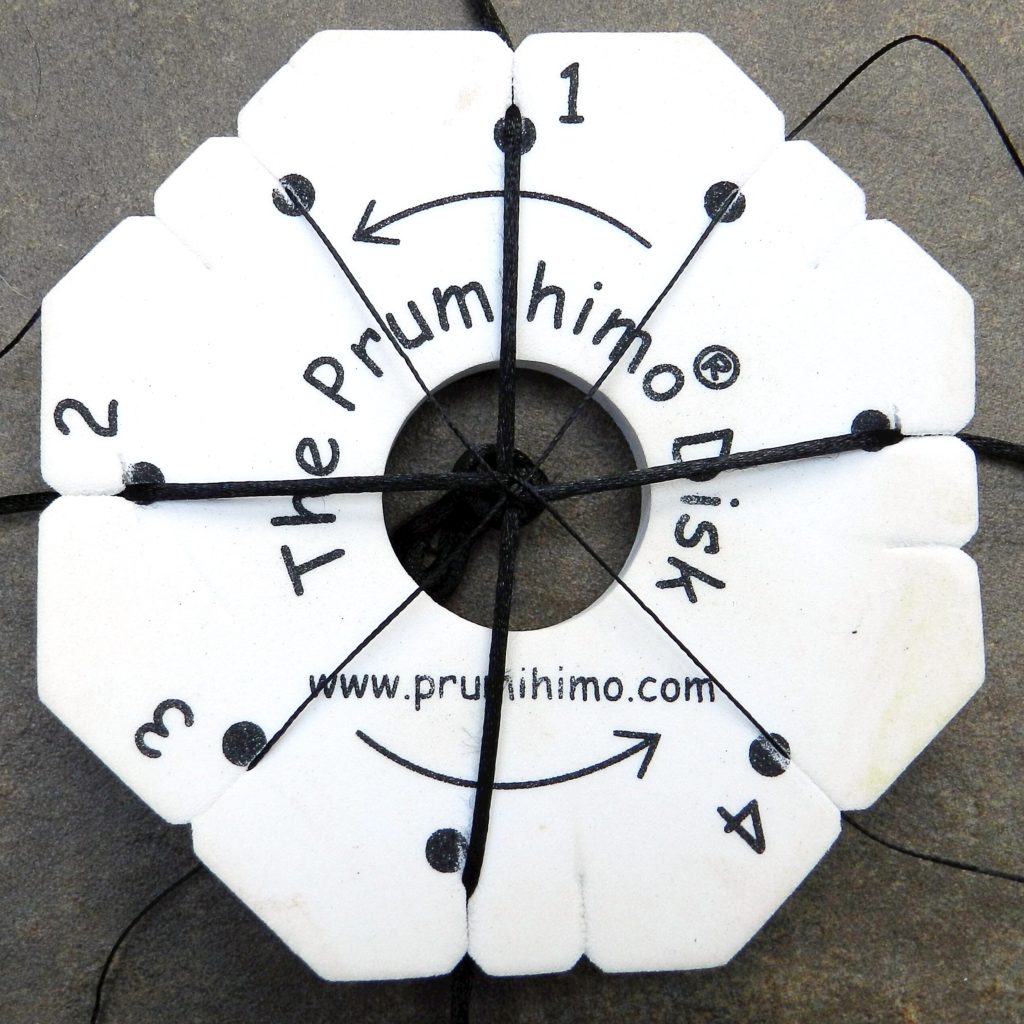
- Cut the satin cord and the S-Lon into 4 equal lengths each. Tie all the cords together at one end in an overhand knot and position the cords on the Prumihimo disk with the satin cords in the top and bottom slots with dots at numbers 1 and 2 and the S-Lon in the top and bottom slots with dots at numbers 3 and 4.
- Braid for 2cm without beads, using the Prumihimo Disk braiding instructions
- Thread the seed beads onto the top and bottom cords at number 3. Approximately 28-38 beads will be required on each cord, but this will vary according to the width of cord used. Thread the letters onto the top cord at number 4. To thread the beads in the correct direction, hold each bead with the letter the correct way up and pass the cord through the hole from left to right. It is a good idea to thread just one bead first and when you have added it into the braid and are happy that you have got the threading right you can thread on the rest of the beads.
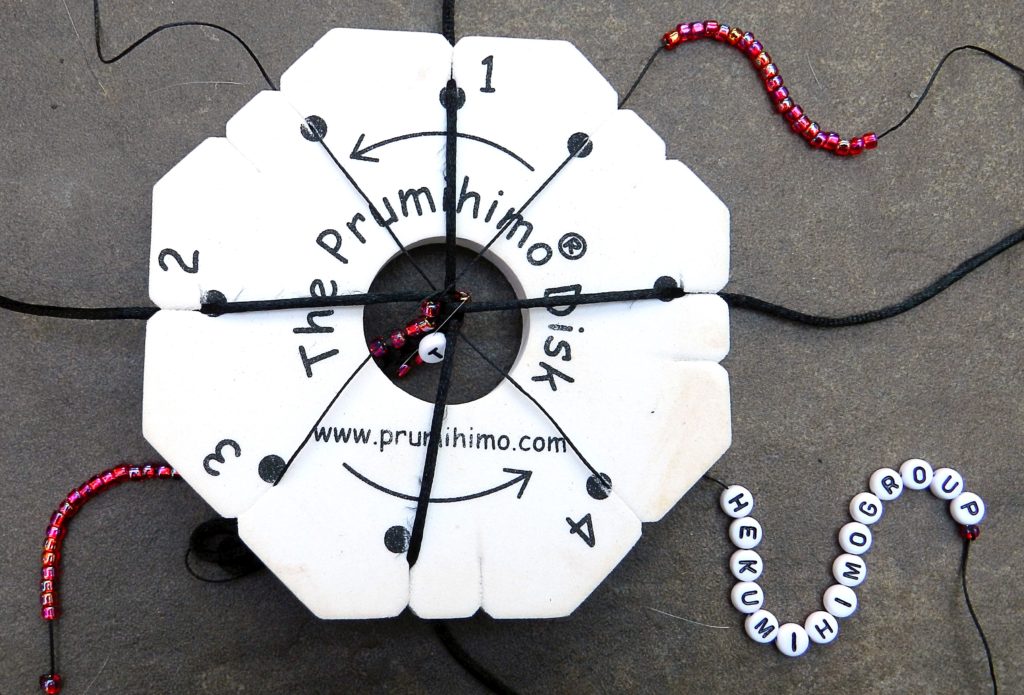
- In the next sequence of beads add in a bead from the top and bottom cords at number 3. Repeat this as many times as necessary to position the letters in the middle of the braid. To assist with working this out, look carefully at the unbeaded part of the braid. The letters are going to be braided onto alternate S-Lon stitches.
- Start to add the letter beads every time the letters are at the top at number 4. This will happen in every alternate sequence of moves. Make sure that you continue to add the seed beads at number 3 in every sequence of moves. When the letter bead is first added it will seem loose. At this stage this is ok, but make sure it stays in position in the V formed by the satin cords on either side, using your thumb, if necessary. In the next sequence of moves, when the letter beads are on the bottom at number 4, the cord can be tightened to secure the bead neatly on the braid. Remember to leave gaps between the words where necessary.

- Once all the letters have been braided, continue to braid beads from the top and bottom cords at number 3 to match the first part of the braid.Check the length and finish off with a clasp.
 Check out my YouTube video if you would prefer to be able to watch a demonstration.
