
The instense colours made this a wonderfully summery kit to work with. In the show the bracelet was demonstrated and it is worth watching the recording of the show to see exactly how to do the back sewing, which is what makes this bracelet so compact and secure. The way the tiny quartz beads are added is also a useful technique to master. Click here to watch the show.
Chunky Bracelet
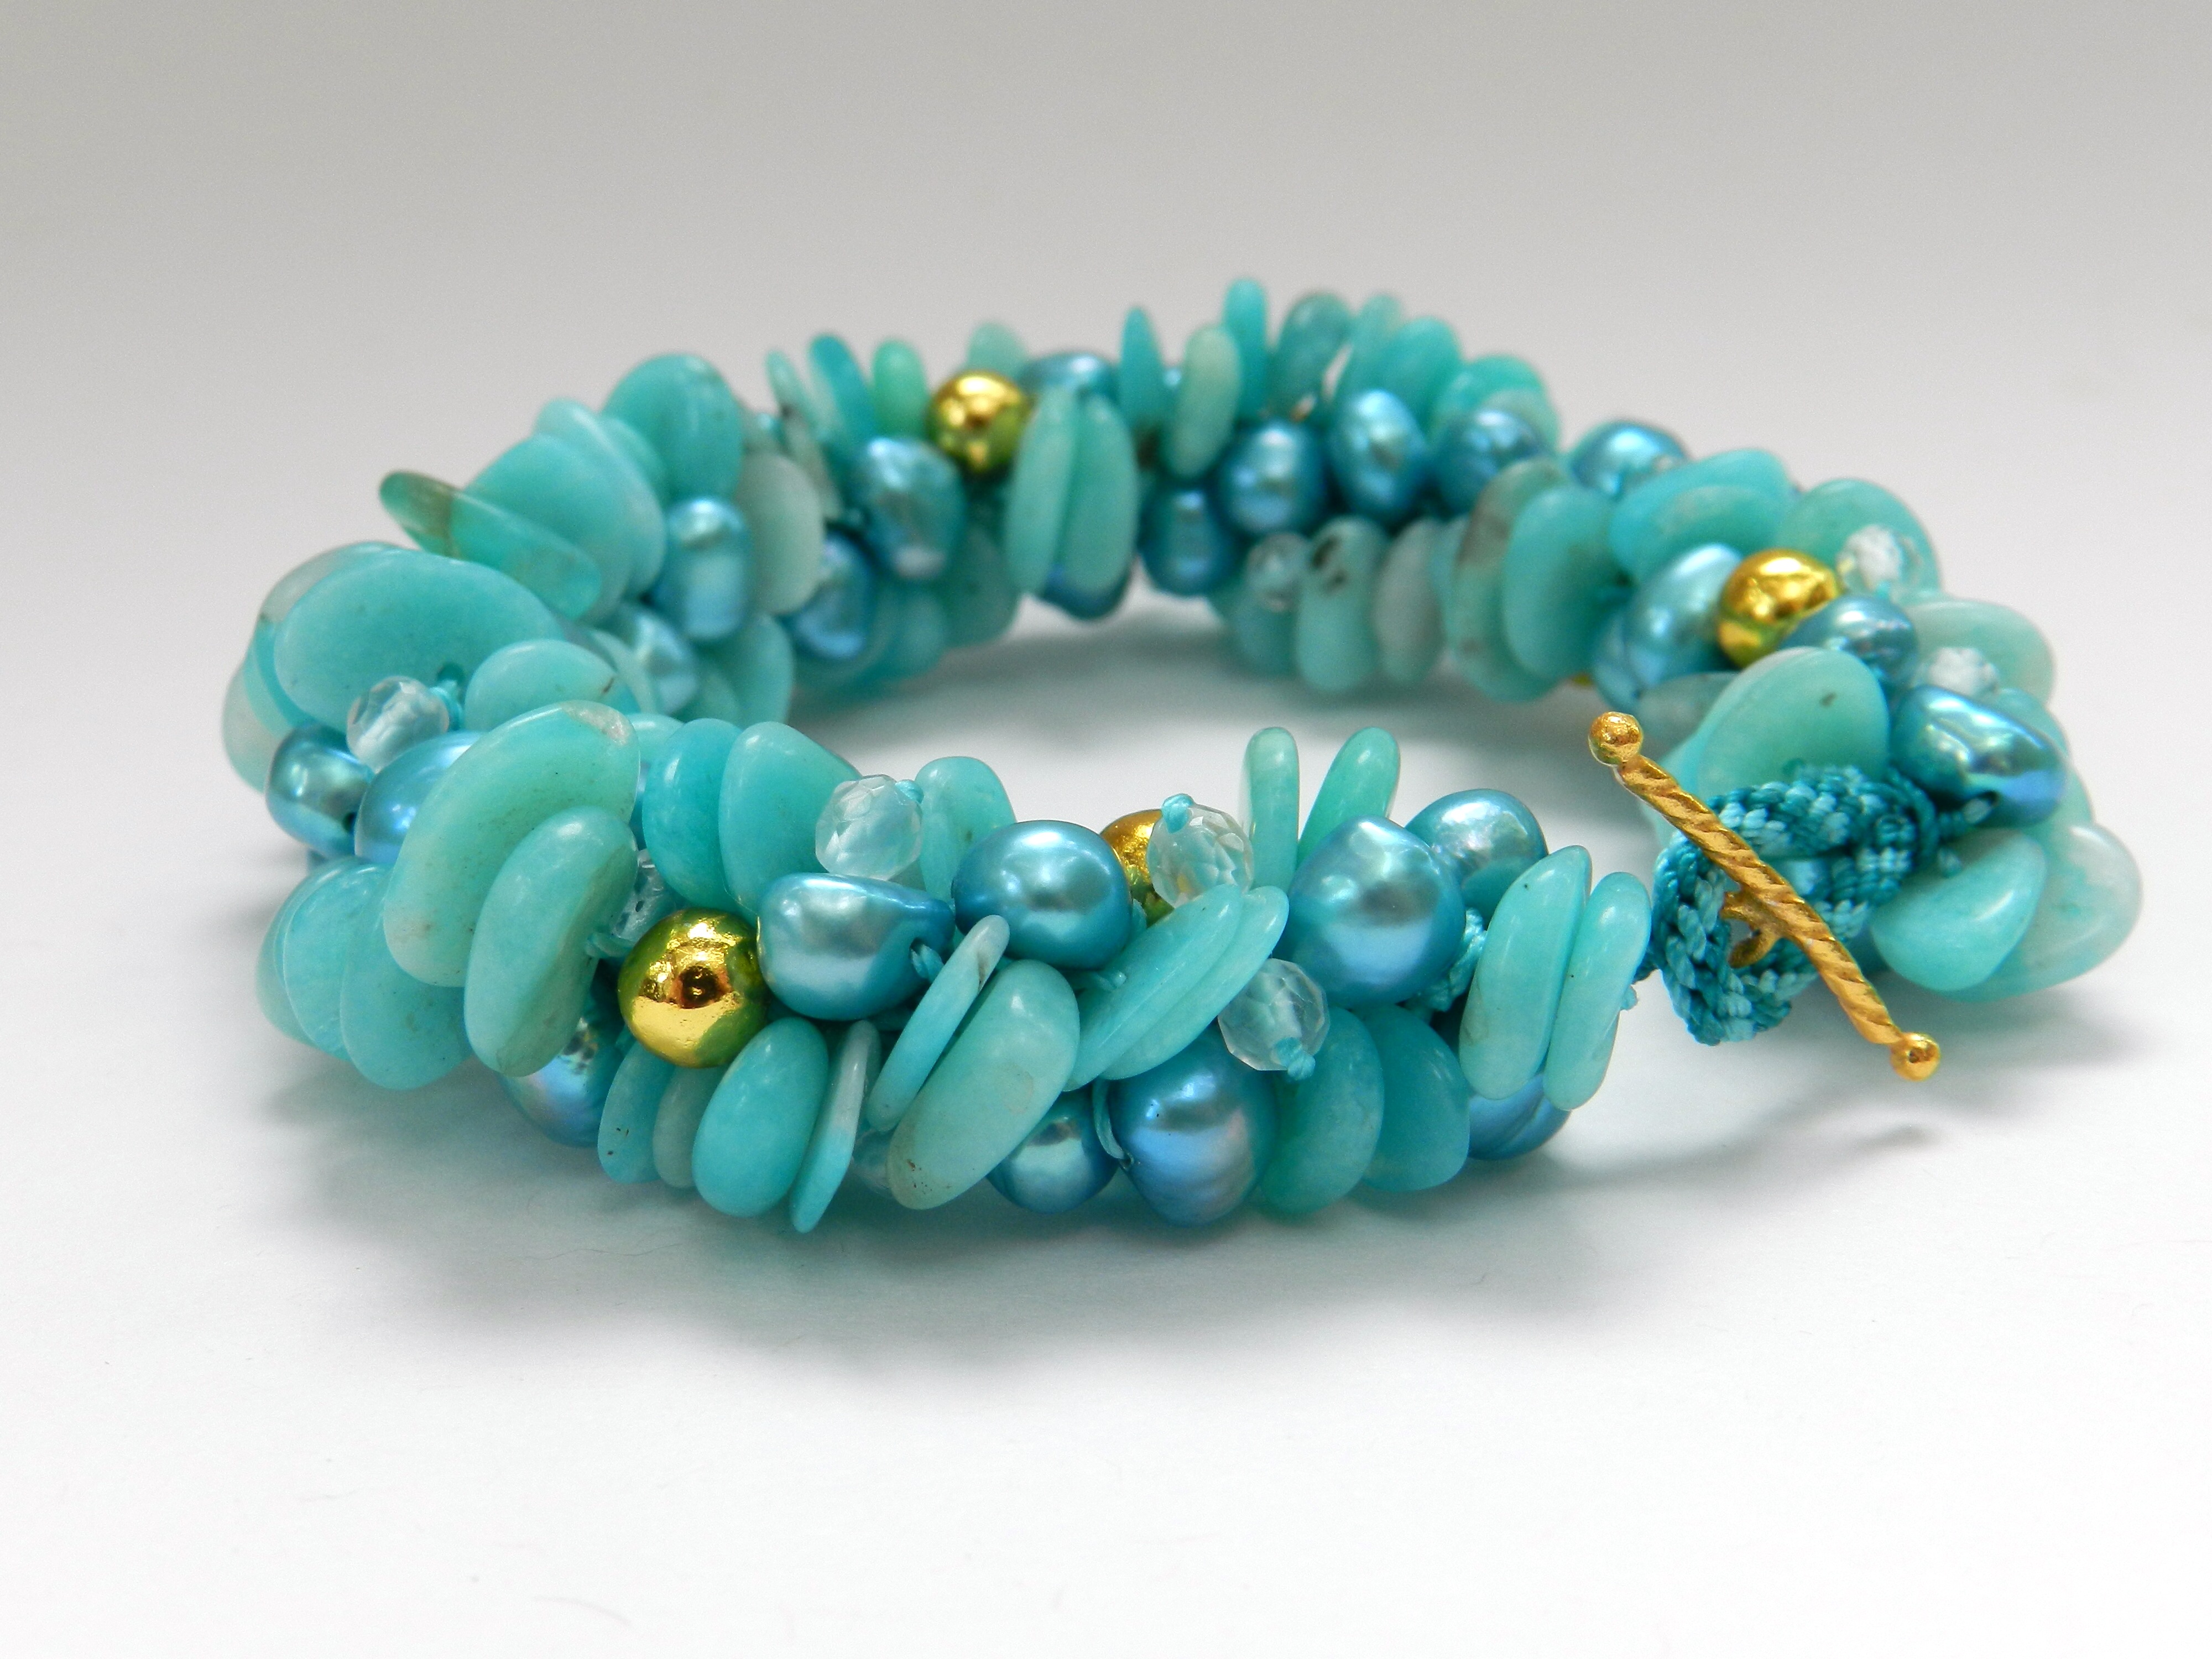
A chunky bracelet like this really makes a statement. There are a couple of tricks in this design which ensure a firm, secure finish to the bracelet.
1. Cut 2 x 2m turquoise S-Lon and 2 x 2m teal S-Lon. Thread all the cords onto the bar of a toggle clasp, position the cords on either side of the dots on the disk, teal in north and south positions and turquoise in east and west positions. Round Braid for 1cm or however long is needed for the bar to have enough room to operate.
2. Thread on the following beads,
Slot 32 and 16 – 60-70 amazonite
Slot 1 – 30-35 pearls
Slot 17 – 30-35 pearls and gold pyrite, in the sequence of 2 pearls – 1 pyrite -2 pearls – 1 pyrite etc
3. Braid in the beads dropping in two amazonite for every pearl and braid for a further 1-2cm.
4. Tie a double knot across the disk using two cords. Remove the braid from the disk. Thread the other end of the clasp onto the braid.
5. Thread one cord onto a large needle and sew through the braid at the point where the beads stop. Pull up tightly and a loop will be formed. Sew through the braid using diagonal stitches, when the other end of the braid is reached knot off the cord and cut off the excess. Repeat this process with the next 5 cords. It is worth watching the YouTube recording to help with this part.
6. Use the 7th cord to add small quartz rounds here and there randomly. The final cord can be used to add more quartz rounds or be sewn back through the braid.
Triple Necklace

Make one long braid using 8 x 2m cord in two colours. Divide it into 3 and bind the braids together at either end. Hook a piece of 0.8mm wire through the binding, thread on a cone of wire and a 4mm bead. Finish with a wrapped loop, adding chain before the loop is closed. Repeat for the other side and add a clasp. Use an S hook as a bail and hang lengths of rosary chain. Add a pearl on a wrapped loop to the end of each chain.
Asymmetrical Necklace
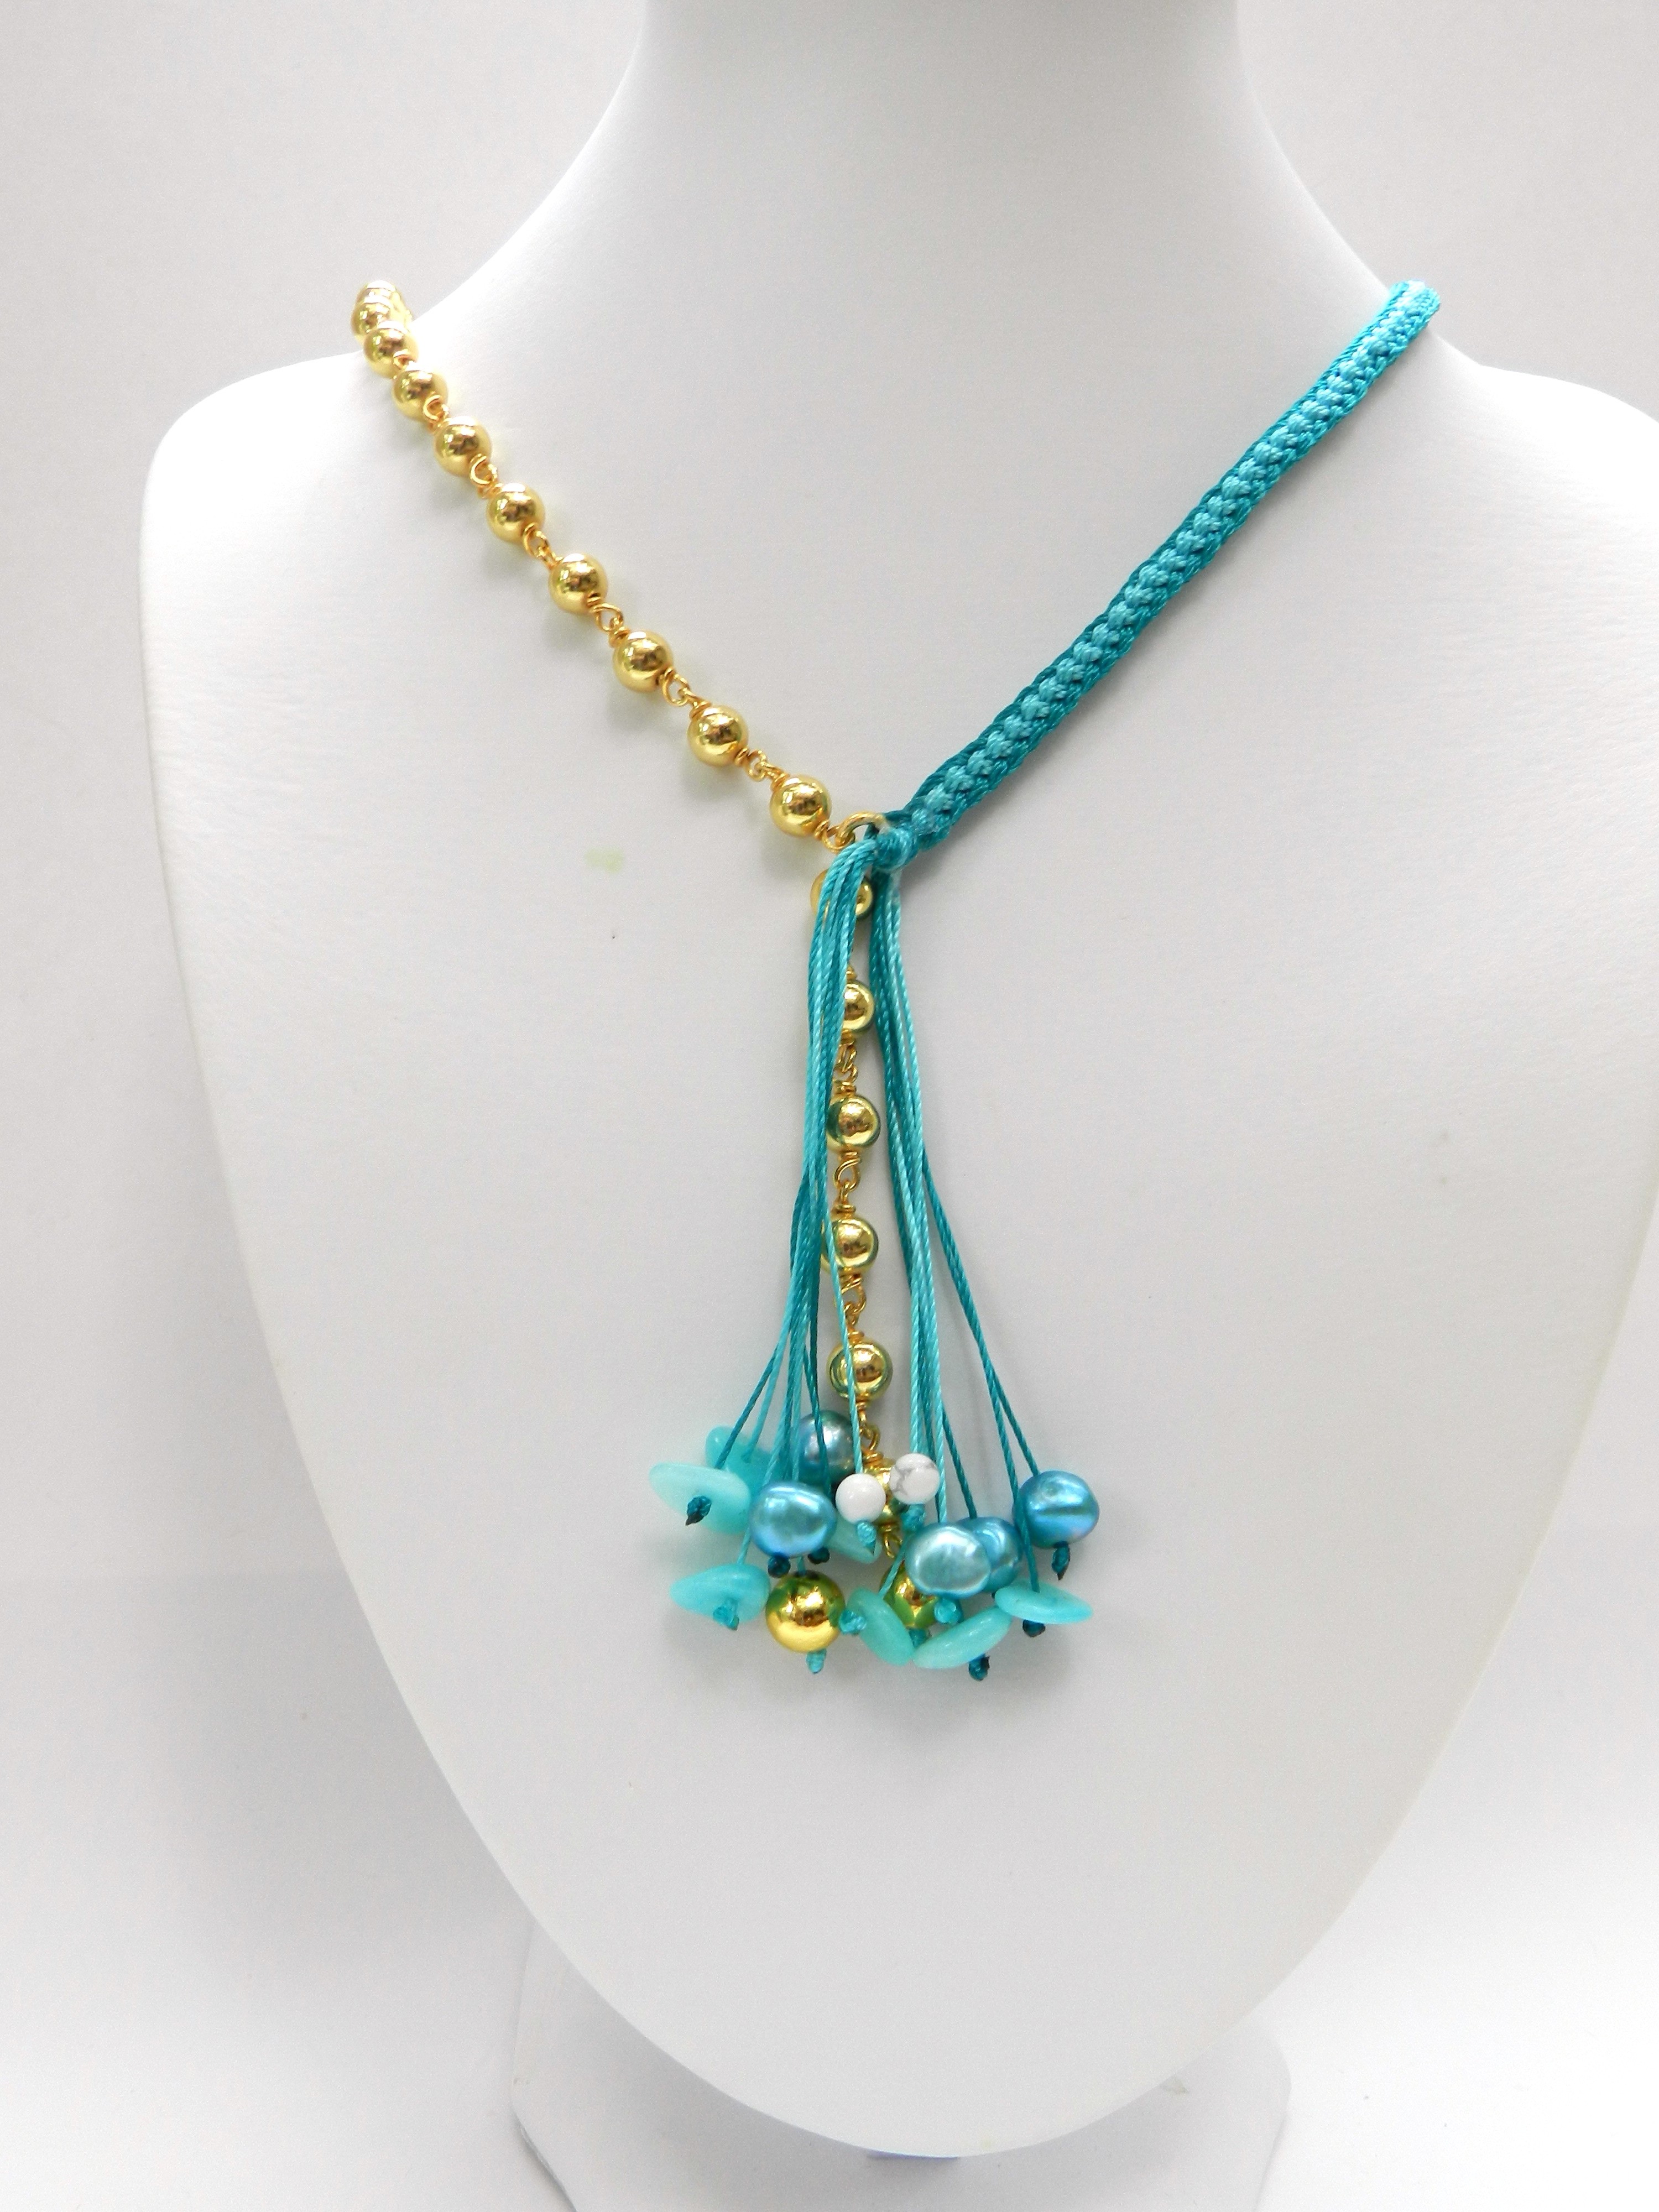
The braid structure for this design is Half Round Braid. Cut 150cm x 4 turquoise and 150cm x 4 teal. Thread all the cords though the ring on a clasp. Position the teal in slots 32, 1, 9 and 24, two cords per slot. Position the turquoise in slots 8, 16, 17 and 25 two cords per slot. When the required length for half the necklace has been reached thread a jump ring onto the cords in slot 8 and braid for 2 further complete sets of moves. Seal the end of the braid with clear glue and leave it to dry, still on the disk. Allow enough rosary chain for the other side and a short tassel. Use the jump ring on the braid to connect to the chain. Finish off the ends of the braid with a selection of beads.
Earrings
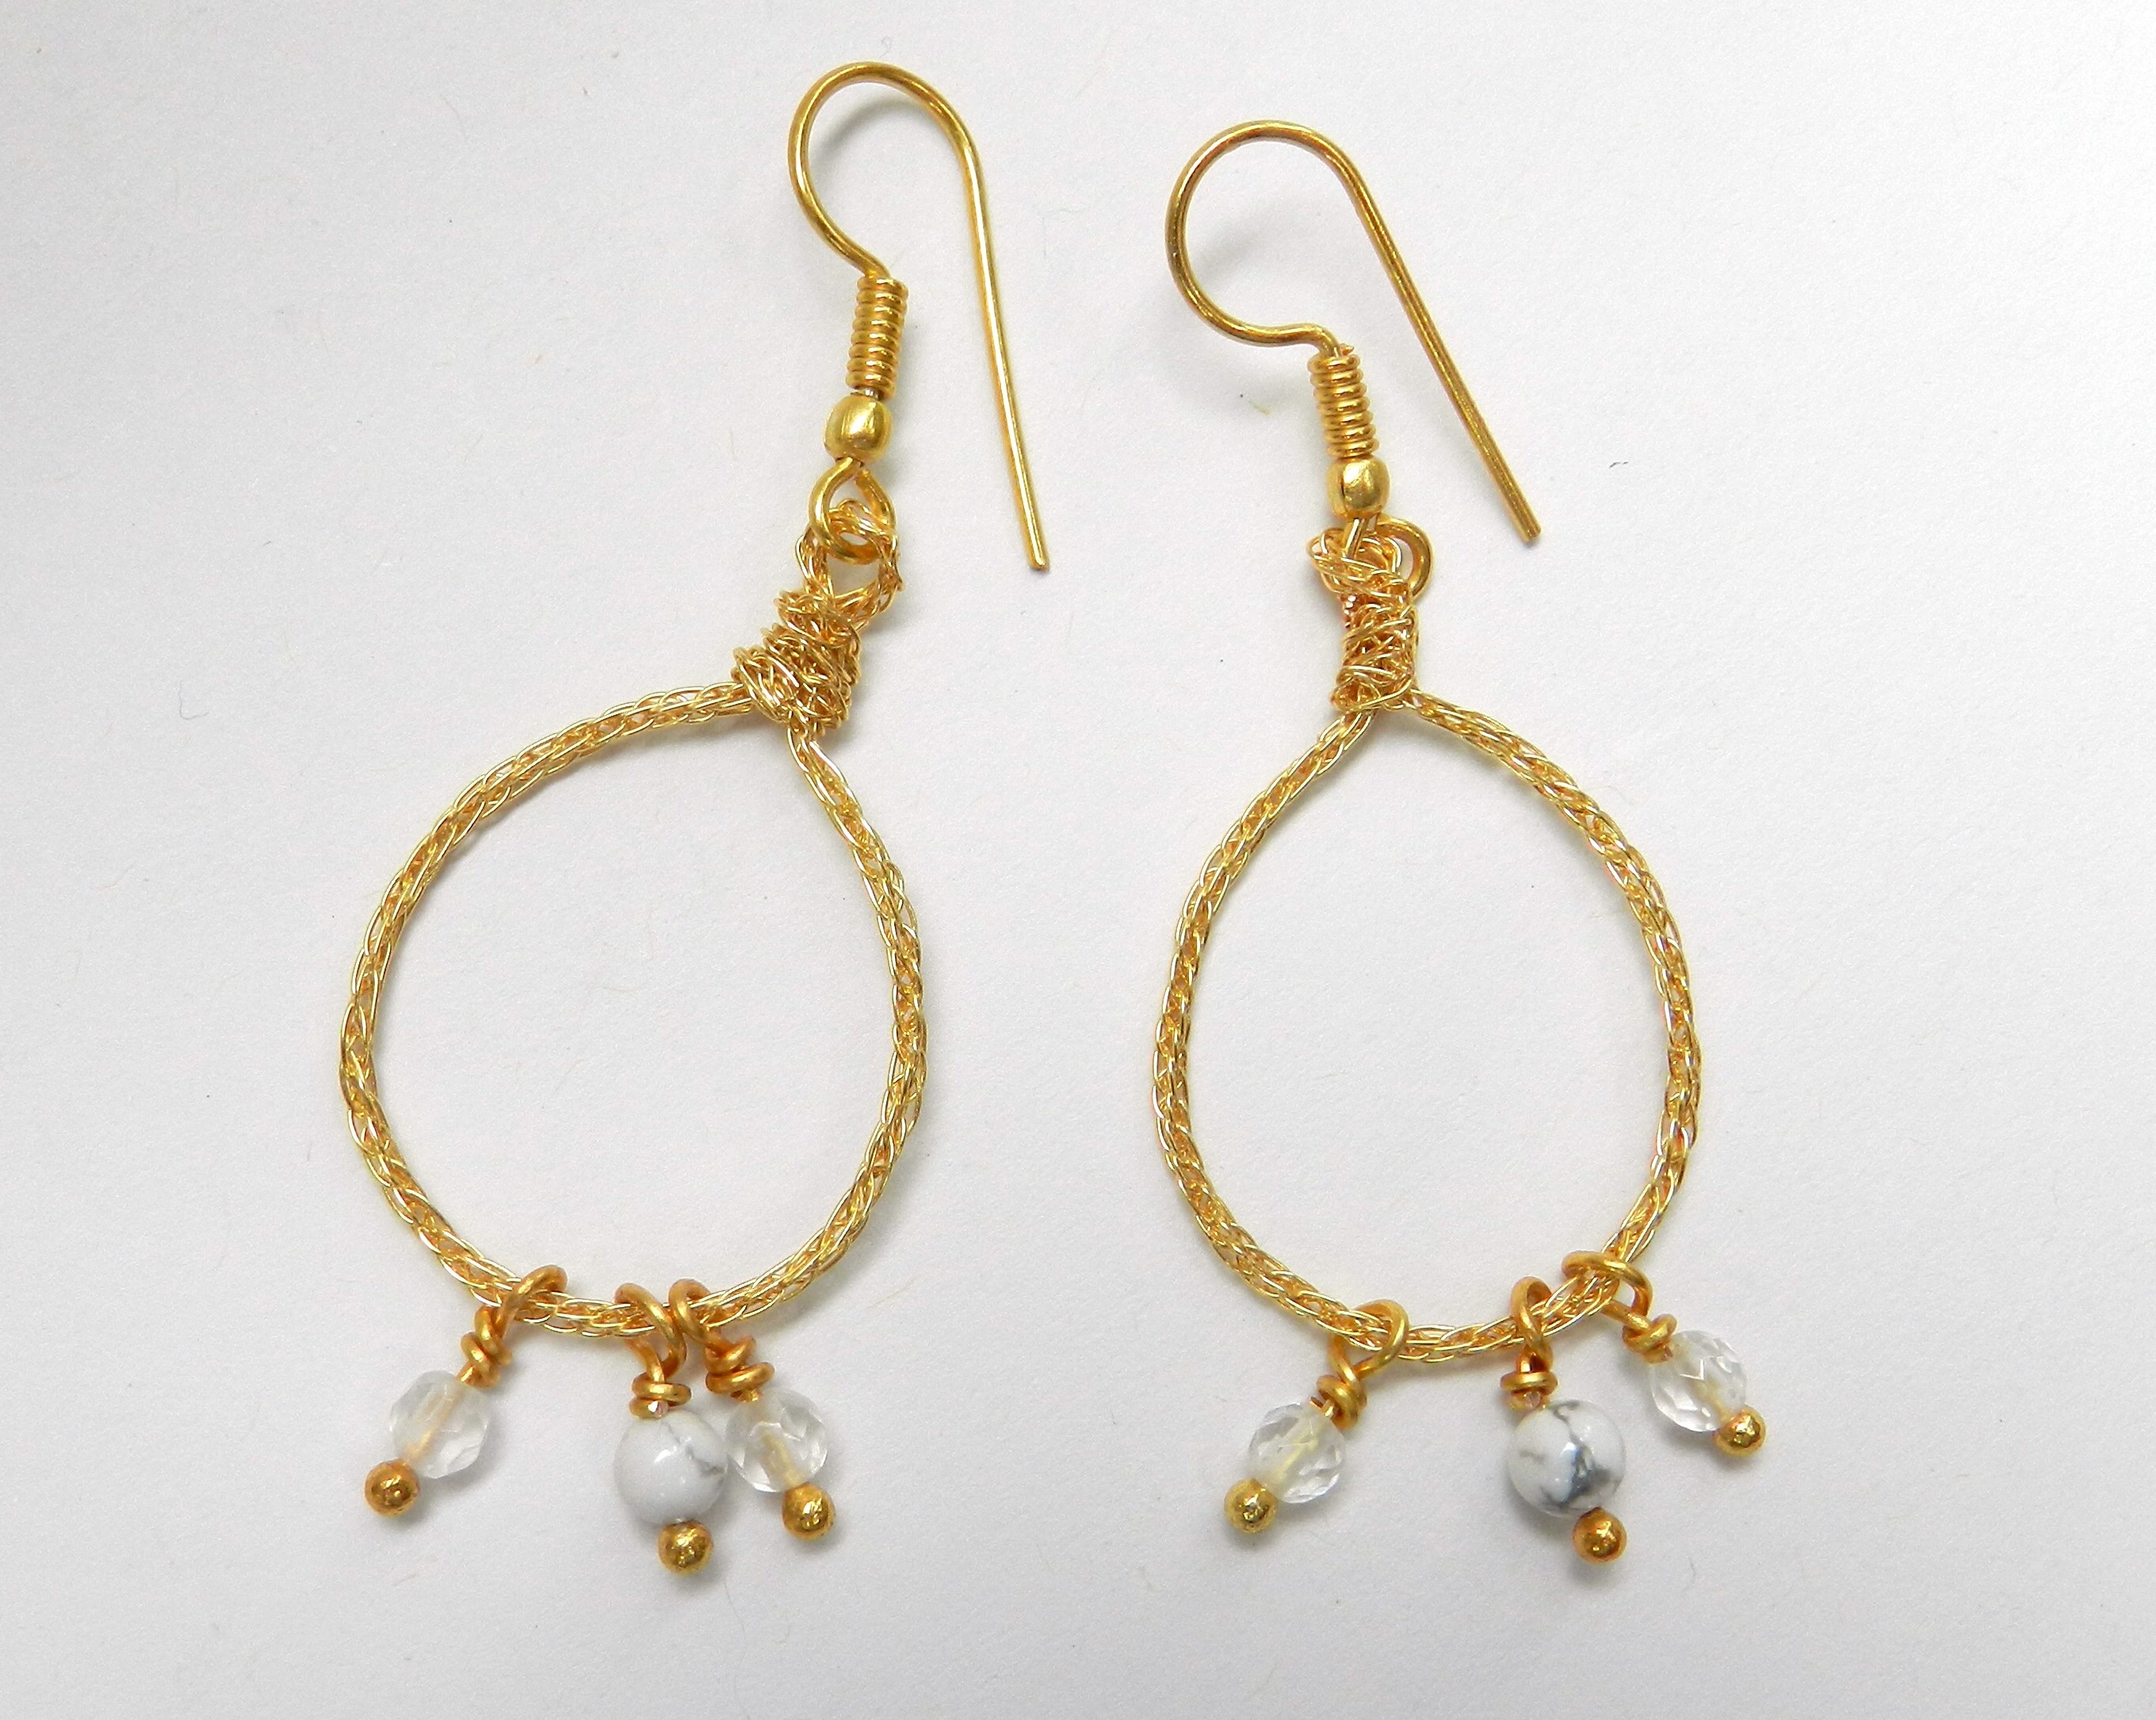
These are made with 0.25 wire. Cut 8 x 50cm and braid using Round Braid. Cut the braid in 2, wrap it around a suitable mandrel, thread on 3 beaded charms and use the ends to make a wrapped loop to attach to the earring finding. Repeat for the other earring.
Haircomb
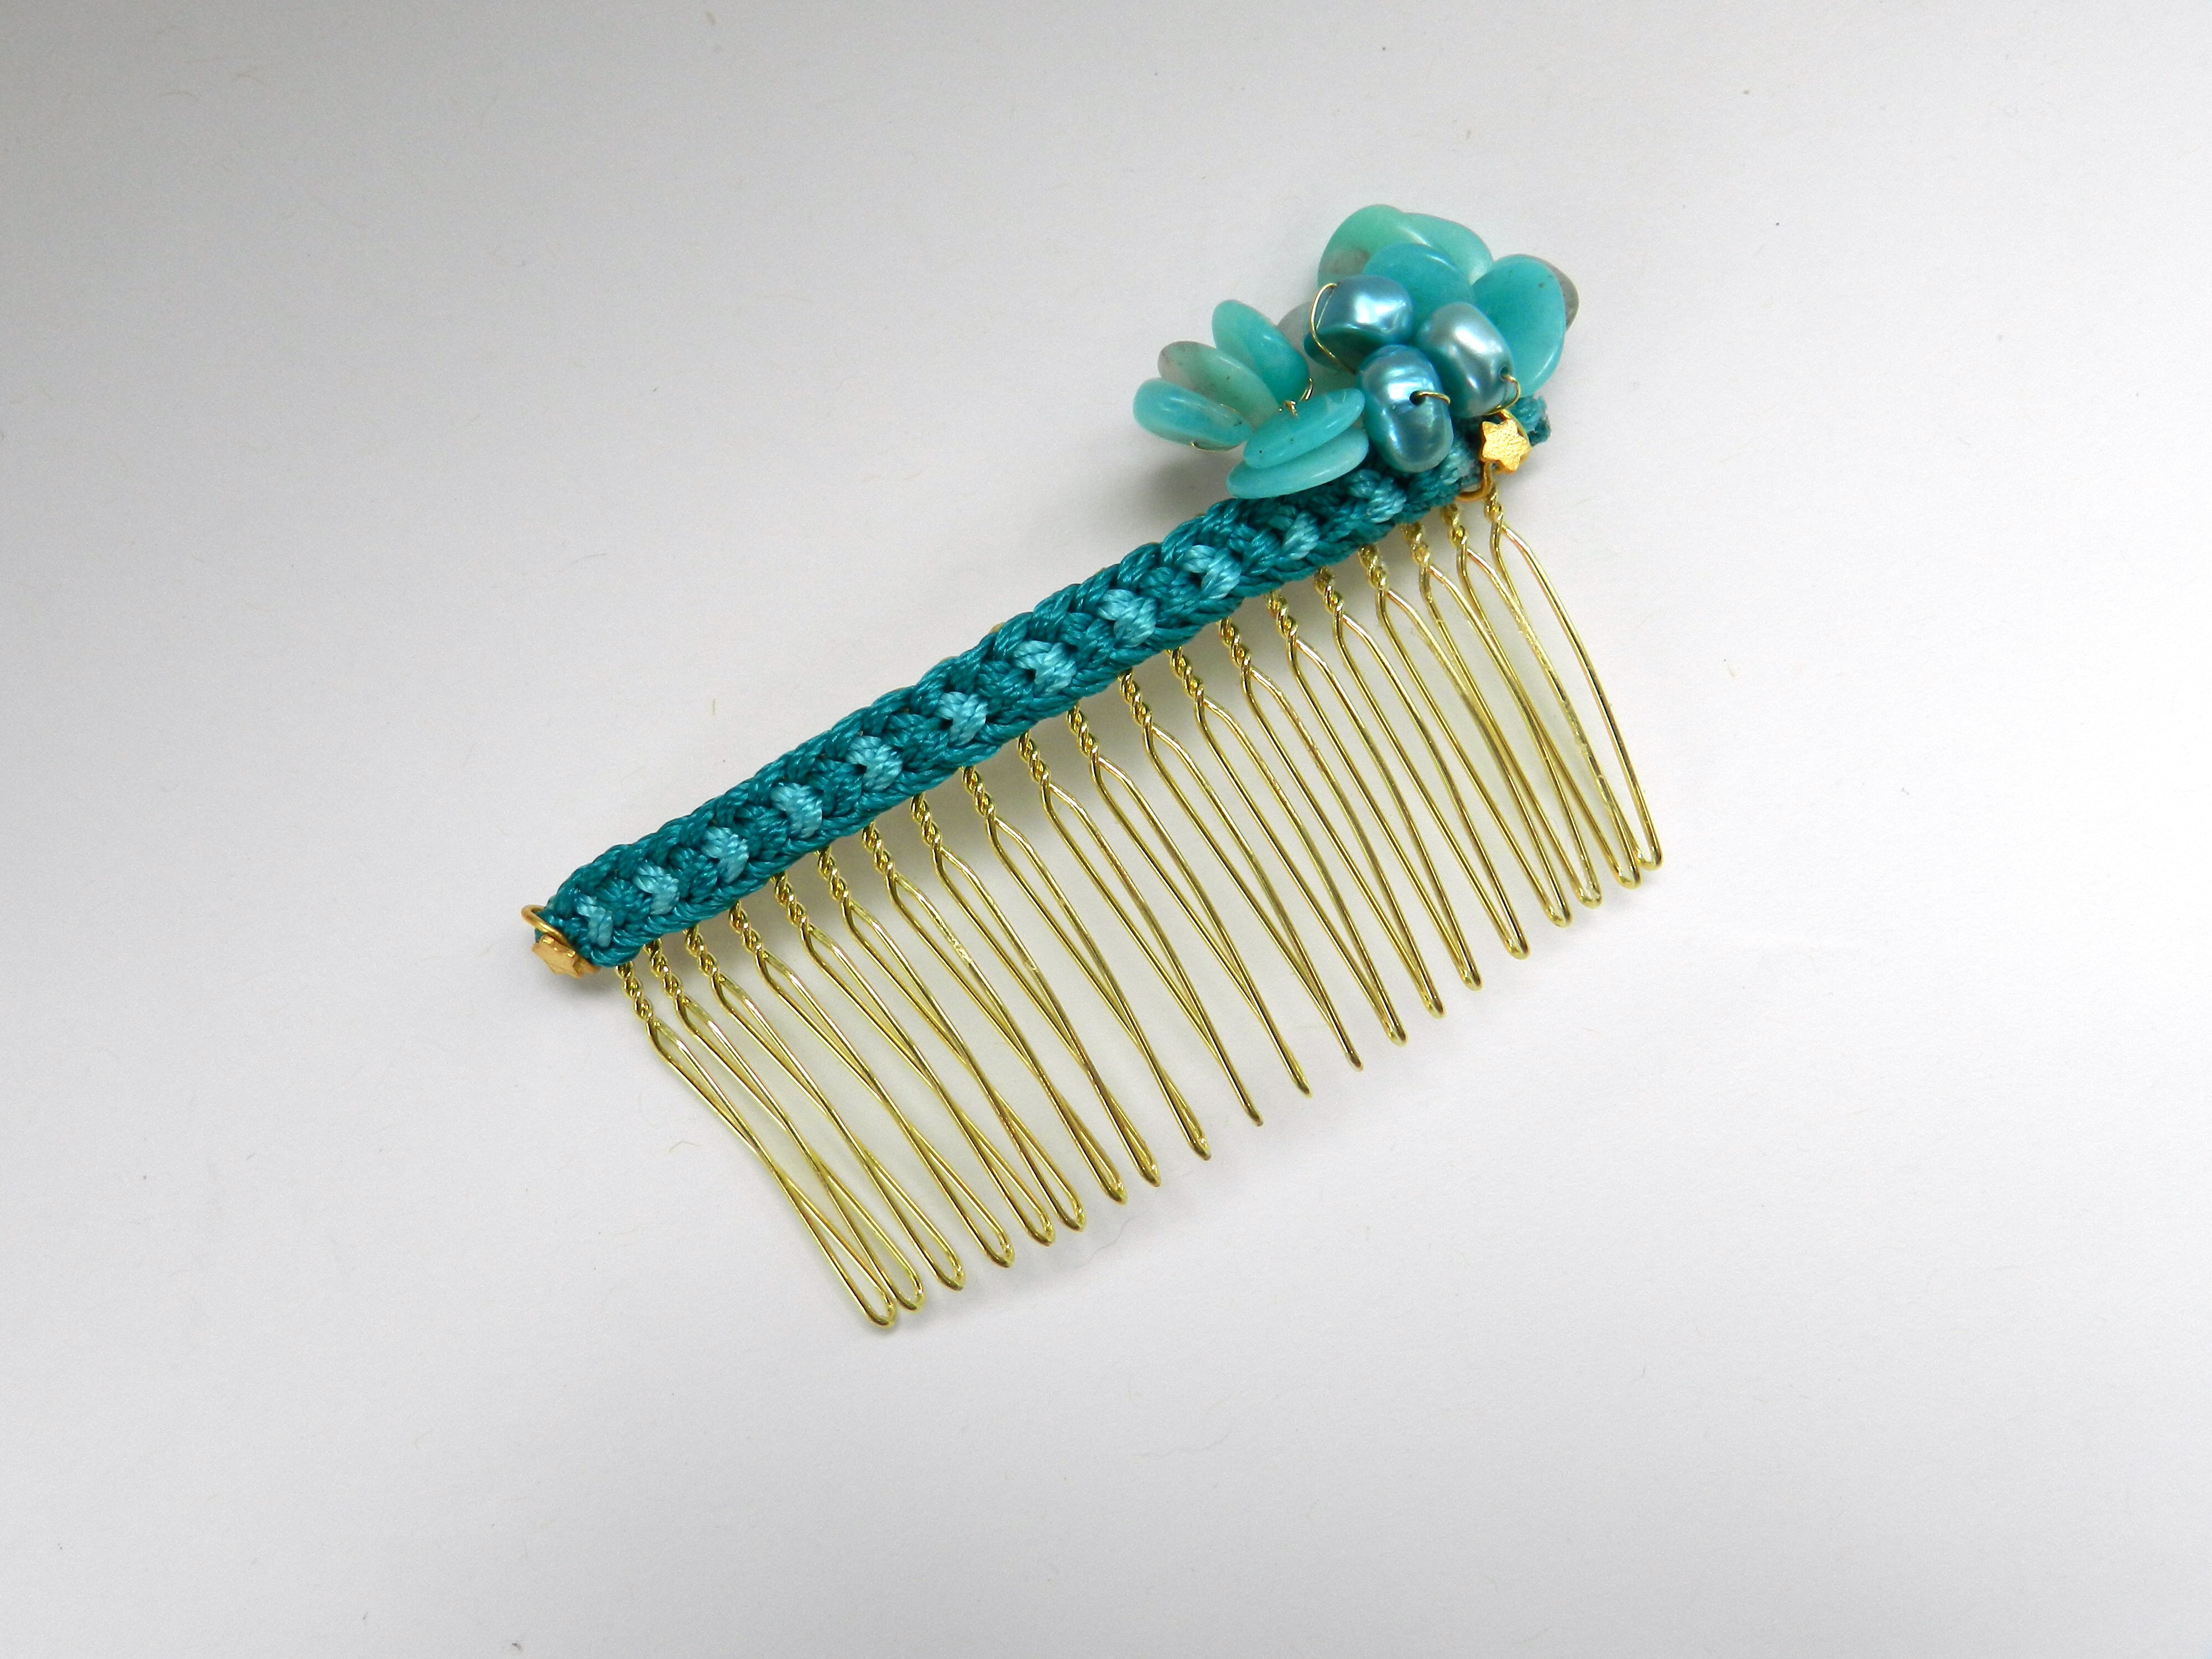
Use Half Round Braid to cover the top of the comb after beads have been wired on. The ends of the braid can be sealed with clear glue and can also be wired on with a headpin for extra security.