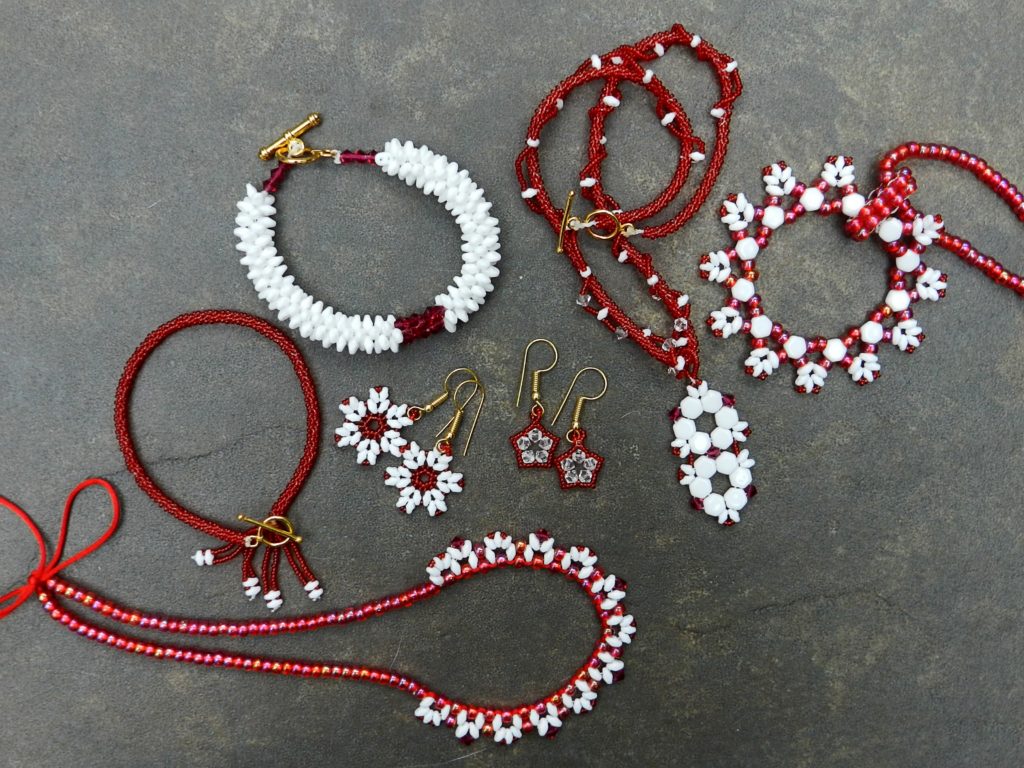
On 28.10.16 the kit for the masterclass included Swarovski 4mm bicones, superduos, mini duos, and seed beads in sizes 6 and 11. The kit also contained 10lb Fireline, which allowed me to use the materials for kumihimo as well as beadweaving. The necklace I demonstrated was made using both of these methods, so I was able to deliver a demonstration packed with technique.
To watch the show click here, the demo starts at around 3 hours 6 minutes into the recording and it lasts for around 40 minutes.
As this is a kumihimo website, I will only be giving instructions for the kumihimo designs.
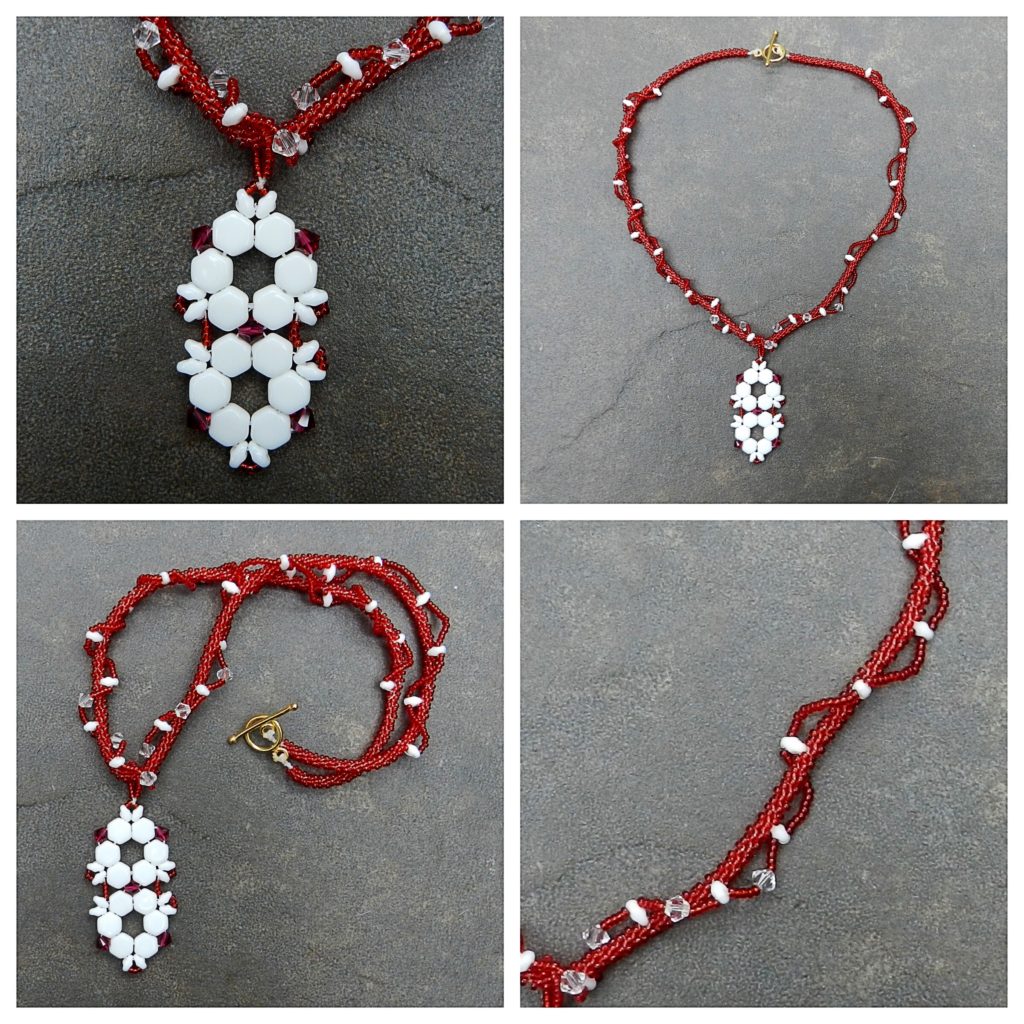
Vine Necklace
For this necklace a thin, beaded kumihimo necklace is made using size 11 seed beads and superduos. After the braid has been taken off the disk the superduos are sewn through and a twisting vine of seed beads and crystals is added to the necklace. This is a technique I plan to develop further because I think it has great potential. The vine effect can be enhanced by using green seed beads and leaf beads.
The keys to success with kumihimo using Fireline is to use a brand new disk, so that the tight slots are able to grip the thread and to use 10lb Fireline or thicker. A 50g weight is too heavy, so either use a large bead or work without a weight. In the demonstration I used the 7-cord braid but Round Braid would work just as well for this design.
- Cut 7 x 75cm lengths of Fireline and knot them together 10cm from the end. This tail is needed to attach the clasp at the end.
- Braid for 14 individual moves using the 7-cord method (bottom of the page)
- Thread 125 size 11 seed beads onto 6 of the cords
- On the seventh cord thread on the following patten, 15 size 11, 1 superduo, 4 size 11, 1 superduo, 4 size 11 etc finishing off with 15 size 11. For a more organic effect, vary the number of size 11 seed beads in between the superduos.
- Braid in all the beads.
- Braid for 14 individual moves. Lift 4 cords from one side of the disk. Thread on a clasp. Remove the other 3 cords and tie a double knot to keep the clasp in place. Trim the ends of the fireline and use a thread burner to melt the ends close to the knot. A drop of glue adds extra security.
- Use the tail at the other end of the braid to attach the other side of the clasp in a similar manner.
- Thread a comfortable length of Fireline thread onto a beading needle and sew through the braid several times close to the first superduo. When the thread is firmly secured in the braid, pass through the unused hole on the superduo and pick up 15 size 11 seed beads. Pass through the unused hole on the next superduo. Check that you are happy with the number of beads used and adjust, if necessary. Continue to add beads in between the super duos in this way. At the front of the necklace crystals can be added for a touch of sparkle. For these sections thread on 5 size 11, 1 crystal, 5 size 11.
- Finish off by securing the thread in the braid as before and trim off the ends.
This necklace can be worn with or without a pendant.
Delicate Bracelet with Mini-duo Tassel
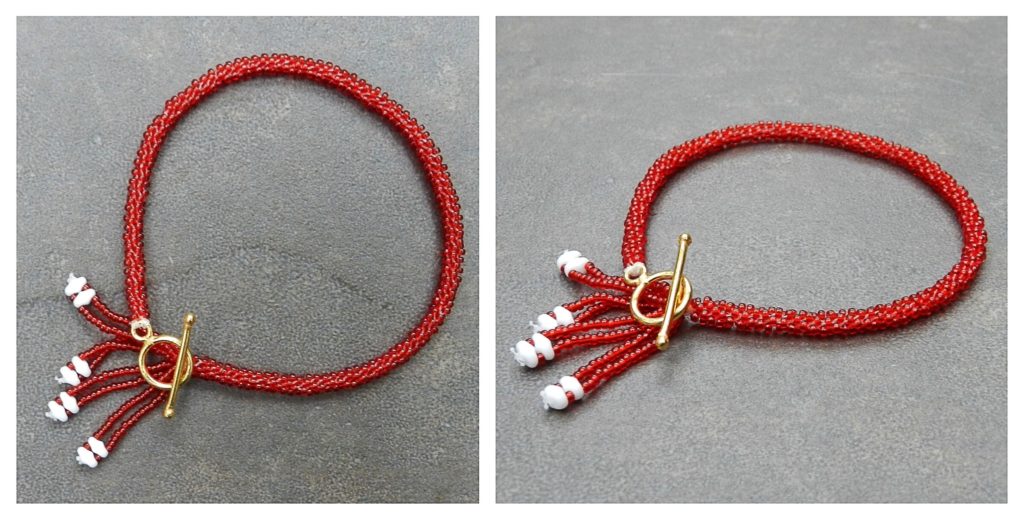
- Cut 4 x 1m lengths of Fireline. Thread them through the loop of the ring end of a toggle clasp. Centre the clasp on the cords and position the cords on the kumihimo disk on either side of the dots. Braid using round braid for 8 individual moves.
- Thread 65 size 11 beads onto all 8 cords and braid them in. Check the length is right for you and add more beads if necessary.
- Braid for 8 individual moves.
- Lift 4 threads from one side of the disk and thread on the toggle end of the clasp. Remove the other 4 cords and tie a double knot to keep the clasp in place.
- To make the tassel, thread 10-20 size 11 seed beads onto 2 threads, depending on how long you want the tassel to be. Then thread a mini-duo onto the 2 cords, joining the cords by using both holes on the superduo. Add a seed bead on each cord and then thread on another mini-duo. Tie the cords in a double knot and use a thread burner to melt the thread close to the knot. Add a drop of glue for extra security.
- Repeat for the other cords.
Bicone and Superduo bracelet
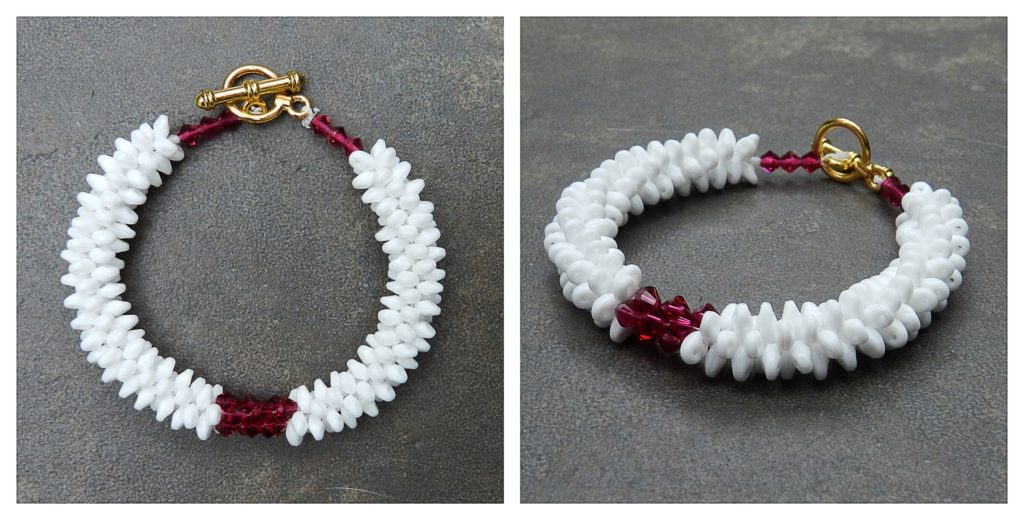
This bracelet could be made with S-Lon, but superduos can be fiddly to thread. The advantage of using Fireline is that you can use a needle to thread the beads, which makes it much quicker. The other advantageis the the semi-transparent Fireline allows light to shine through the crystal section in the middle. The braid will be much more fluid and flexible than braids made with S-Lon. You will need to use a brand new kumihimo disk to ensure that the slots are tight enough to grip the Fireline thread.
In this design the unused holes on the Superduos are visible, giving a quirky effect. If you do not like this effect you can use Uno beads instead.
- Cut 8 x 70cm lengths of Fireline. Tie them together 10cm from the end. This tail of threads will be used to attach the clasp later. Braid using Round Braid for 8 individual moves.
- Thread the following beads onto all 8 cords. 10 superduos, 2 4mm crystal bicones, 10 superduos.
- Braid in all the beads.
- Braid using Round Braid for 8 individual moves. Remove the braid from the disk and tie a knot close to the beads.
- Thread crystals onto both ends of the braid to achieve the correct length for your wrist.
- Thread one side of the toggle clasp onto 4 cords and use the other 4 cords to tie a double knot. Use a thread burner to melt the cords close to the knot. Add a drop of glue for extra security.
- Repeat for the other side of the bracelet.
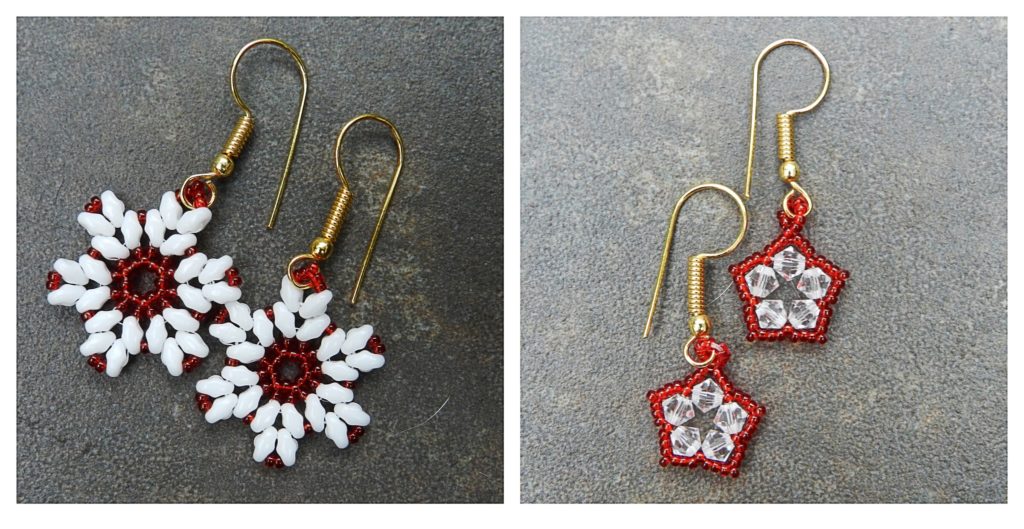
The following designs are beadweaving, so I will not be providing instructions for these, but a multitude of designs using beadweaving with superduos is available on Youtube or in magazines!