
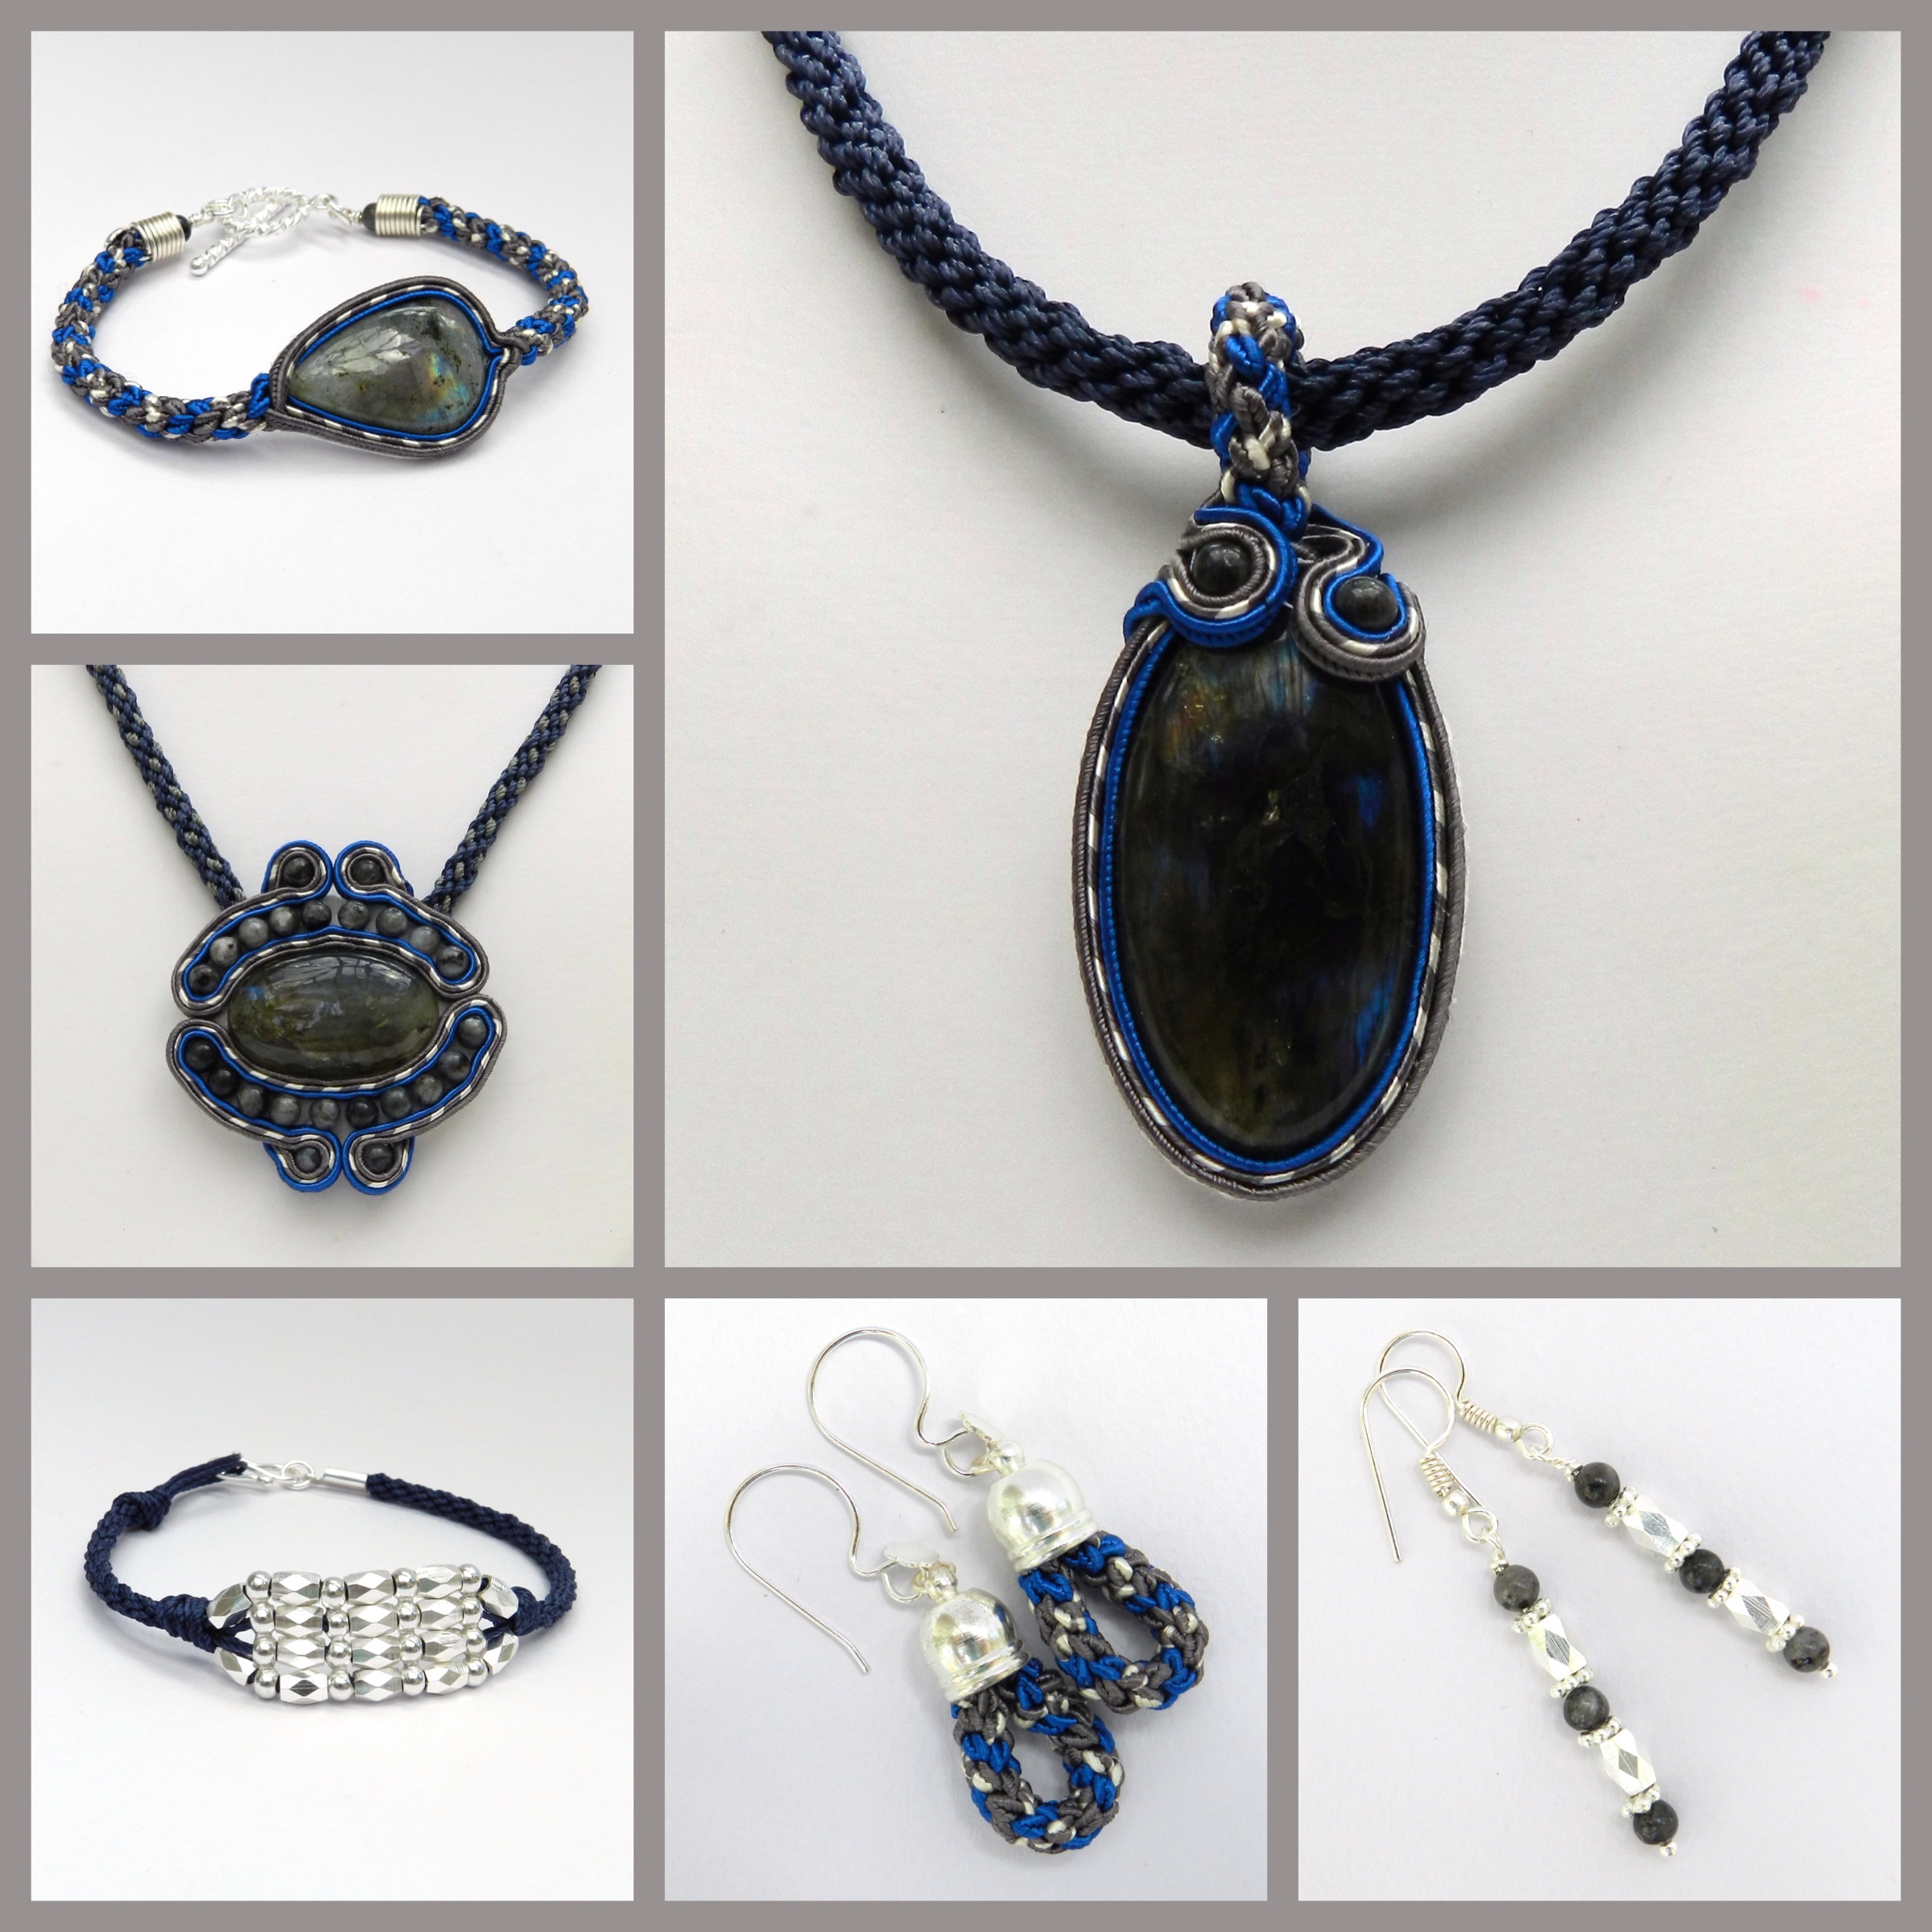
On 30th June I was able to demonstrate how to use lovely labradorite cabochons with kumihimo and Soutache. The kit also contained Hypo Cement Fabric Glue, Ultrasuede, 4mm rounds, S-Lon as well as a selection of findings, spacer bars and spacer beads. These designs can easily be made with other materials.
Detailed instructions for the soutache method will not be given here.
As every cabochon will vary in size the lengths suggested for the soutache are an indication only.
The show can be viewed here.
Simple Soutache Cabochon

This is a cheat’s version of soutache!
1. Glue the cab onto the backing (either beading foundation or Ultrasuede), allowing approximately 0.5cm around the edges.
2. Cut 3 lengths of Soutache, 40-60cm. Glue the soutache around the cab, one length at a time. Pay particular attention to the point where the soutache meets the backing.
3. At the top of the cab pull all the soutache together and put it on the disk in 3 groups of 2, equally spaced around the disk. Braid for 3-4 cm in Hollow Braid. This was shown in detail on the show.
4. While the braid is still on the disk apply some fabric glue to the point where the braid forms. Once the glue is touch dry, remove the braid and roll the end between the fingers to ensure that it will not unravel.
5. Form a bail and bring 3 soutache cords around one side, capturing a 4mm bead and then bring the cords to the back of the cab. The 3 cords can either be glued together or stitched together. To keep the bead in place it is best to stitch it. Trim the cords and spread them out on the back of the cabochon to be as flat as possible and stick or sew them into position. Repeat for the other 3 cords.
6. Stick the cab onto another piece of Ultrasuede, trim it to fit and sew around the edges for a neat finish.
7. Hang the cab from a braid made of Round Braid with 2 cords in each of 8 slots.
Soutache Bracelet
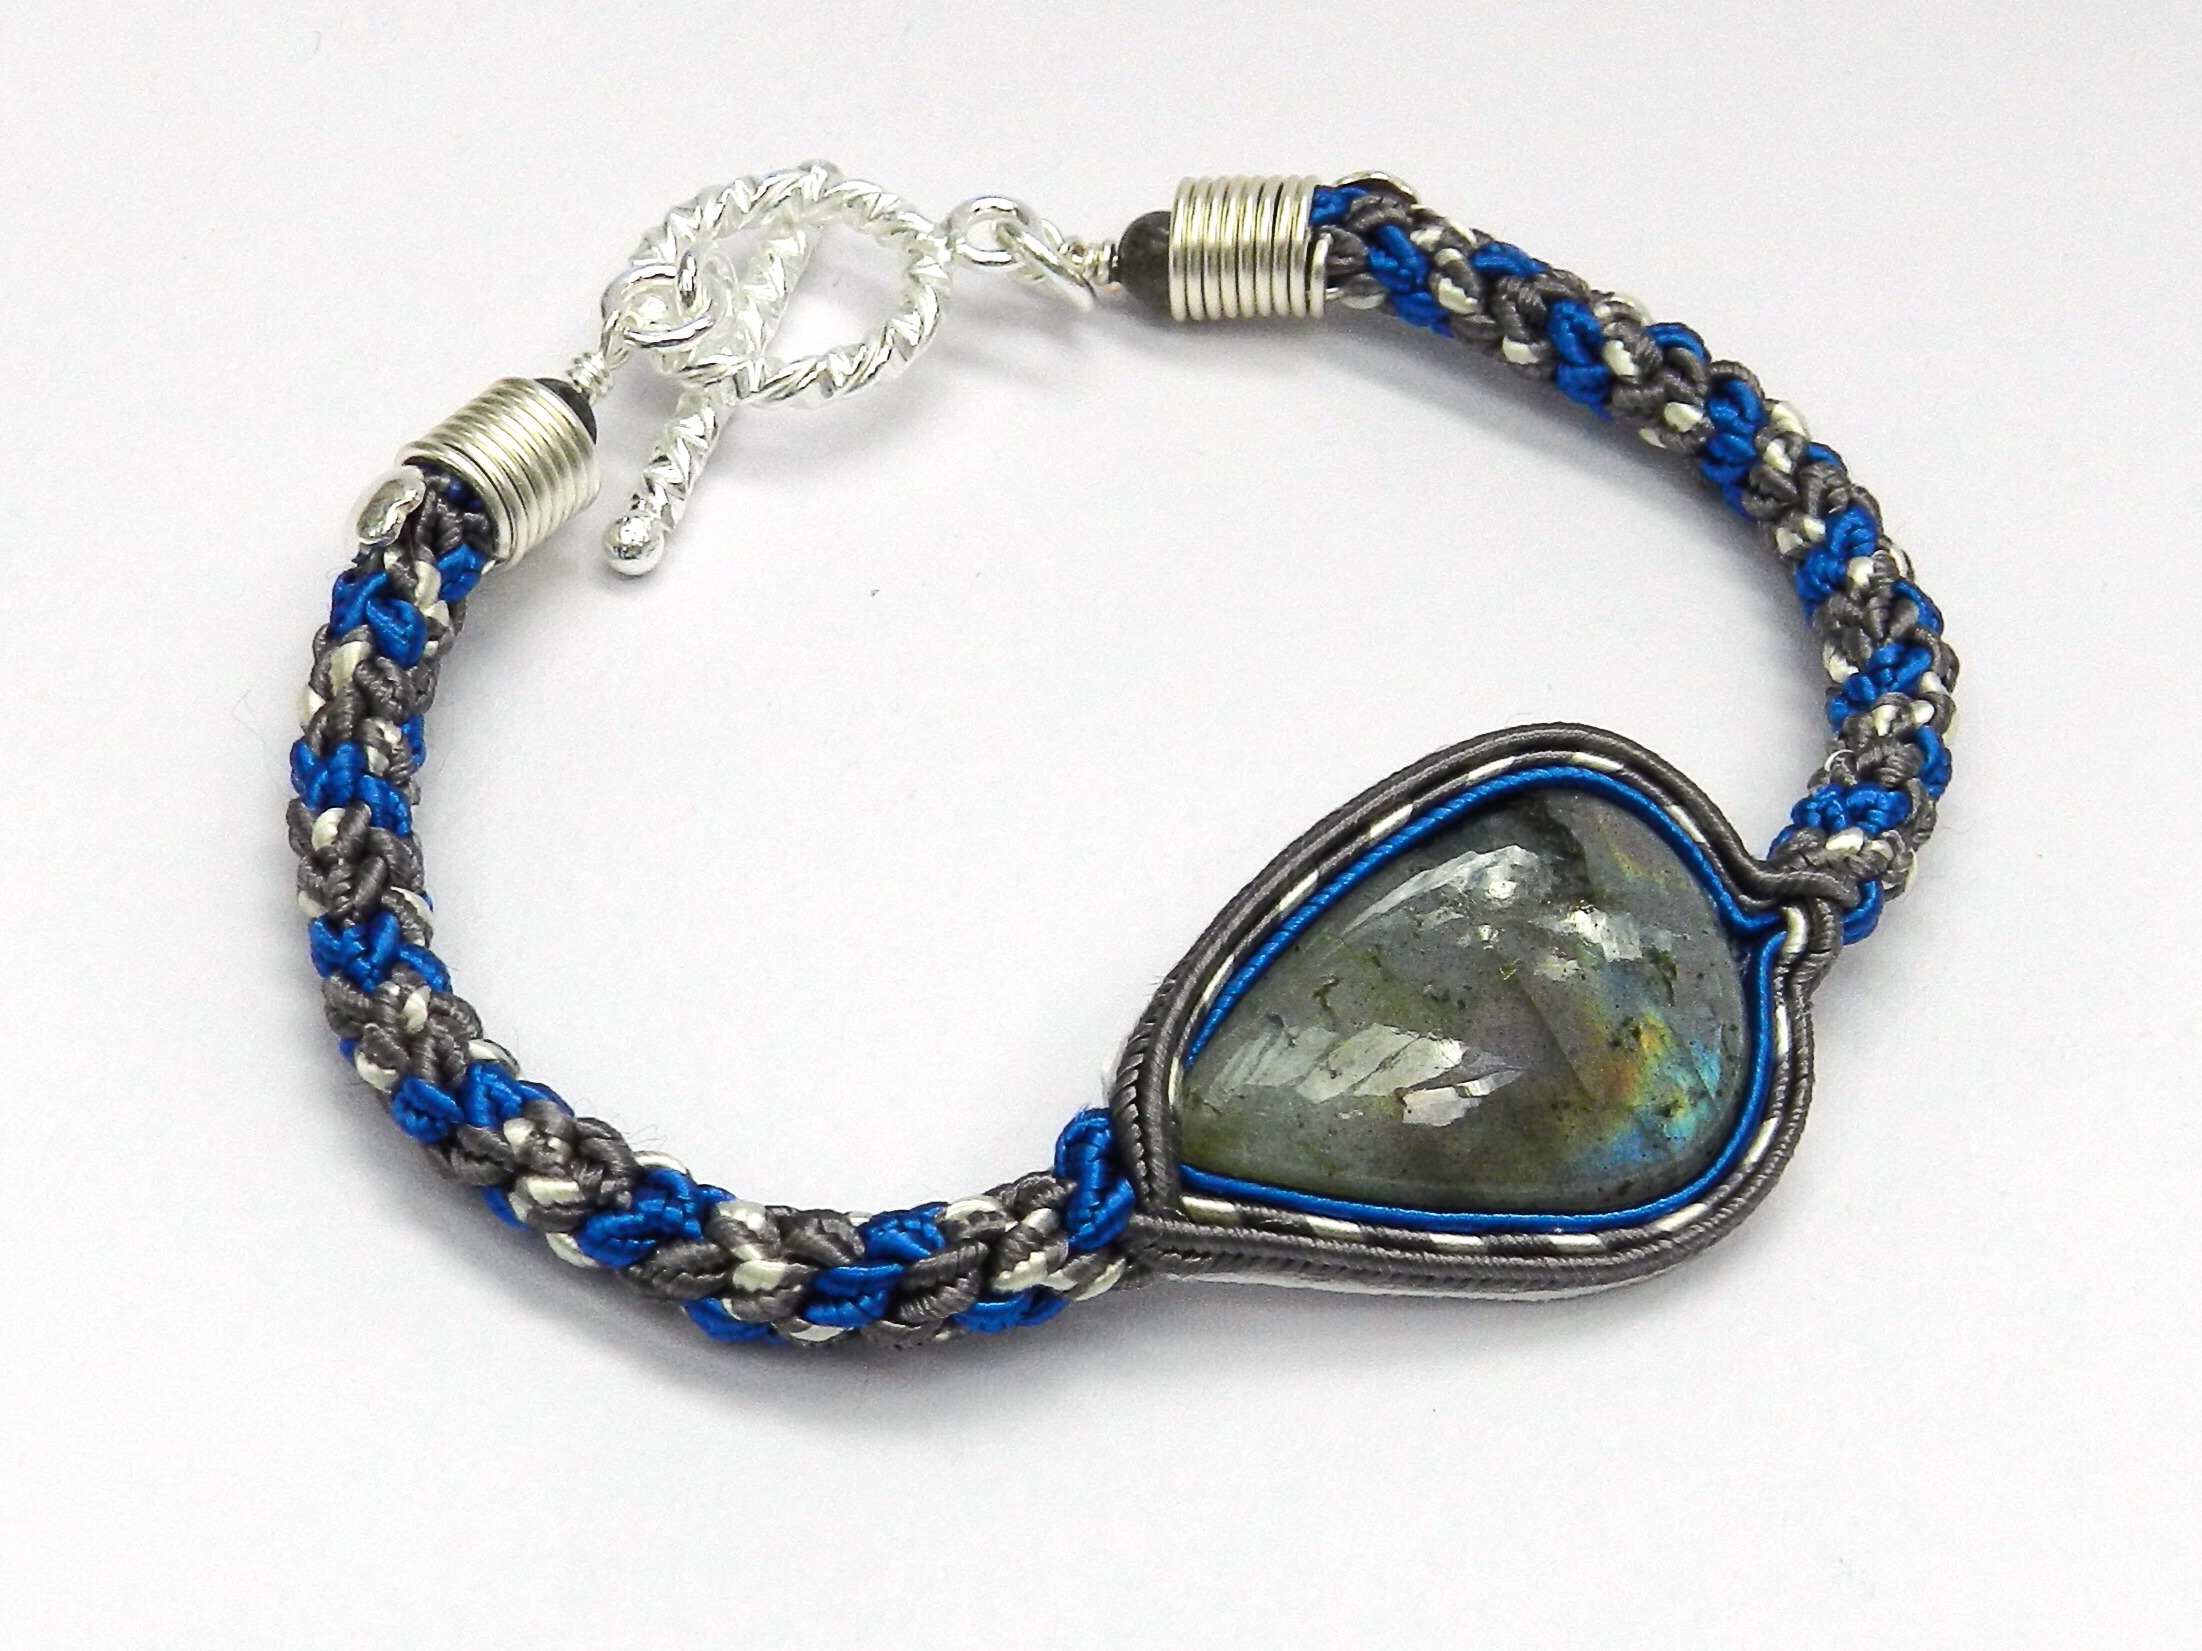
This bracelet is made in a similar manner to the necklace, but with 2 sets of 3 soutache cords, which are joined into kumihimo braids on either side of the cab. Stick the soutache around the cab and then braid each end. Use 60-70cm lengths of soutache, depending on the size of the cab.
Earrings
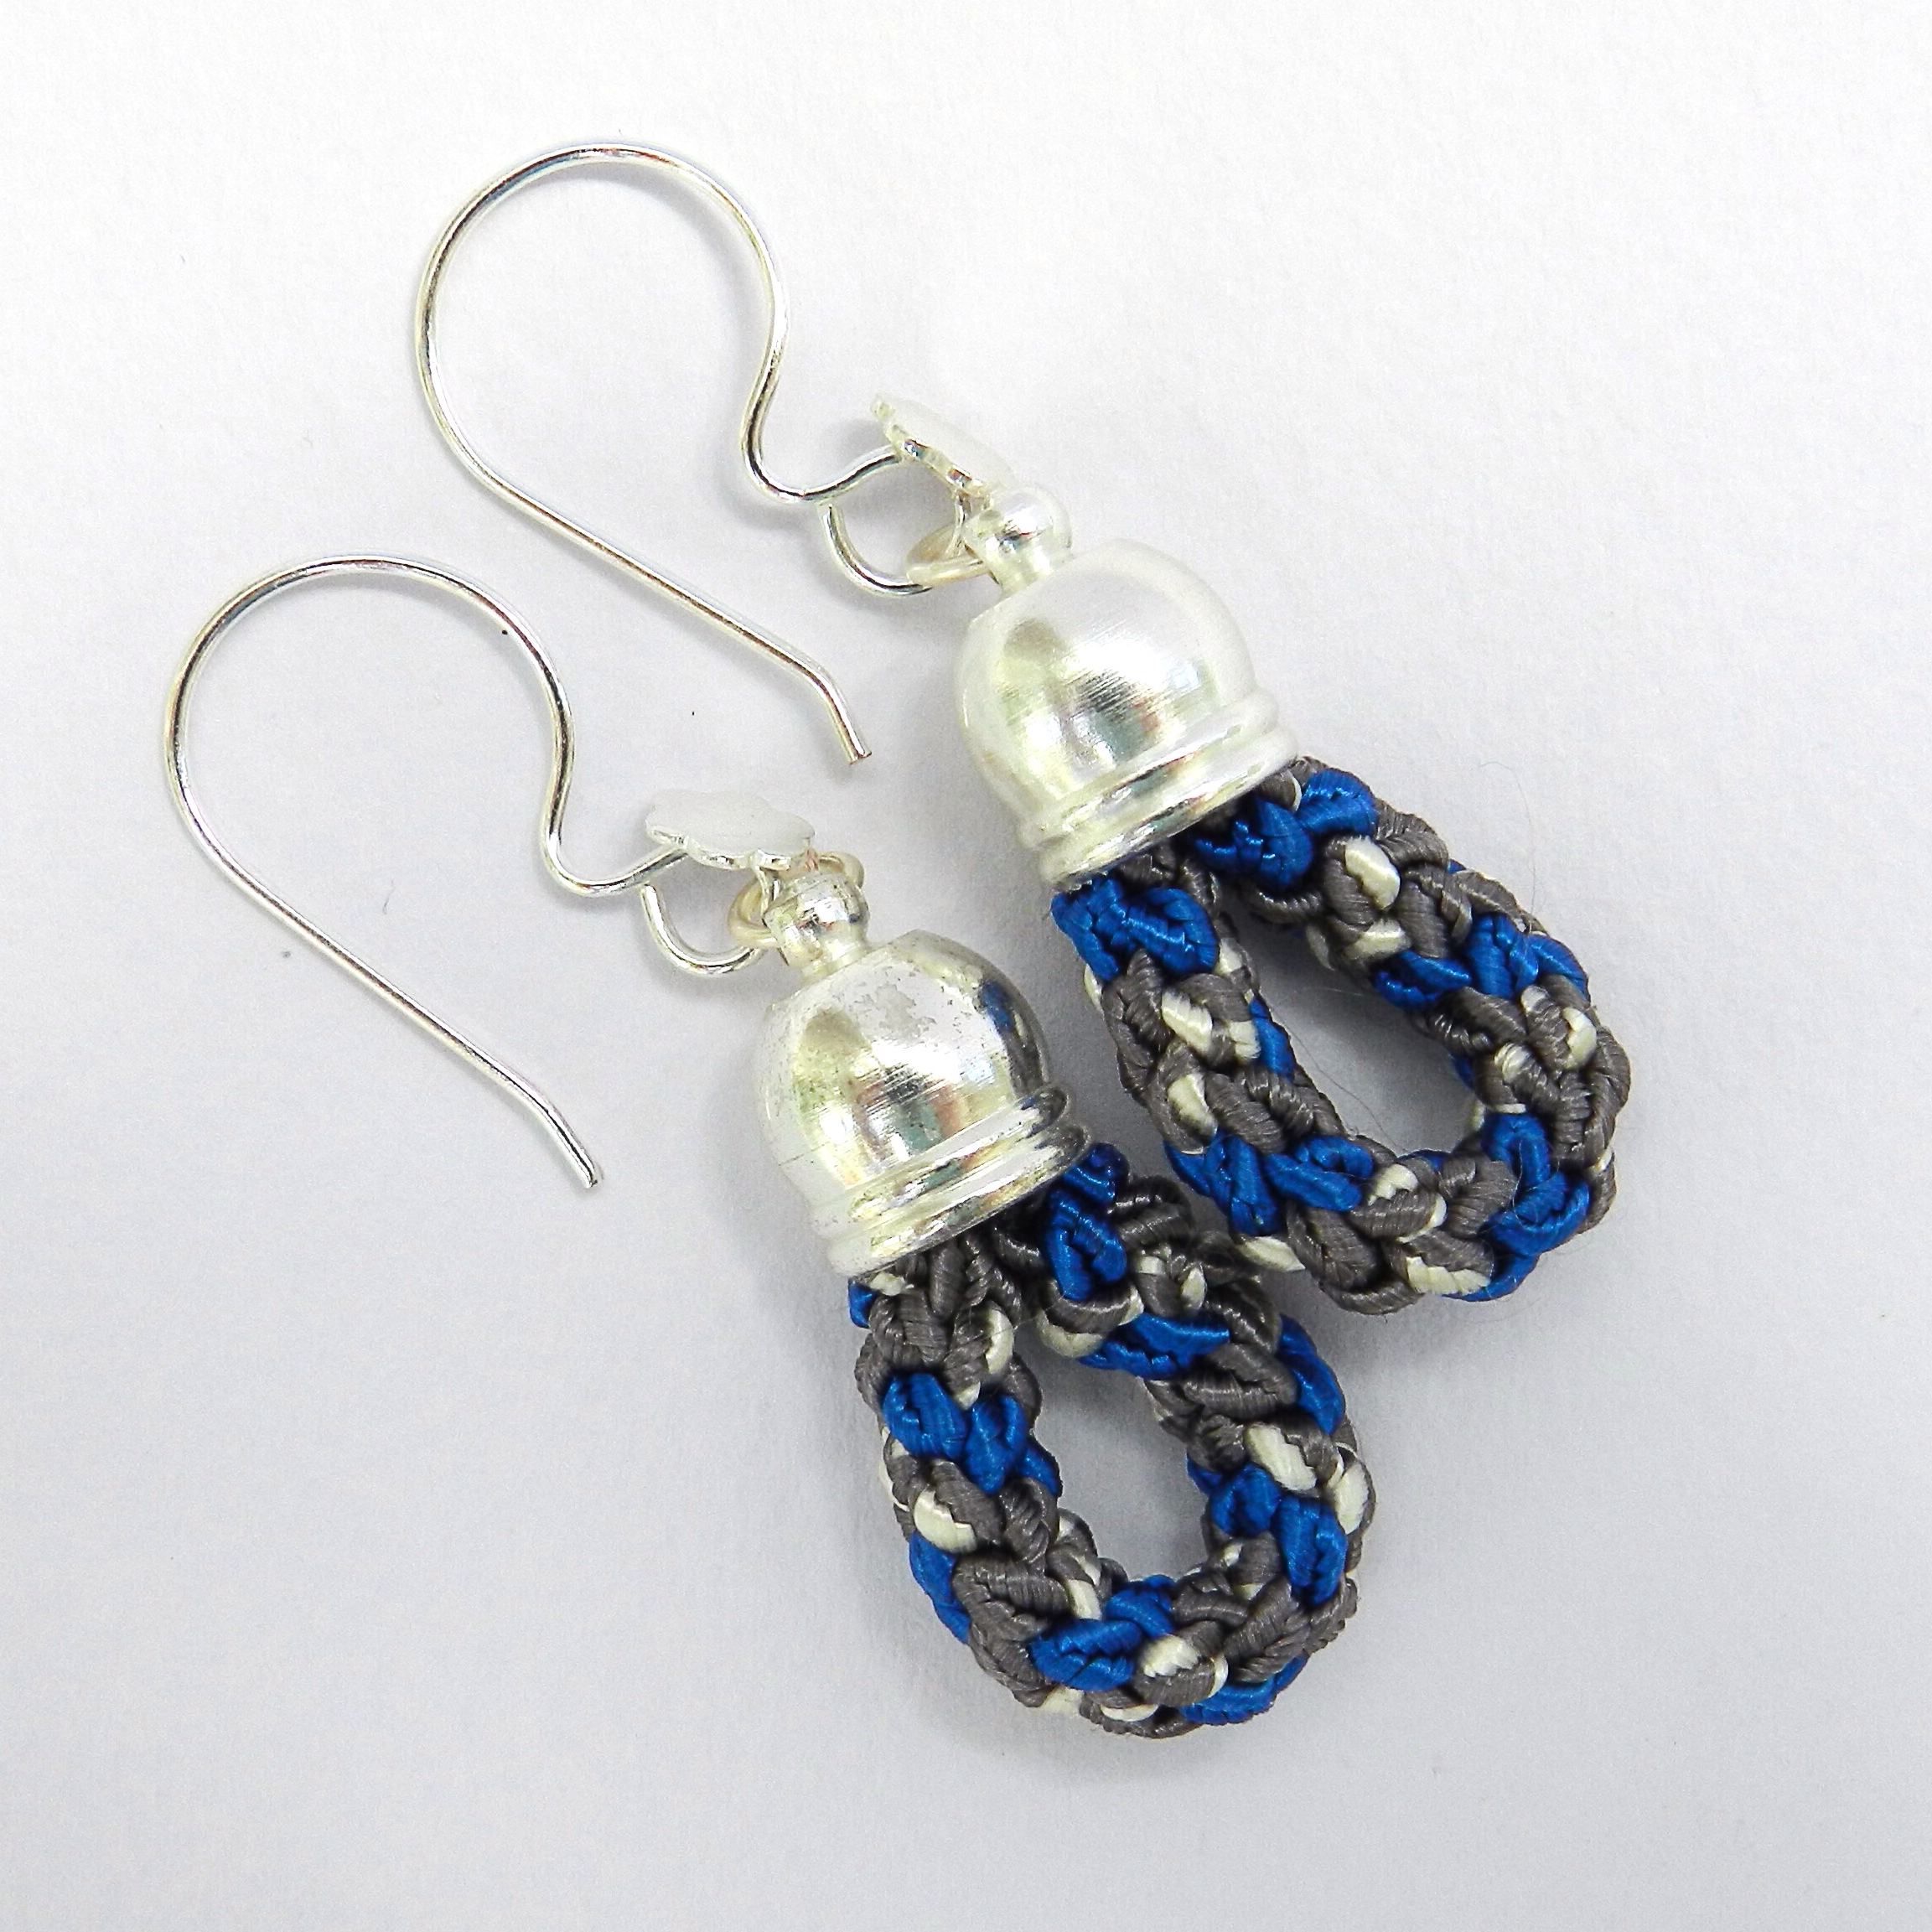
Use 6 cord Hollow Braid to make a length of braid. Use 50cm per cord for the size of earring shown, but larger hoops would also look great.
Elaborate Soutache Necklace
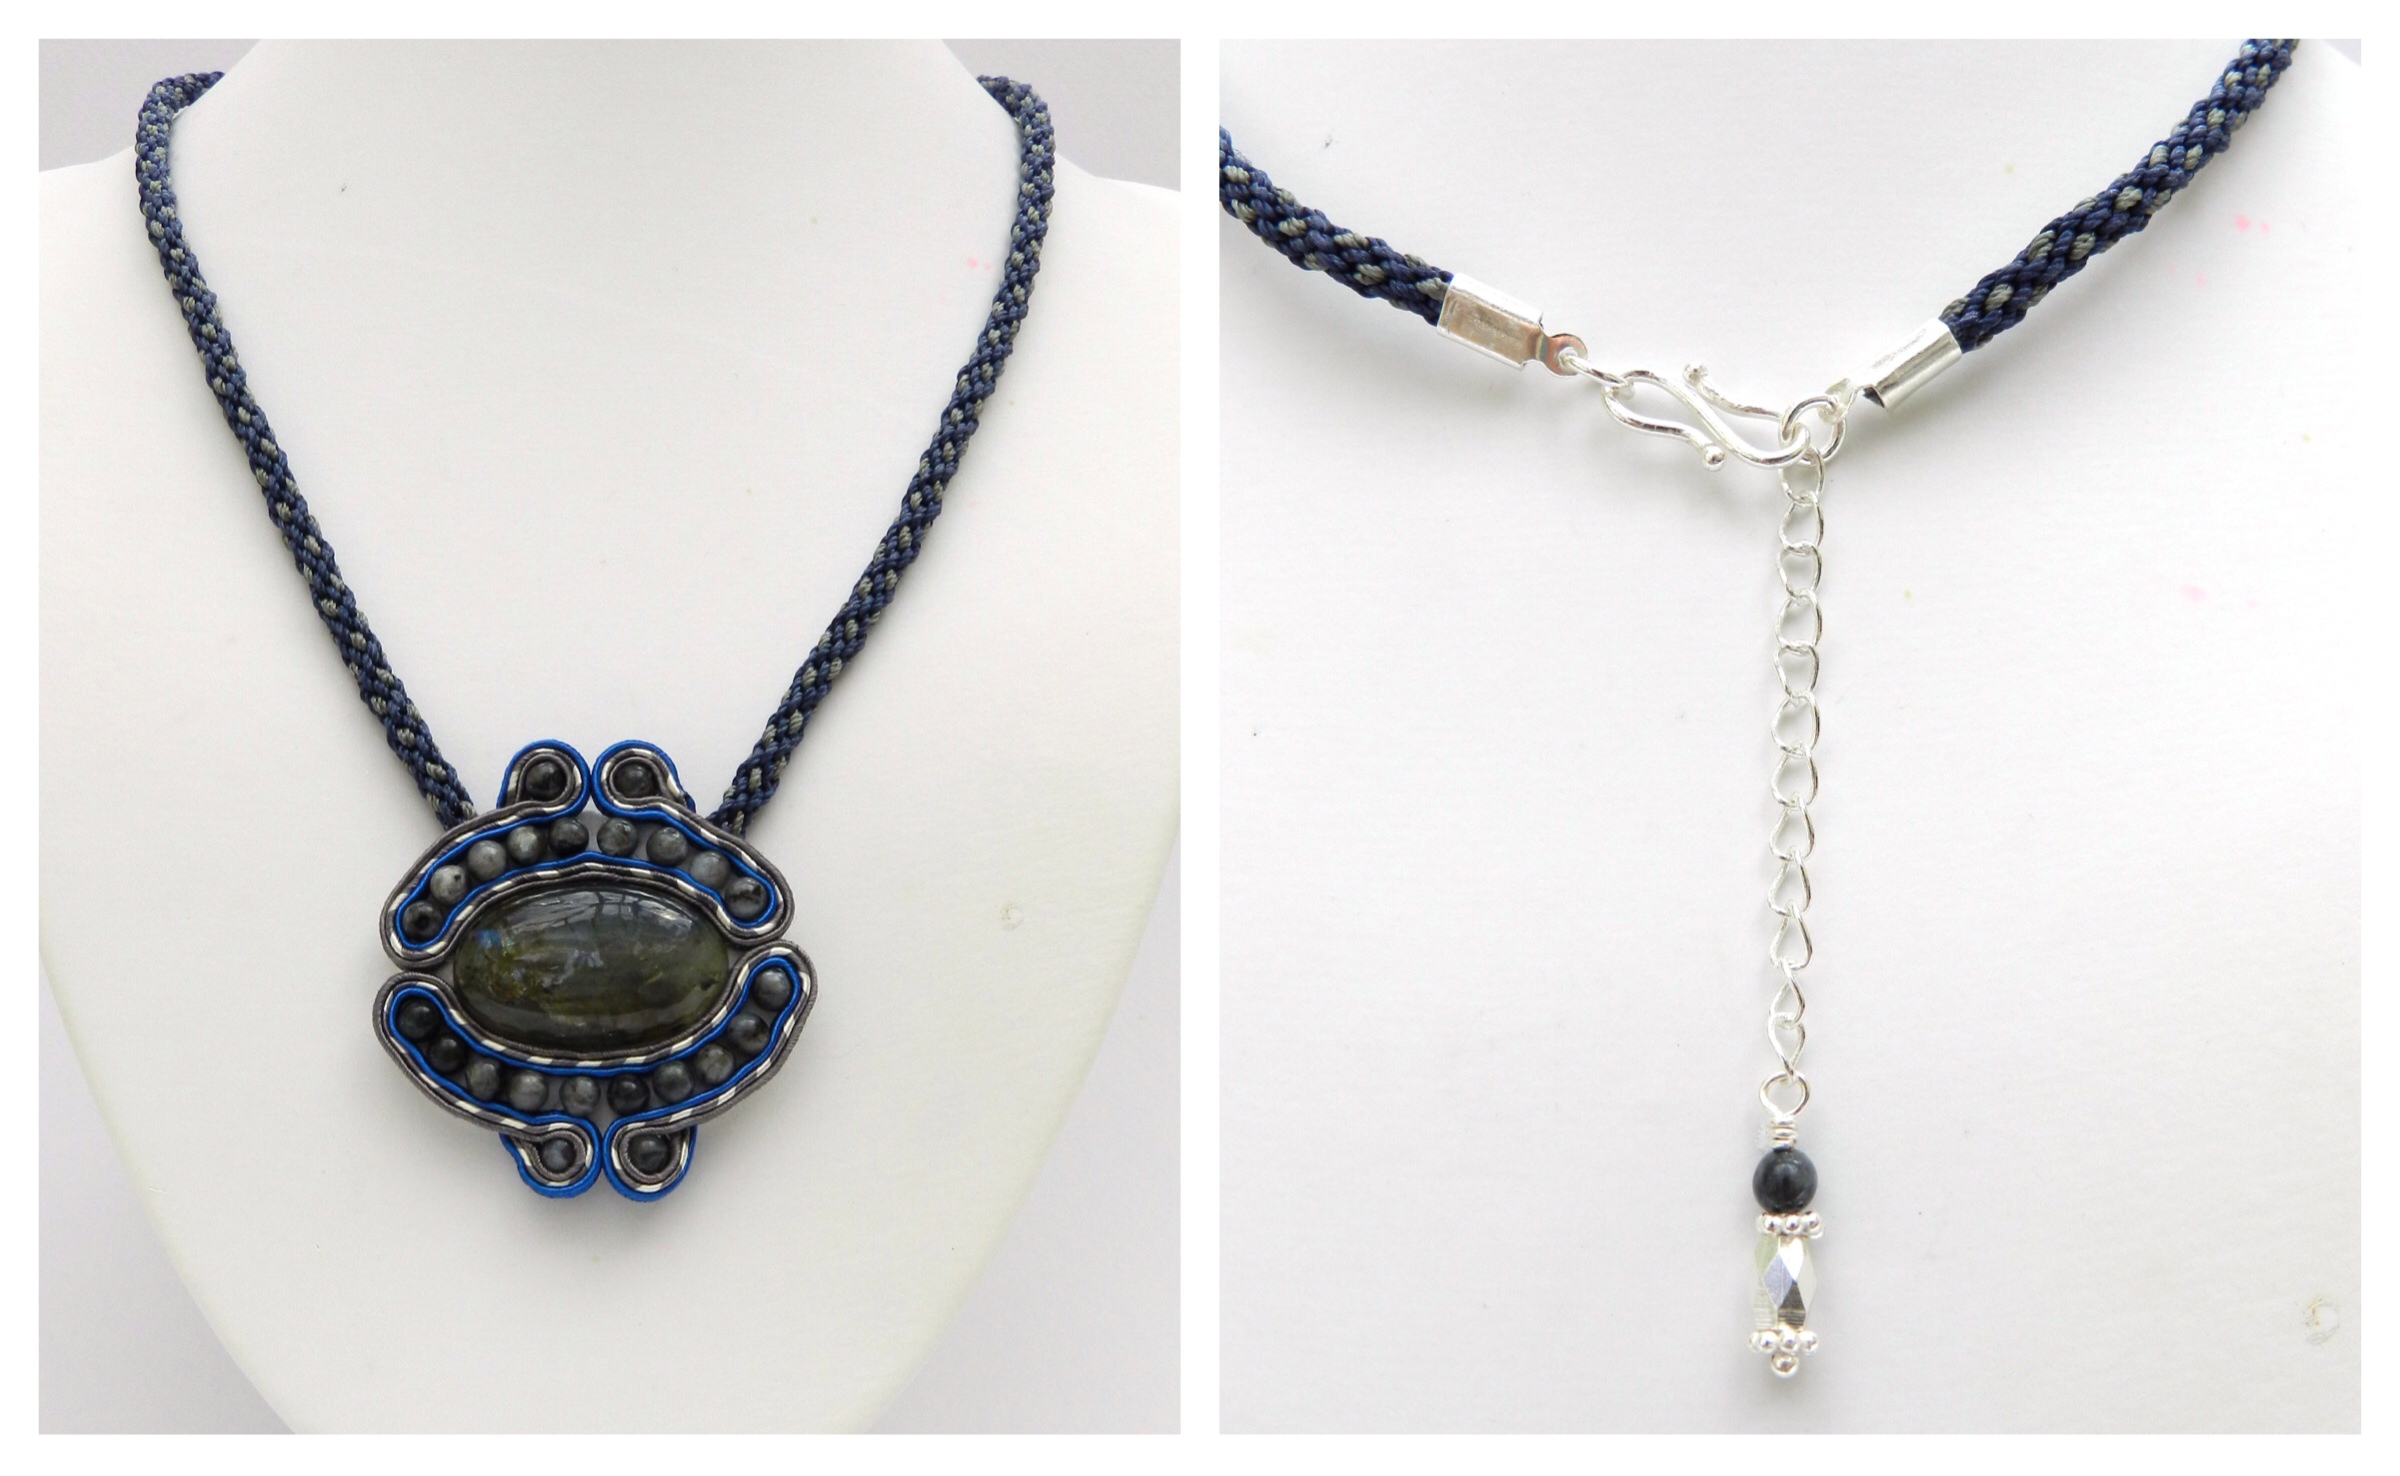
The more traditional stitched method of soutache was used to make this design. Before the final backing is stitched onto the cab spread on some fabric glue and attach the kumihimo cord to the back. Spread out the cords to minimise the bulk. Finish off with another piece of backing and stitch around the edges for a neat effect.
Teardrop Pendant
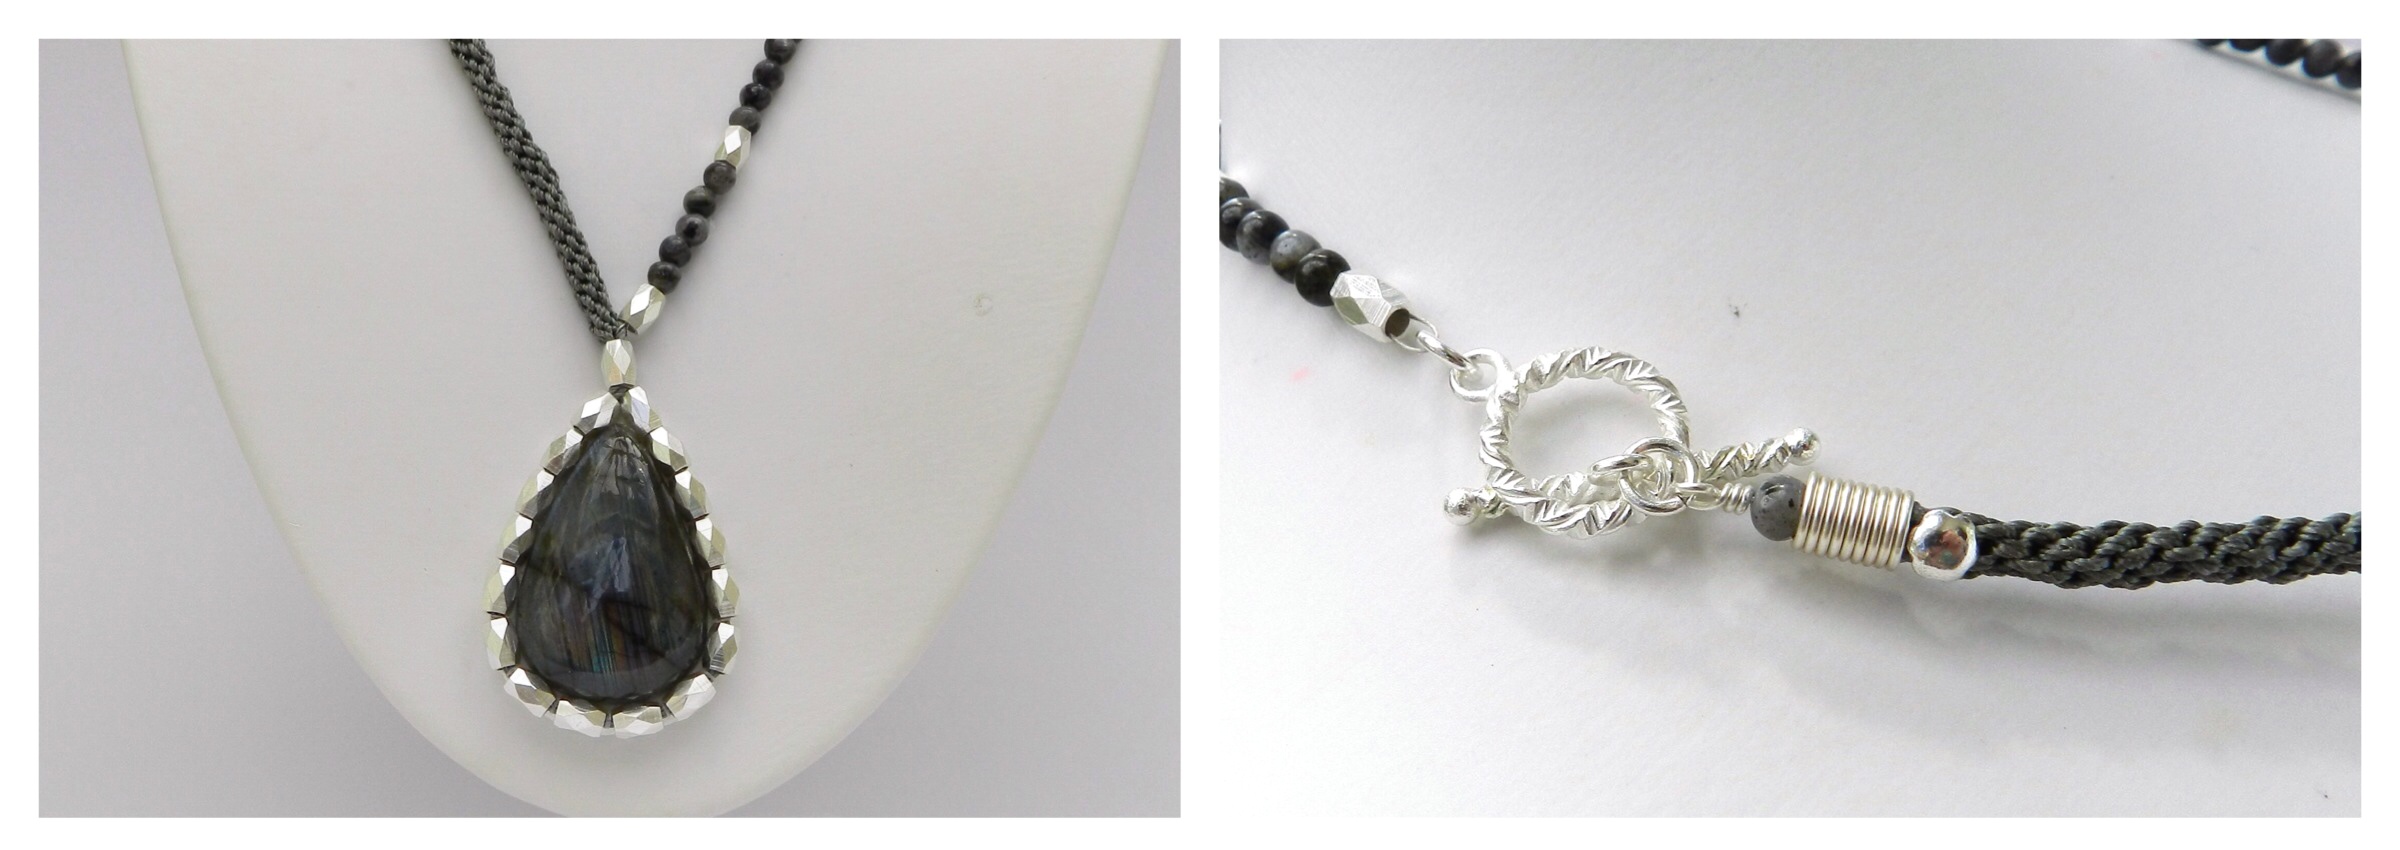
Stick the cab onto the backing. For the edging the beads need to have large enough holes to accommodate 8 strands of S-Lon (I used the thick, 0.9mm). Thread enough beads onto 4 x 1m cords to go round the cab. Starting from the bottom use the couching method to attach the cords to the cab in between each bead. Try to keep the beads as close as possible to the cab to give it extra support. Complete both sides and thread all 8 cords through one extra bead at the top. Position the cords on the disk and braid in Round Braid. For the second side of the necklace use beading thread/wire. Pierce the braid with the wire, close to the final bead and use a crimp to secure it. Thread on beads and finish with a crimp and clasp.
Spacer Bar Bracelet
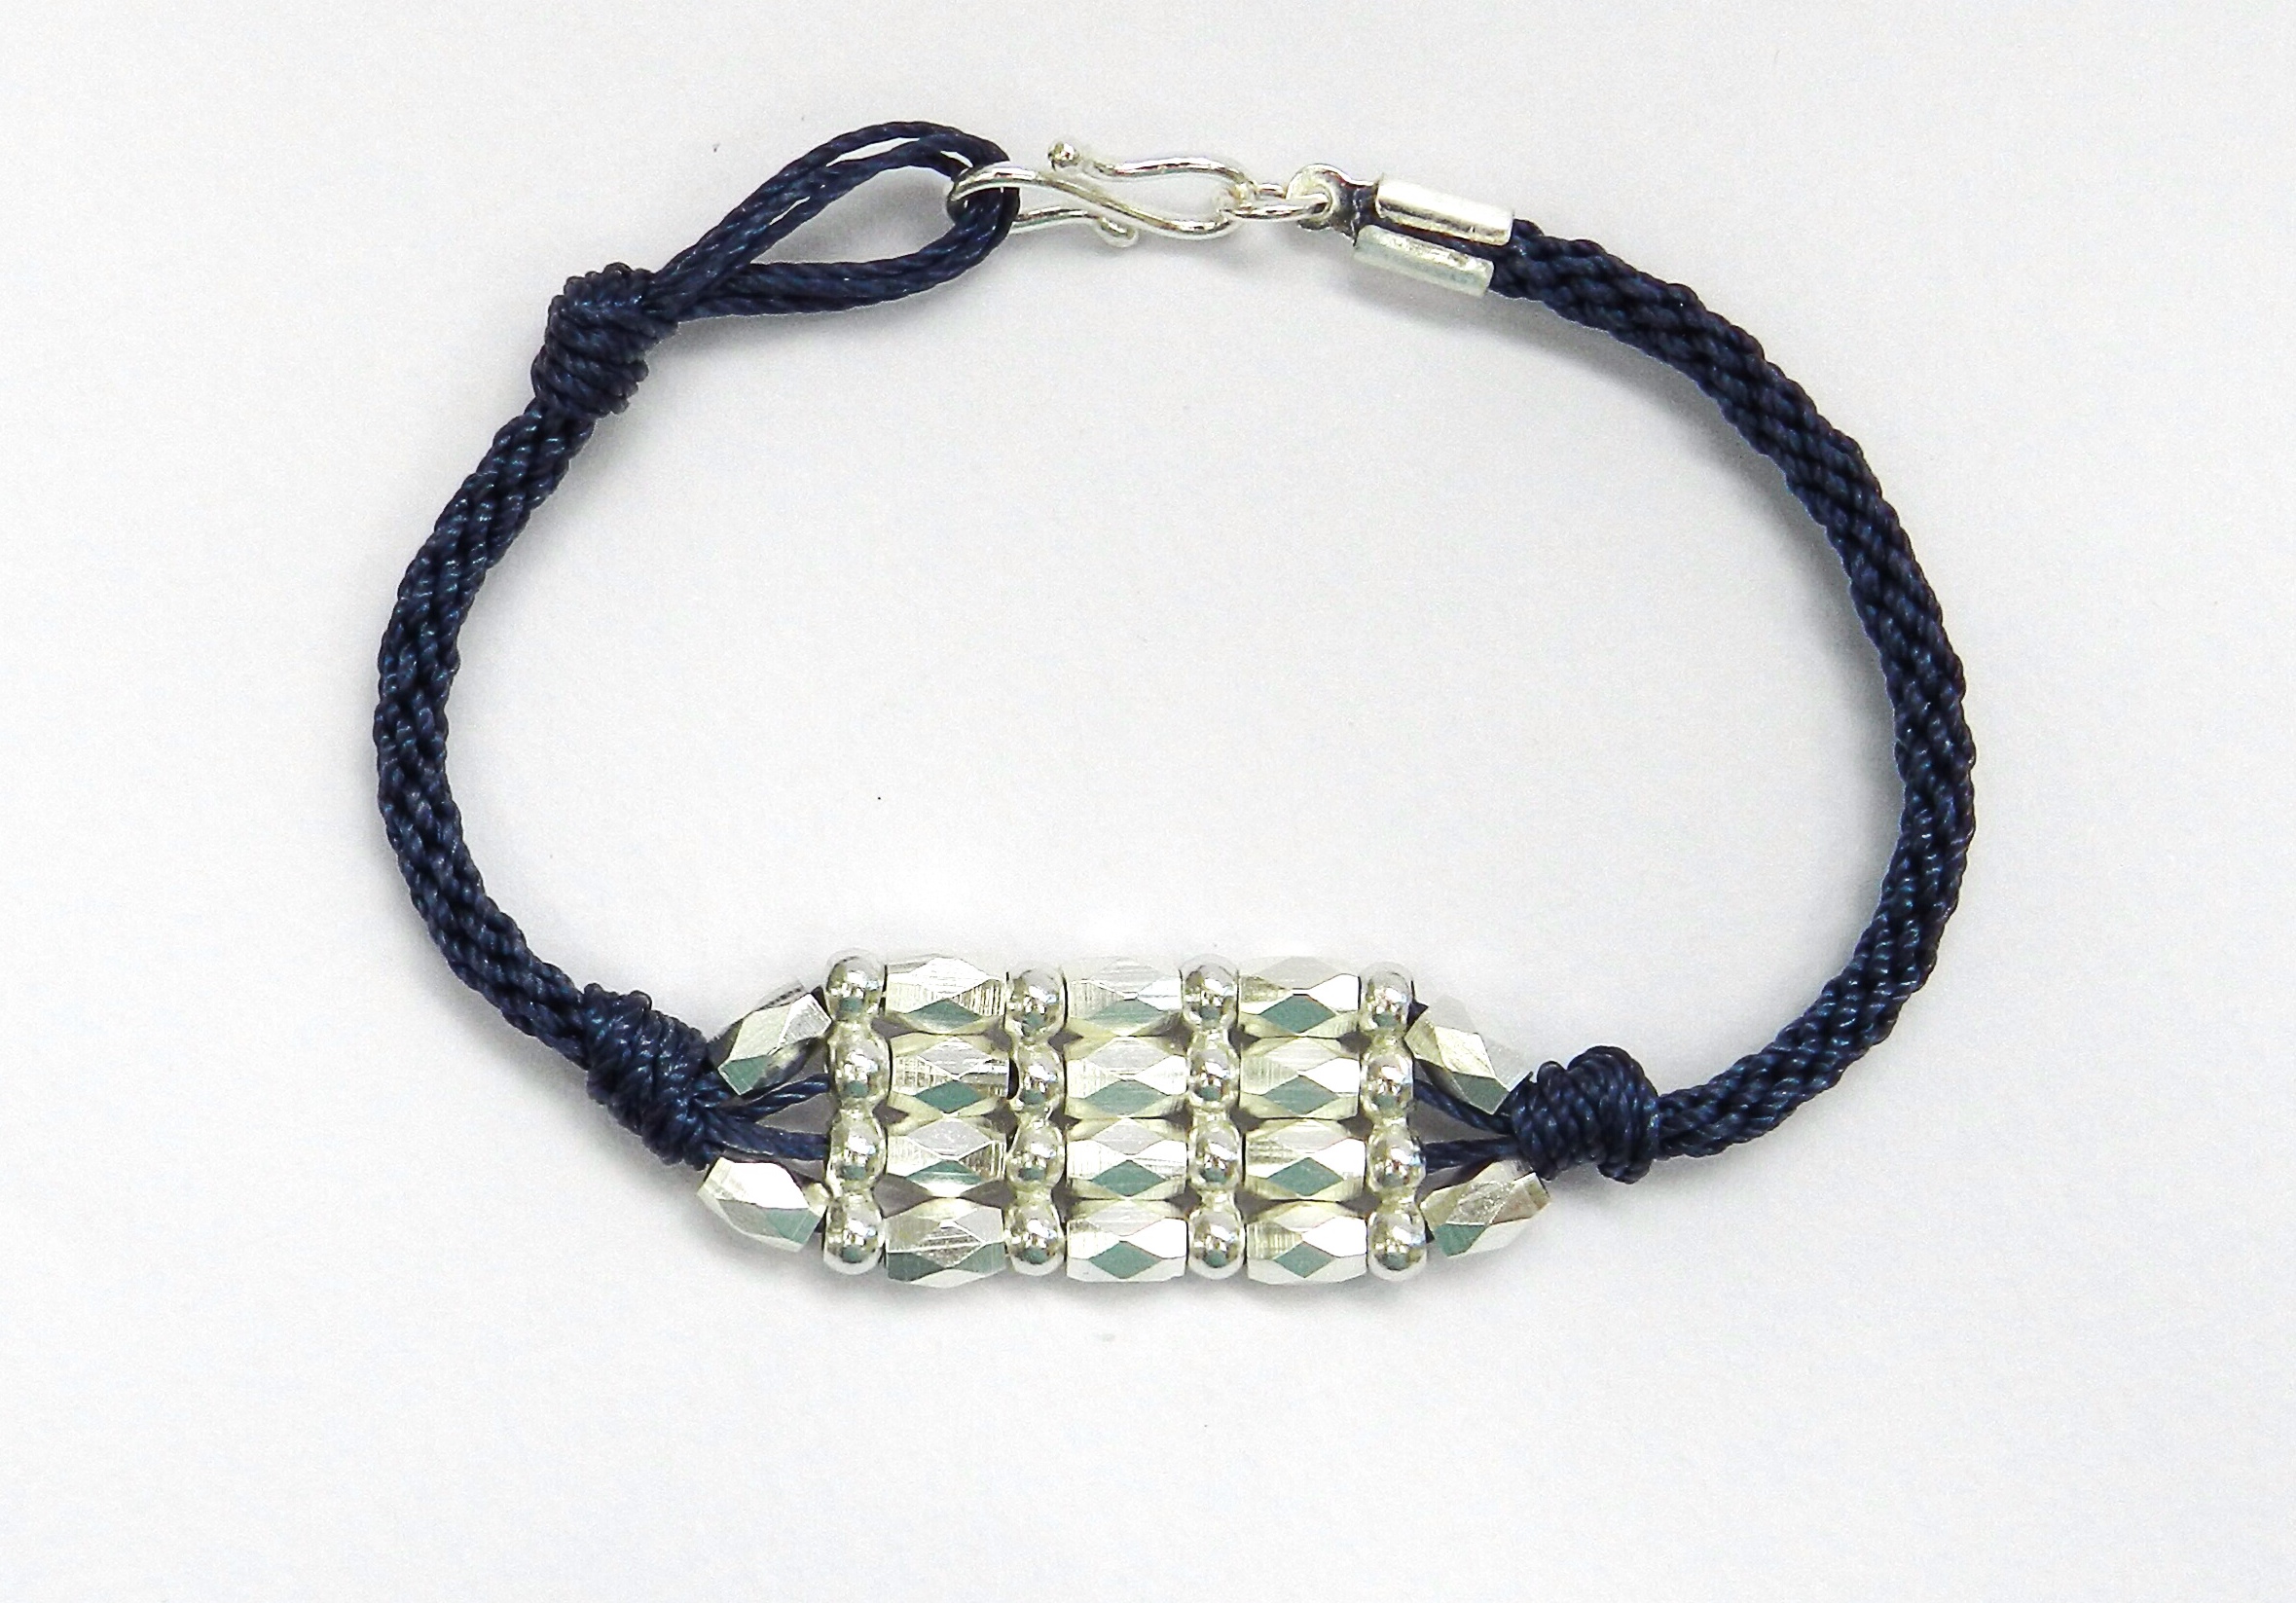
I demonstrated a bracelet with a similar construction on a previous show. This is the link to the instructions.