
Mint Magic is a kit containing prehnite bicones, rutilated puffy coins and pyrite drops. For the show I made a bracelet for the demonstration piece and also made two necklaces and a pair of earrings. Find the demonstration on YouTube by clicking here. These designs were demonstrated in the second part of the show.
Bracelet
The bicones work wonderfully in this bracelet design, which also features a clever ending method using two headpins.

1. Cut 4 x 65cm mint cord and 4 x 65cm bronze cord.
2. Position the cords on the disk with the mint on either side of the north and south dots and the bronze on either side of the east and west dots.
3. Braid for 1-2cm using Round Braid.
4. Thread the following beads onto all 4 mint cords, 3 seed beads-6 bicones-2 seed beads-a piece of scrap paper-2 seed beads-6 bicones-3 seed beads

5. Thread the following beads ont0 all 4 bronze cords, 17 seed beads -a piece of scrap paper-17 seed beads
6. Braid and add one bead each move until you come to the bicones. After the first bicone has been added start to add two seed beads for each bicone. Once all the bicones have been used up return to adding just one seed bead each time until the scrap paper is reached.
7. Braid without beads to make a small gap in the braiding. 8 to 16 moves will be sufficient. Rip away the scrap paper.
8. Continue to braid the second half of the bracelet using the same method as the first half.
9. Braid for a further 1-2cm, remove from disk and knot to secure.
10. Bind the ends with thread, then glue and trim the end of the braid.
11. Push a headpin through the end of the braid, inside the binding.
12. Make a small coil out of wire or a headpin. Thread it onto the end of the first headpin and braid. Thread on a bead and finish with a wrapped loop.
13. Repeat for the other end and attach a clasp with jump rings.
14. Make two or more charms using beads and headpins and attach them to the gap in the middle using jump rings.
Single Cord Choker Style Necklace
The original plans for this design were far more elaborate, but when the central section had been completed it was clear that it was very elegant just as it was. The cord is braided around a core to create a wider braid. I used 2mm satin cord, but anything similar can be used. A narrower, but still effecive effect can be achieved by using a 1mm cord.
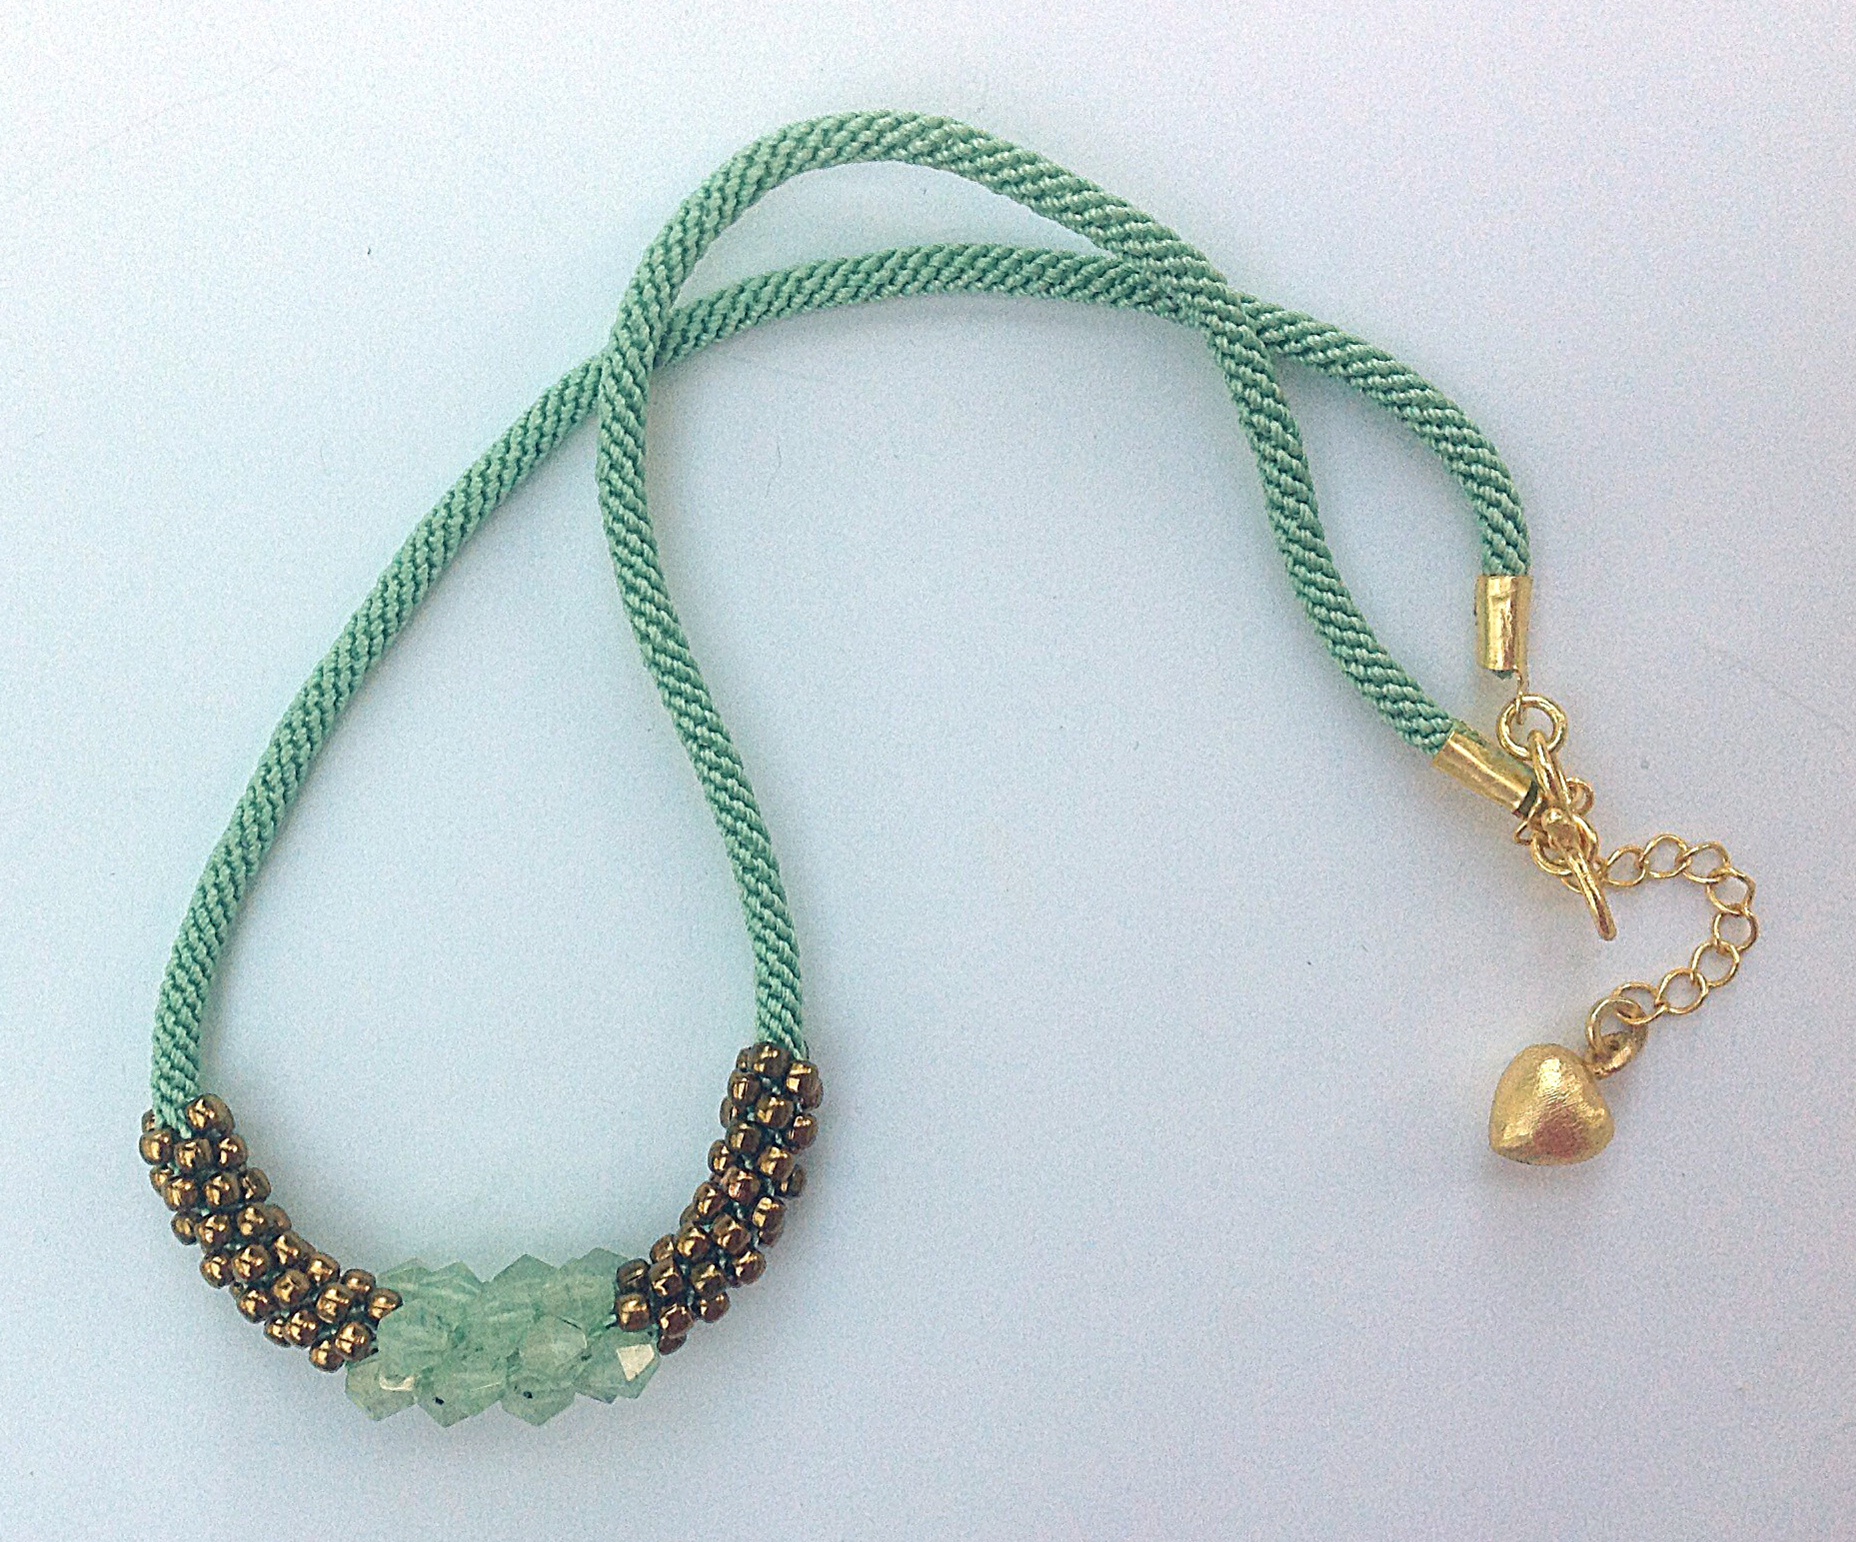
1. Cut 8 x 140cm mint cord and 75cm of 2mm satin cord or something similar. Position the on the disk on either side of the 4 dots and place the core loosely over the bottom dot.
2. Braid in Round Braid around the core for 18cm or longer/shorter depending on the required length of the necklace. To do this keep the core on the bottom dot while the cords on either side are moved. Make sure that the core is captured between these cords. Turn the disk and reposition the core on what is now the new bottom dot. These moves will ensure that the core is kept in the middle of the braid.
3. Thread the following beads onto all 8 cords, 5 seed beads-2 bicones-5 seed beads. Braid with the beads until they are all used up.
4. Continue braiding in Round Braid to match the first half of the necklace.
5. Bind, glue and trim the braid.
6. Attach cord ends to both ends of the braid and attach a clasp. A charm can be added to an extender chain for a final decorative touch.
Earrings
Kumihimo may not be the obvious choice for earrings, but it can work extremely well when worked with fine cords. In these earrings the braided section resembles a beady bead.
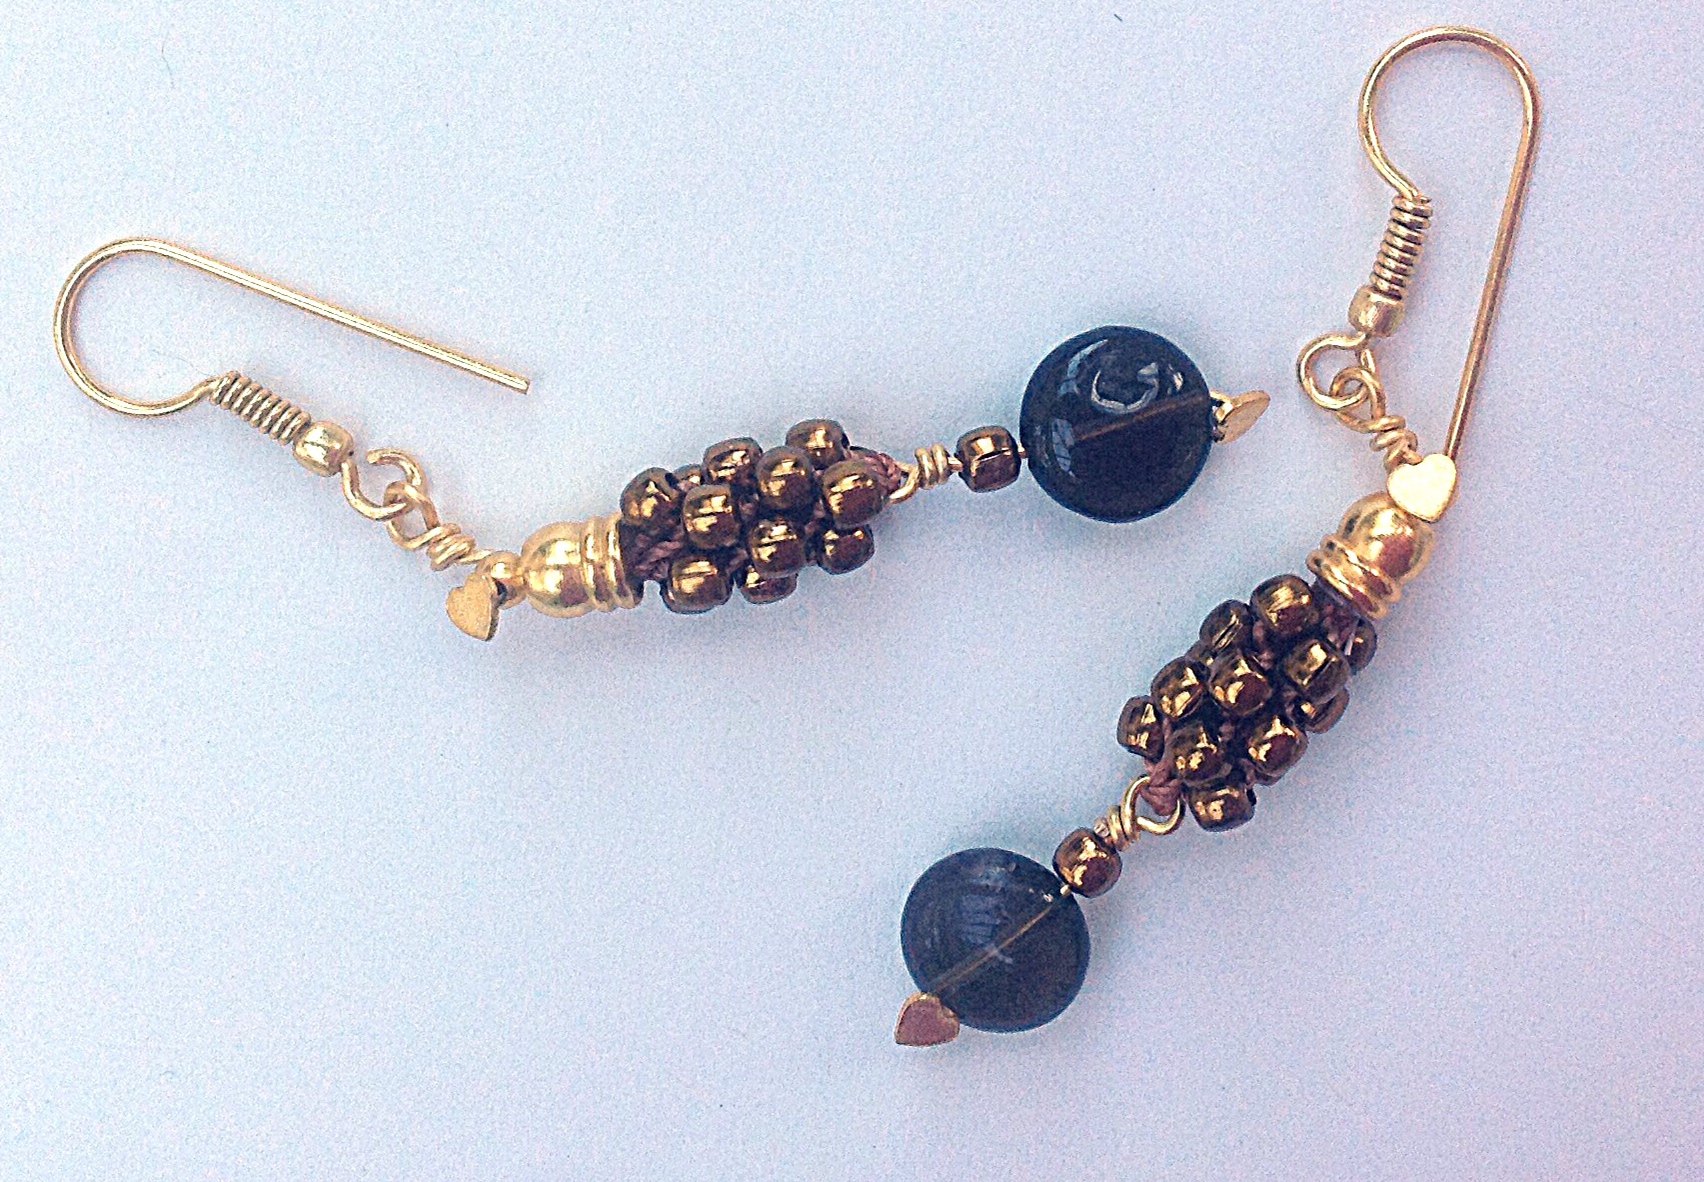
1. Cut 4 x40cm bronze cord. Not all of this will be needed, but it is more difficult to work with very short lengths.
2. Thread a coin bead and a seed bead onto a headpin and finish off with a wrapped loop.
3. Thread all 4 cords through the loop and centre the charm.
4. Position the cords on the disk on either side of the dots.
5. Thread 2 seed beads onto all 8 cords and braid in Round Braid, adding a bead with every move.
6. Braid without beads for a further 1-2cm, remove from the disk and knot to secure the braid.
7. Bind and trim the braid.
8. Apply glue to the inside of the end cap and insert the braid using a twisting motion to spread the glue. Leave to dry for the full drying time recommended by the glue manufacturer.
9. Attach earring hooks using either jump rings or headpins and a wrapped loop.
10. Repeat for the other earring.
Multi-Braid Knotted Pendant
By using different placement of the colours within a Round Braid a range of varied effects can be achieved.
Unfortunately this design was the last to be made and didn’t make it to my photo shoot. Imagaes are available on the Jewellery Maker Facebook page.
1. Make 3 braids each measuring 20-30cm. To do this you will need to have 2.5-3 times that length of cord for each of the eight cords.
2. The first braid is a ‘candy cane’ stripe. Use 4 cords of mint on either side of the north and south dots and 4 cords of bronze on either side of the east and west dots.
3. For the second braid use 2 cords of mint in slots 1 and 17 ( the slot is always to the left of its number when it is viewed the correct way up) and bronze in the other 6 slots on either side of the dots.
4. Reverse the colours in the above pattern for the last braid.
5. Bind and trim all 3 braids, making sure they are the same length.
6. Thread a large bail onto all three braids. It is important that this is done before the end caps are glued on.
7. Glue them into an end cap at either end.
8. Attach a length of chain to each end cap, using a jump ring or a head pin and wrapped loop.
9. Attach a clasp to each chain end using a jump ring.
10. Add a charm or strands of knotted beads to the loop on the bail.