

Mixing metals and mixing pyrite with metal lends a contemporary effect to the jewellery. The subtle differences in surface texture between the metal seed beads, the pearls and the pyrite work together to produce opulent effects.
These designs were shown on Jewellery Maker on 24.6.14 and the bracelet was demonstrated. Click here to see the show.
Necklace
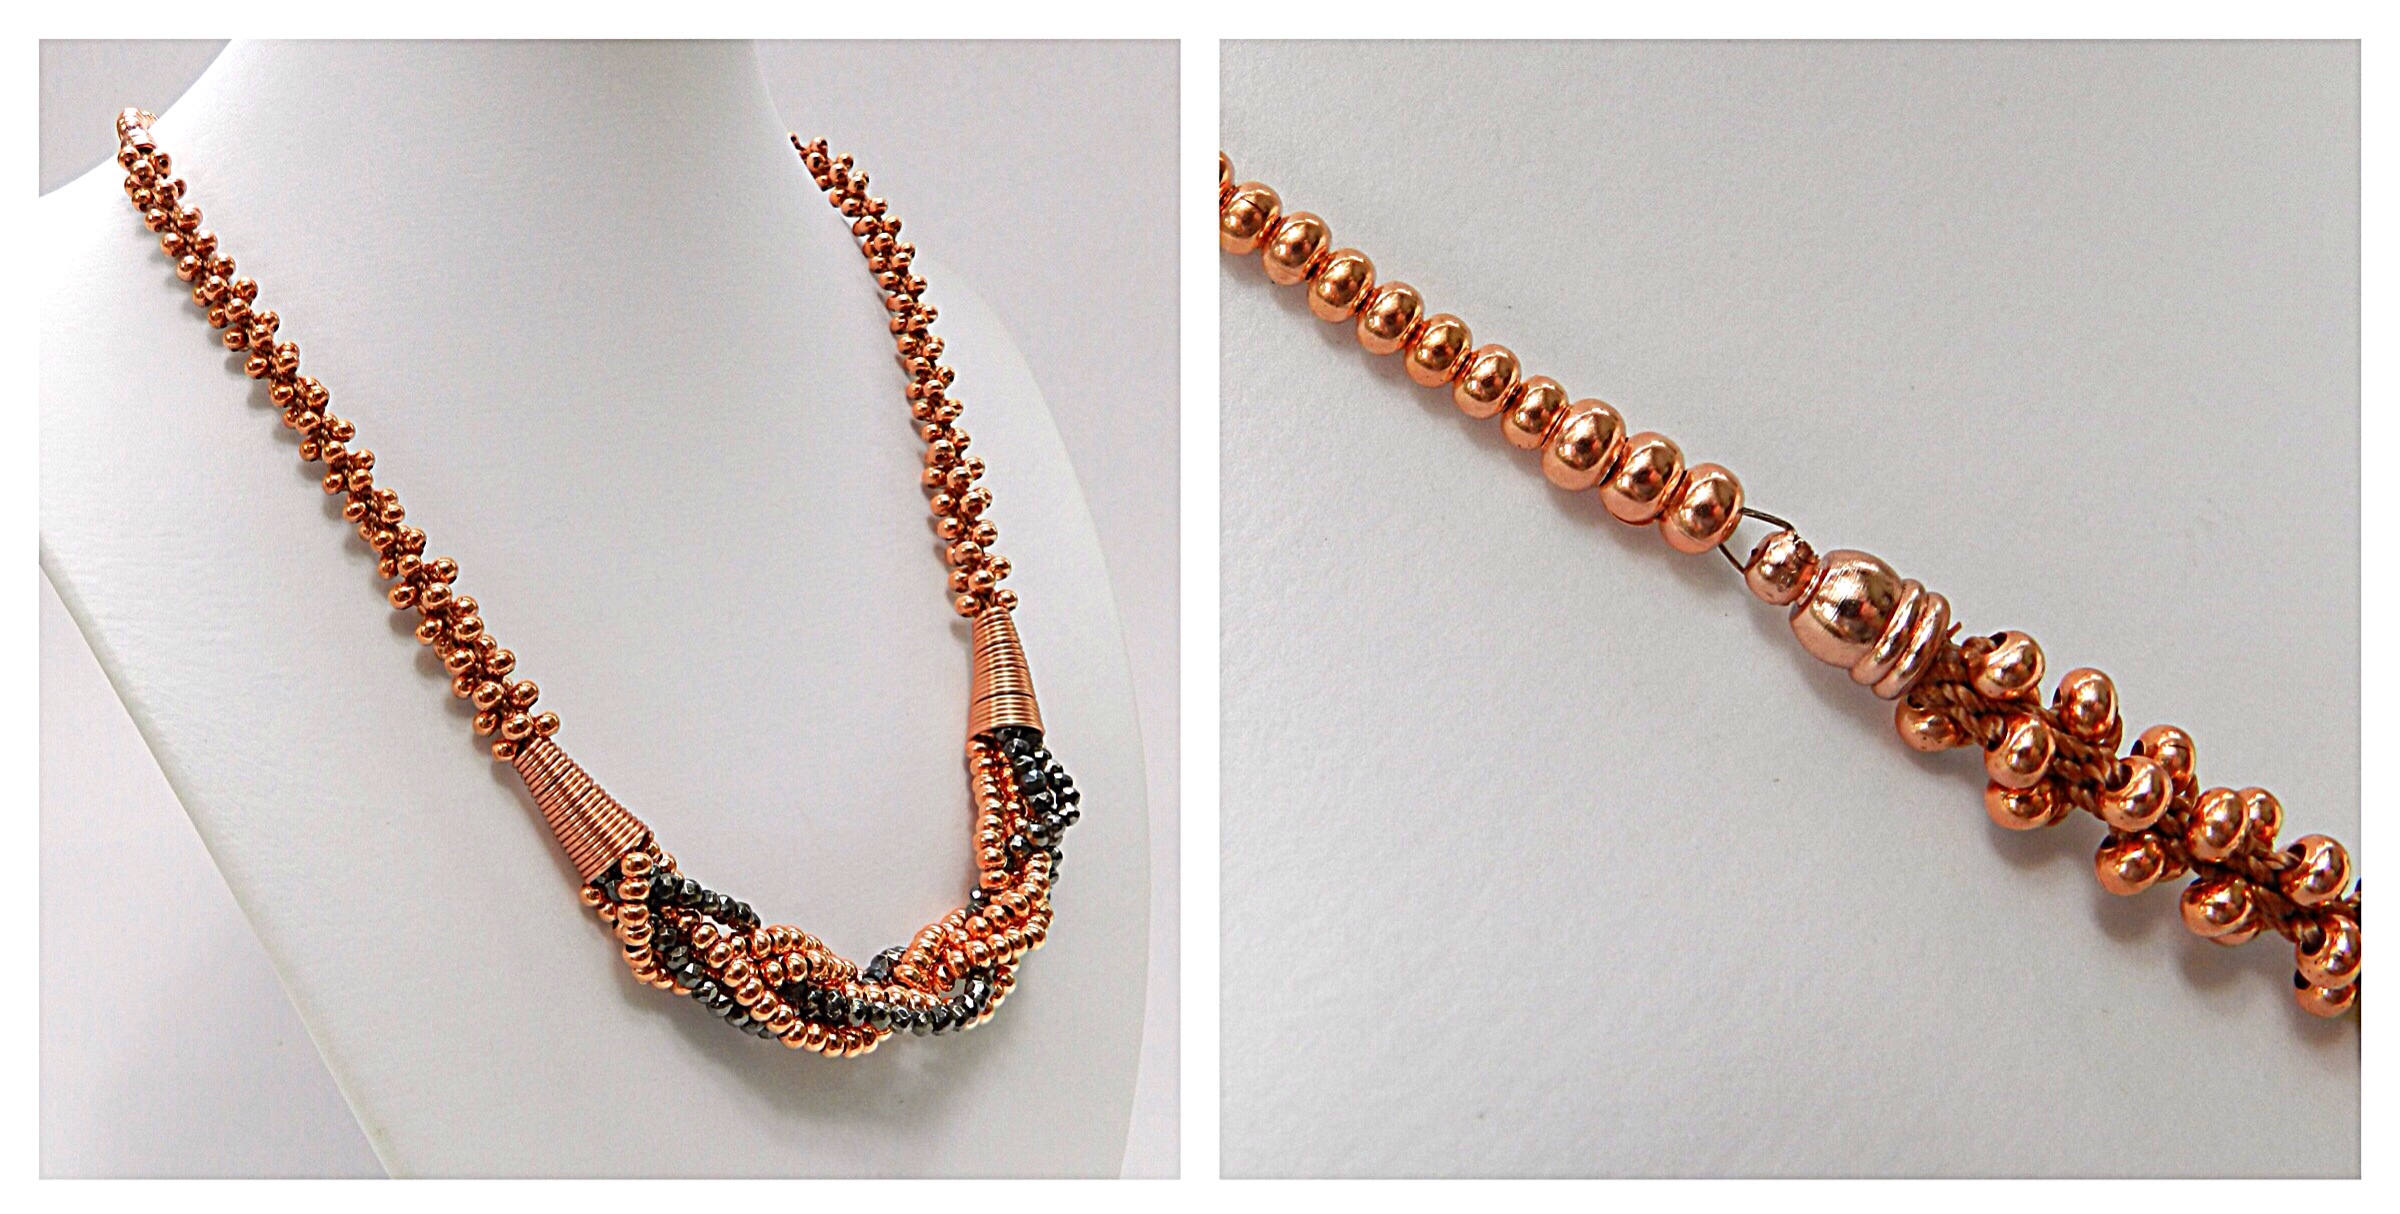
The techniques of kumihimo and stringing are used to make this statement necklace.
1. Cut 8 x 1m S-Lon cord. Position on round disk on either side of the dots. Braid in Round Braid for 1-2cm.
2. Thread 30 size 8 and 10 size 6 seed beads onto the cords in slots 32 and 16. Braid them in and braid for 8 individual moves after the beads have been finished.
3. Remove the cords in slots 32,1,16 and 17 and tie them in a double knot. Apply a drop of glue to the knot and allow to dry.
4. Remove all the cords from the disk. Take 40cm of 0.4mm wire, centre it on the glued knot and attach it by wrapping around the braid end. Thread on a cone made of wire or a large cone end.
5. Take two cords and thread on 40 size 6 beads. Repeat with the other cords. Thread pyrite onto the two wires.
6. Loosely plait the cords and wires together and thread on another cone.
7. Position the cords on the disk and pull them tight. Check that the plaiting looks good and wrap the wire ends around the cords.
8. Braid for 8 moves and then thread on 10 size 6 and 30 size 8 seed beads. Braid them in and braid for a further 1-2cm.
9. Bind the end of the braid, close to the beads. Trim and glue on a small cone.
10. Crimp a piece of beading wire/thread onto the cone and thread on seed beads to the required length. Finish with a crimp and a clasp and repeat for the other side.
Tri-colour Bracelet
Make sure the precise threading instructions are followed to achieve the 3 colour spiral.

1. Start with the pearl focal. Thread 0.4mm wire through a pearl, a size 8 bead, back through the size 8 and the pearl. Repeat this with 4 more pearls, form a ring and wrap the excess wire around the base of the pearls to form a firm ring.
2. Thread 0.4mm wire through a pearl, a size 8 bead, back through the size 8 and the pearl. Form a large wrapped loop with the two ends of wire. This is the centre of the flower.
3. Cut 4 x 120cm S-Lon. Thread them all through the wrapped loop. Thread the cords through the middle of the ring of pearls and then onto the disk on either side of the dots. The flower should now be hanging on the underside of the disk. This step was demonstrated on the show, click here to see it.
4. Braid for 8 moves using Round Braid.
5. Thread the following beads onto the cords,
32 and 1 = Size 6, alternating gold, copper, gold, copper, gold, copper etc
16 and 17 = Size 6, alternating copper, gold, copper, gold, copper, gold etc
8, 9, 24 and 25 = Size 8 silver
Individual tension and wrist size mean that a precise amount of beads can’t be given. Start with 30 per cord and see how it goes.
6. Finish the braid with either a glue-in end or a coil of wire. Add a trigger clasp. To close the bracelet attach the trigger clasp to the flower ring.
Earrings

The mini Wags Wicone was used to make these earrings. If this tool is not available, use a pen or pencil as a mandrel. It is not as easy to get an even result, but it can be done!
1. Cut 4 x 25cm S-Lon and thread them through a size 6 bead.
2. Position the cords on the disk on either side of the dots, making sure that the bead is right in the middle of the hole in the disk. Braid for 8 moves using Round Braid.
3. Thread 3 size 8 seed beads onto each cord and braid them in. Braid for a further 1-2cm without beads. Bind and glue the end of the braid.
4. Push a fine headpin through the braid, inside the binding. Thread on a cone, a pyrite bead, a size 8 bead and finish with a wrapped loop. Attach the earring finding and repeat for the other earring.