Great name for a great kit! This kit was centered around three reels of the thin S-Lon (Tex 135) which is about 0.3-0.4mm diameter and this was a great opportunity for me to play with the potential offered by such a fine, but strong cord. In addition there was a tube of 0.4mm/size 6 metal seed beads, a strand of small pearls, a strand of labradorite 3-5mm rounds and a pack of kumihimo findings. Other small gemstones or beads can easily be substituted if necessary.
The show was on 20.05.15 and the recording can be seen here.
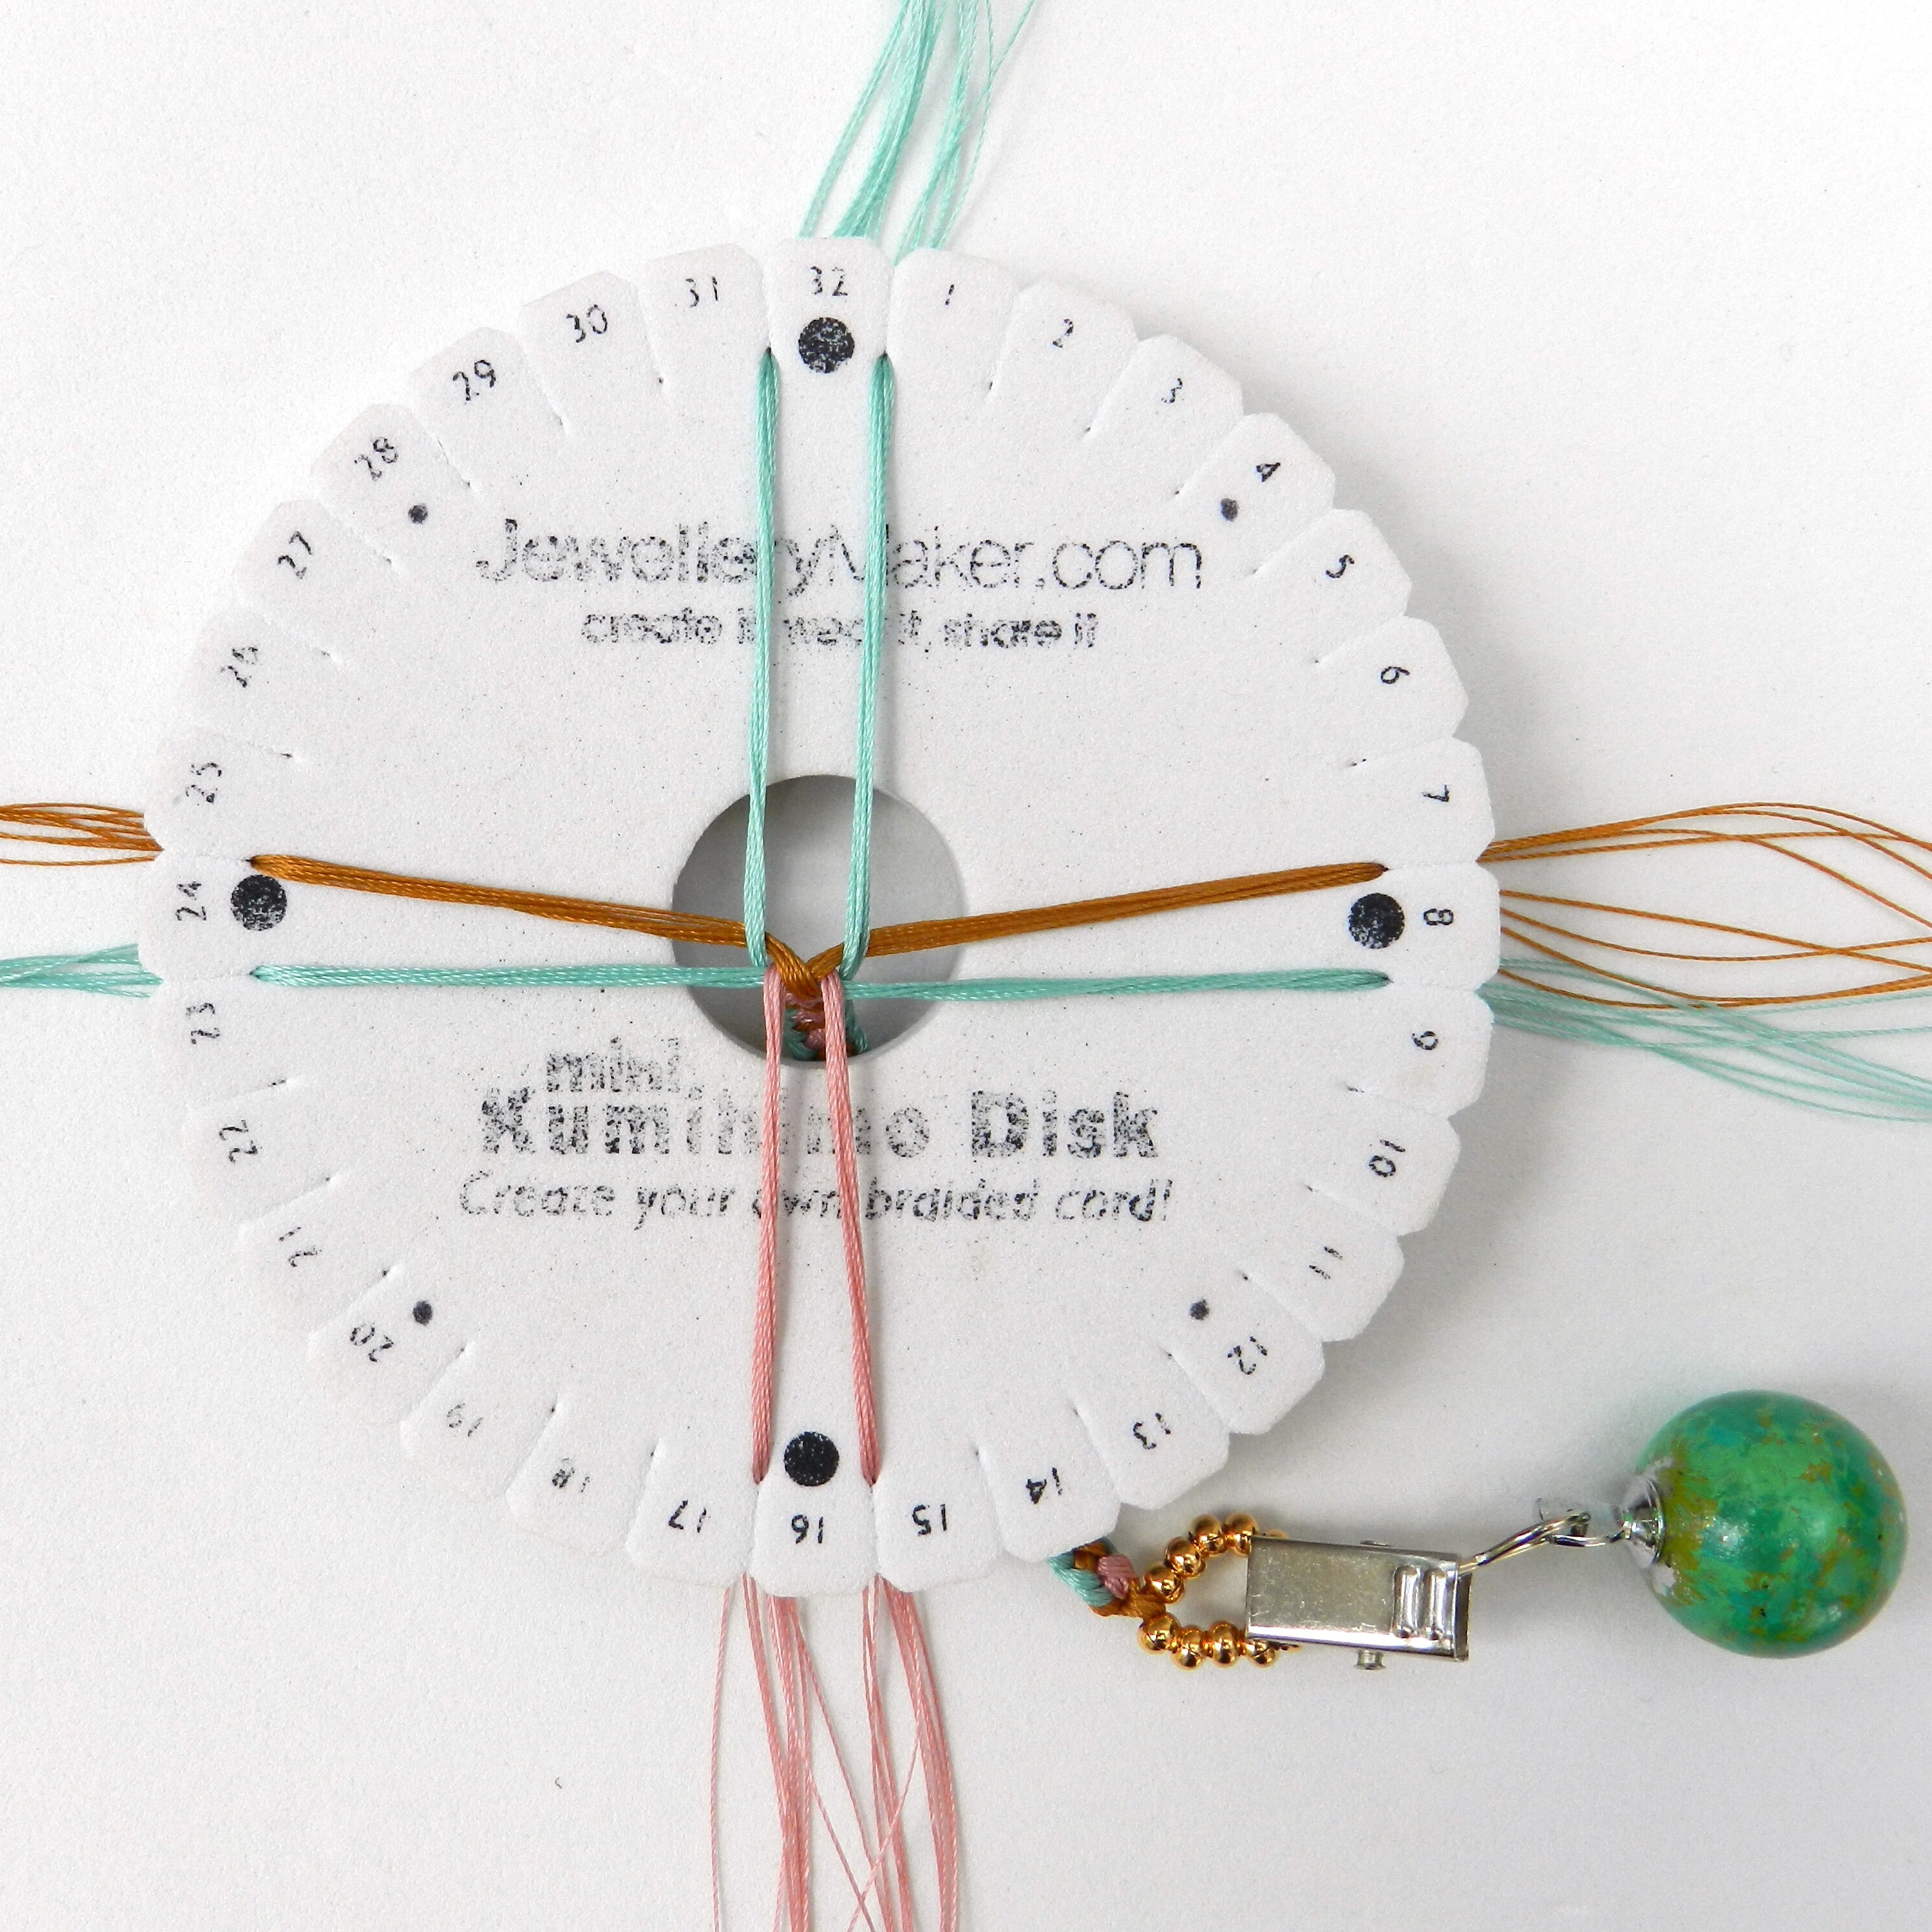
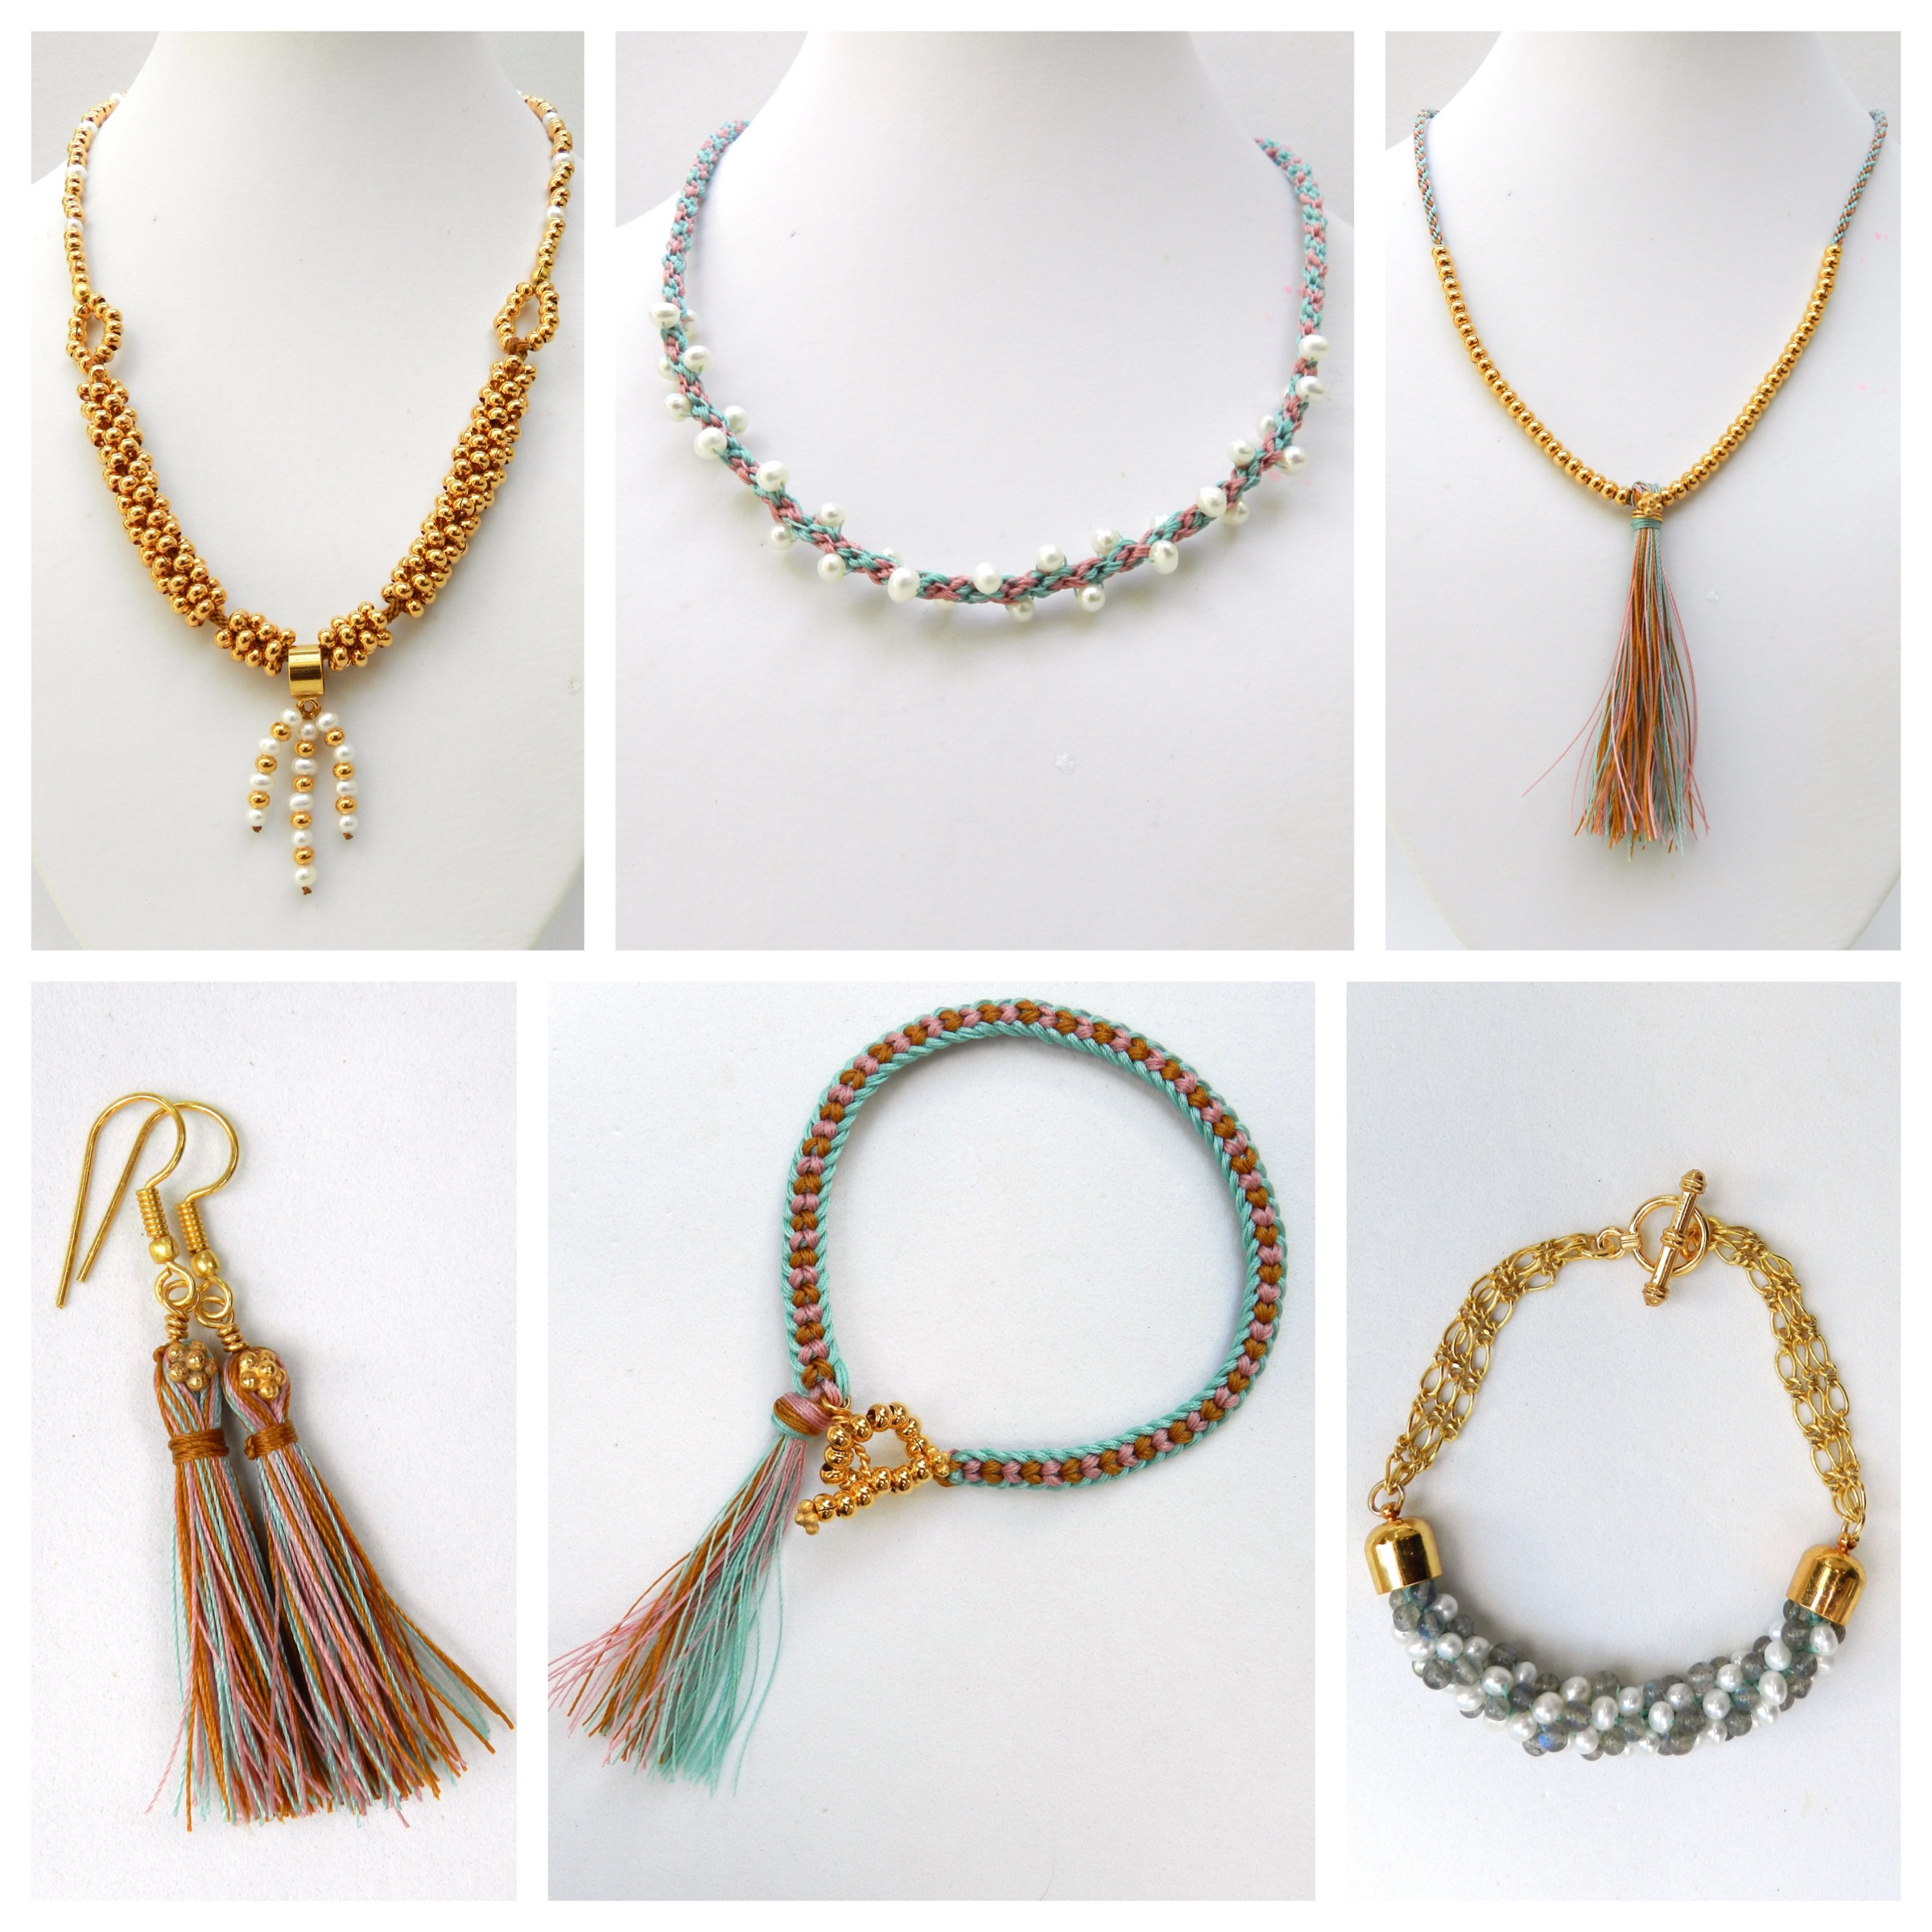
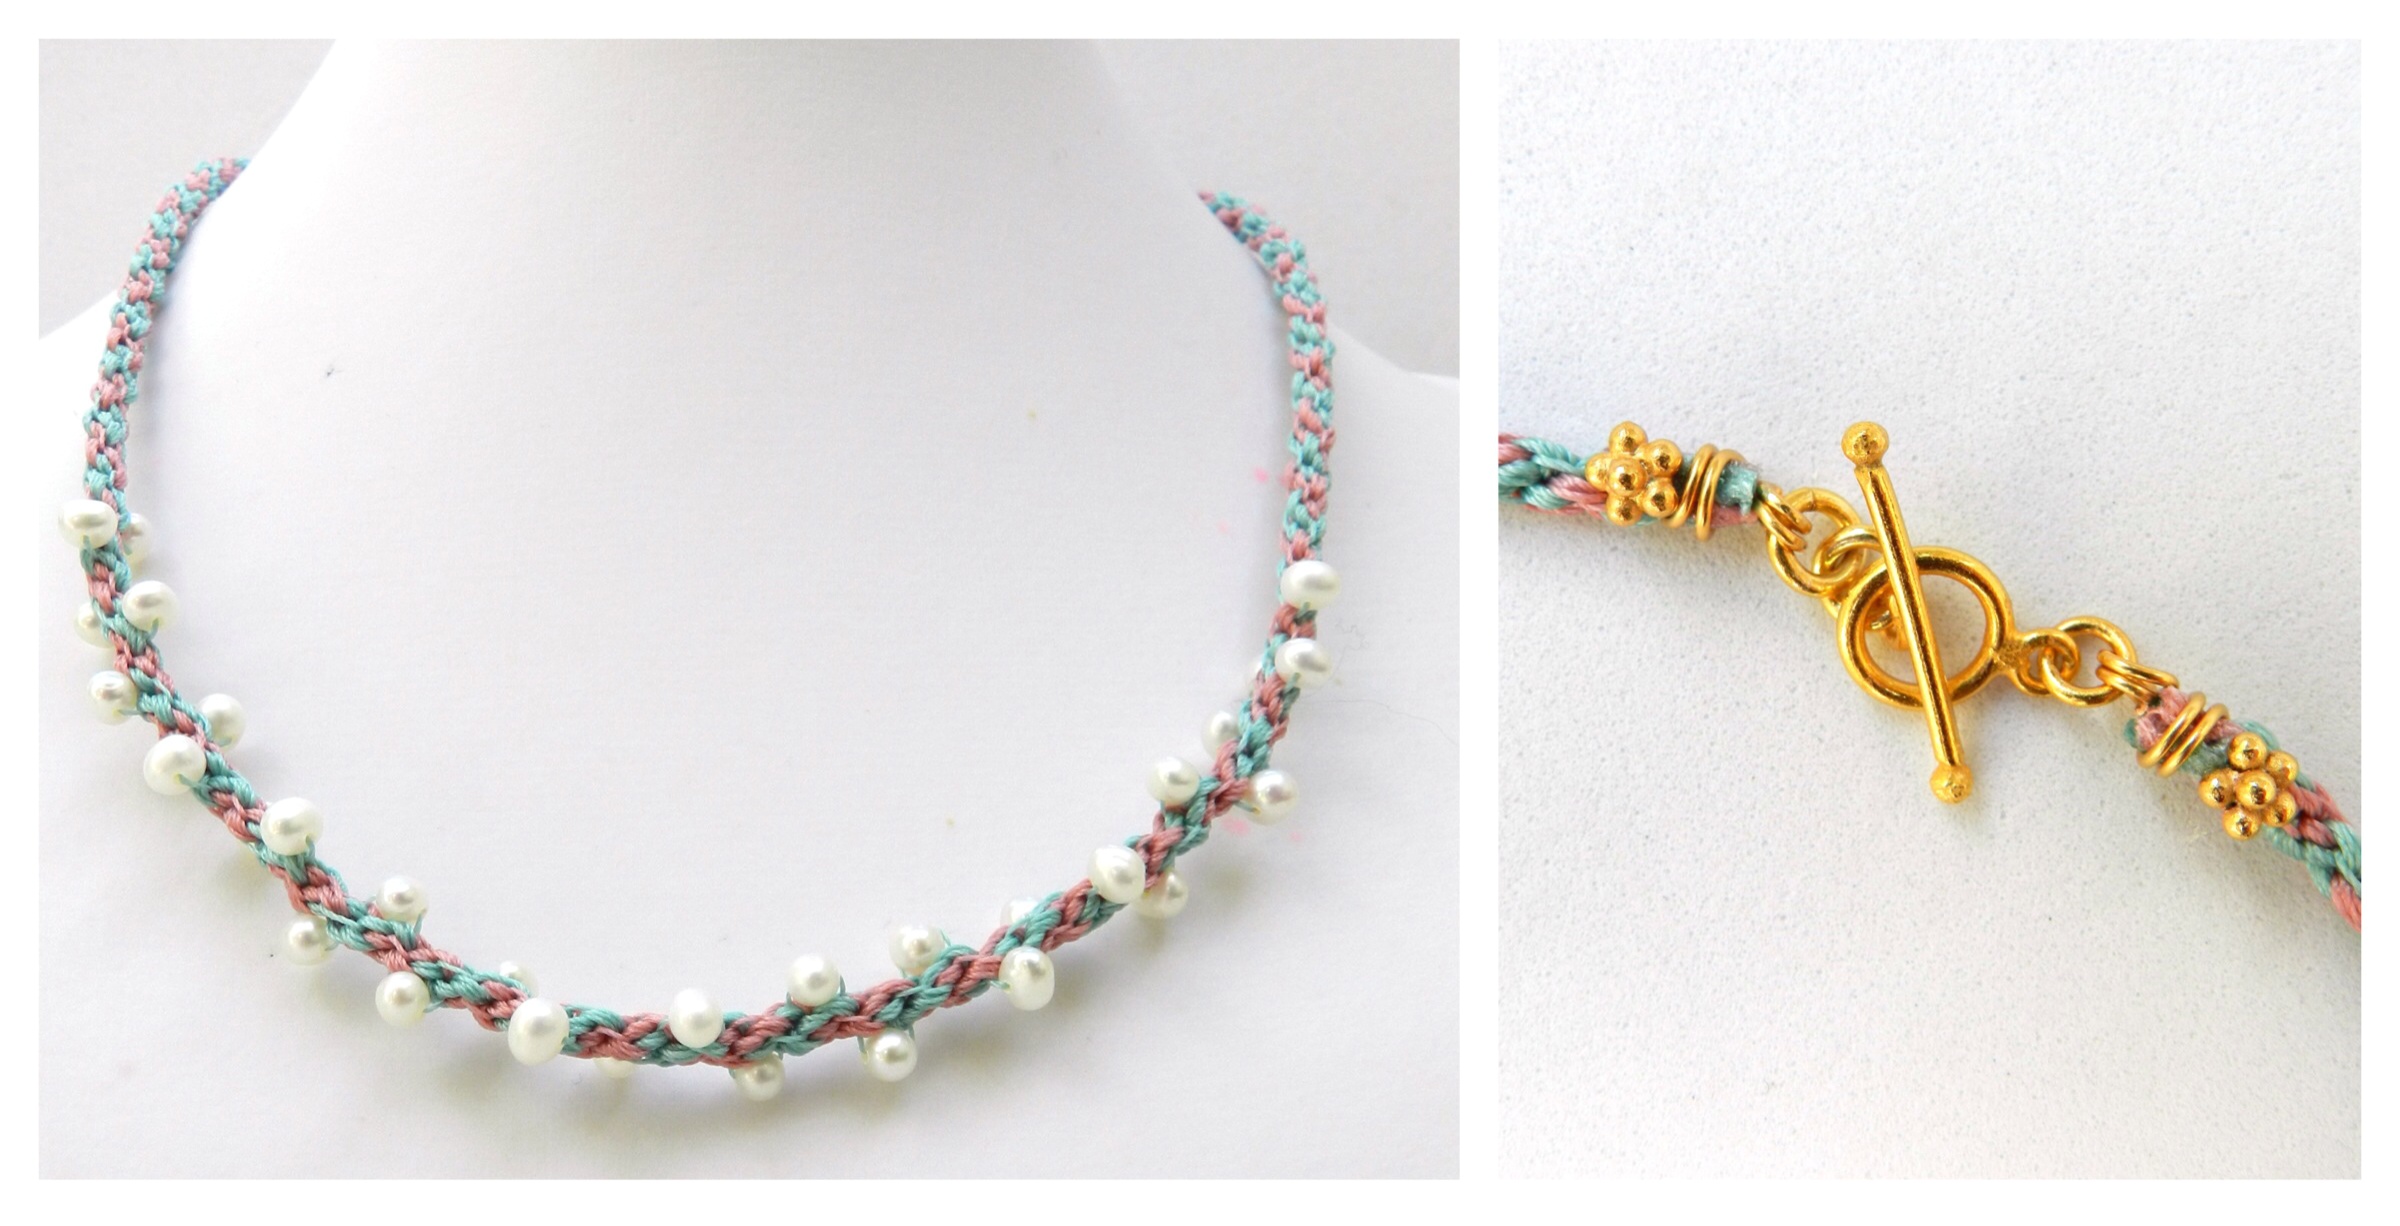
Pearl Necklace
This cord is very fine, so it is necessary to use many multiples of cord to create a braid of this size.
Cut the following quantities of cord, tie them all together in a knot at one end and position them in the slots indicated.
Teal 2 x 6 lengths of 1m Slots 8 and 9
Teal 1 x 6 lengths of 1.2m Slot 32
Teal 1 x 1.4m Slot 1
Pink 2 x 6 lengths of 1m Slots 24 and 25
Pink 1 x 6 lengths of 1.2m Slot 16
Pink 1 x 1.4m Slot 17
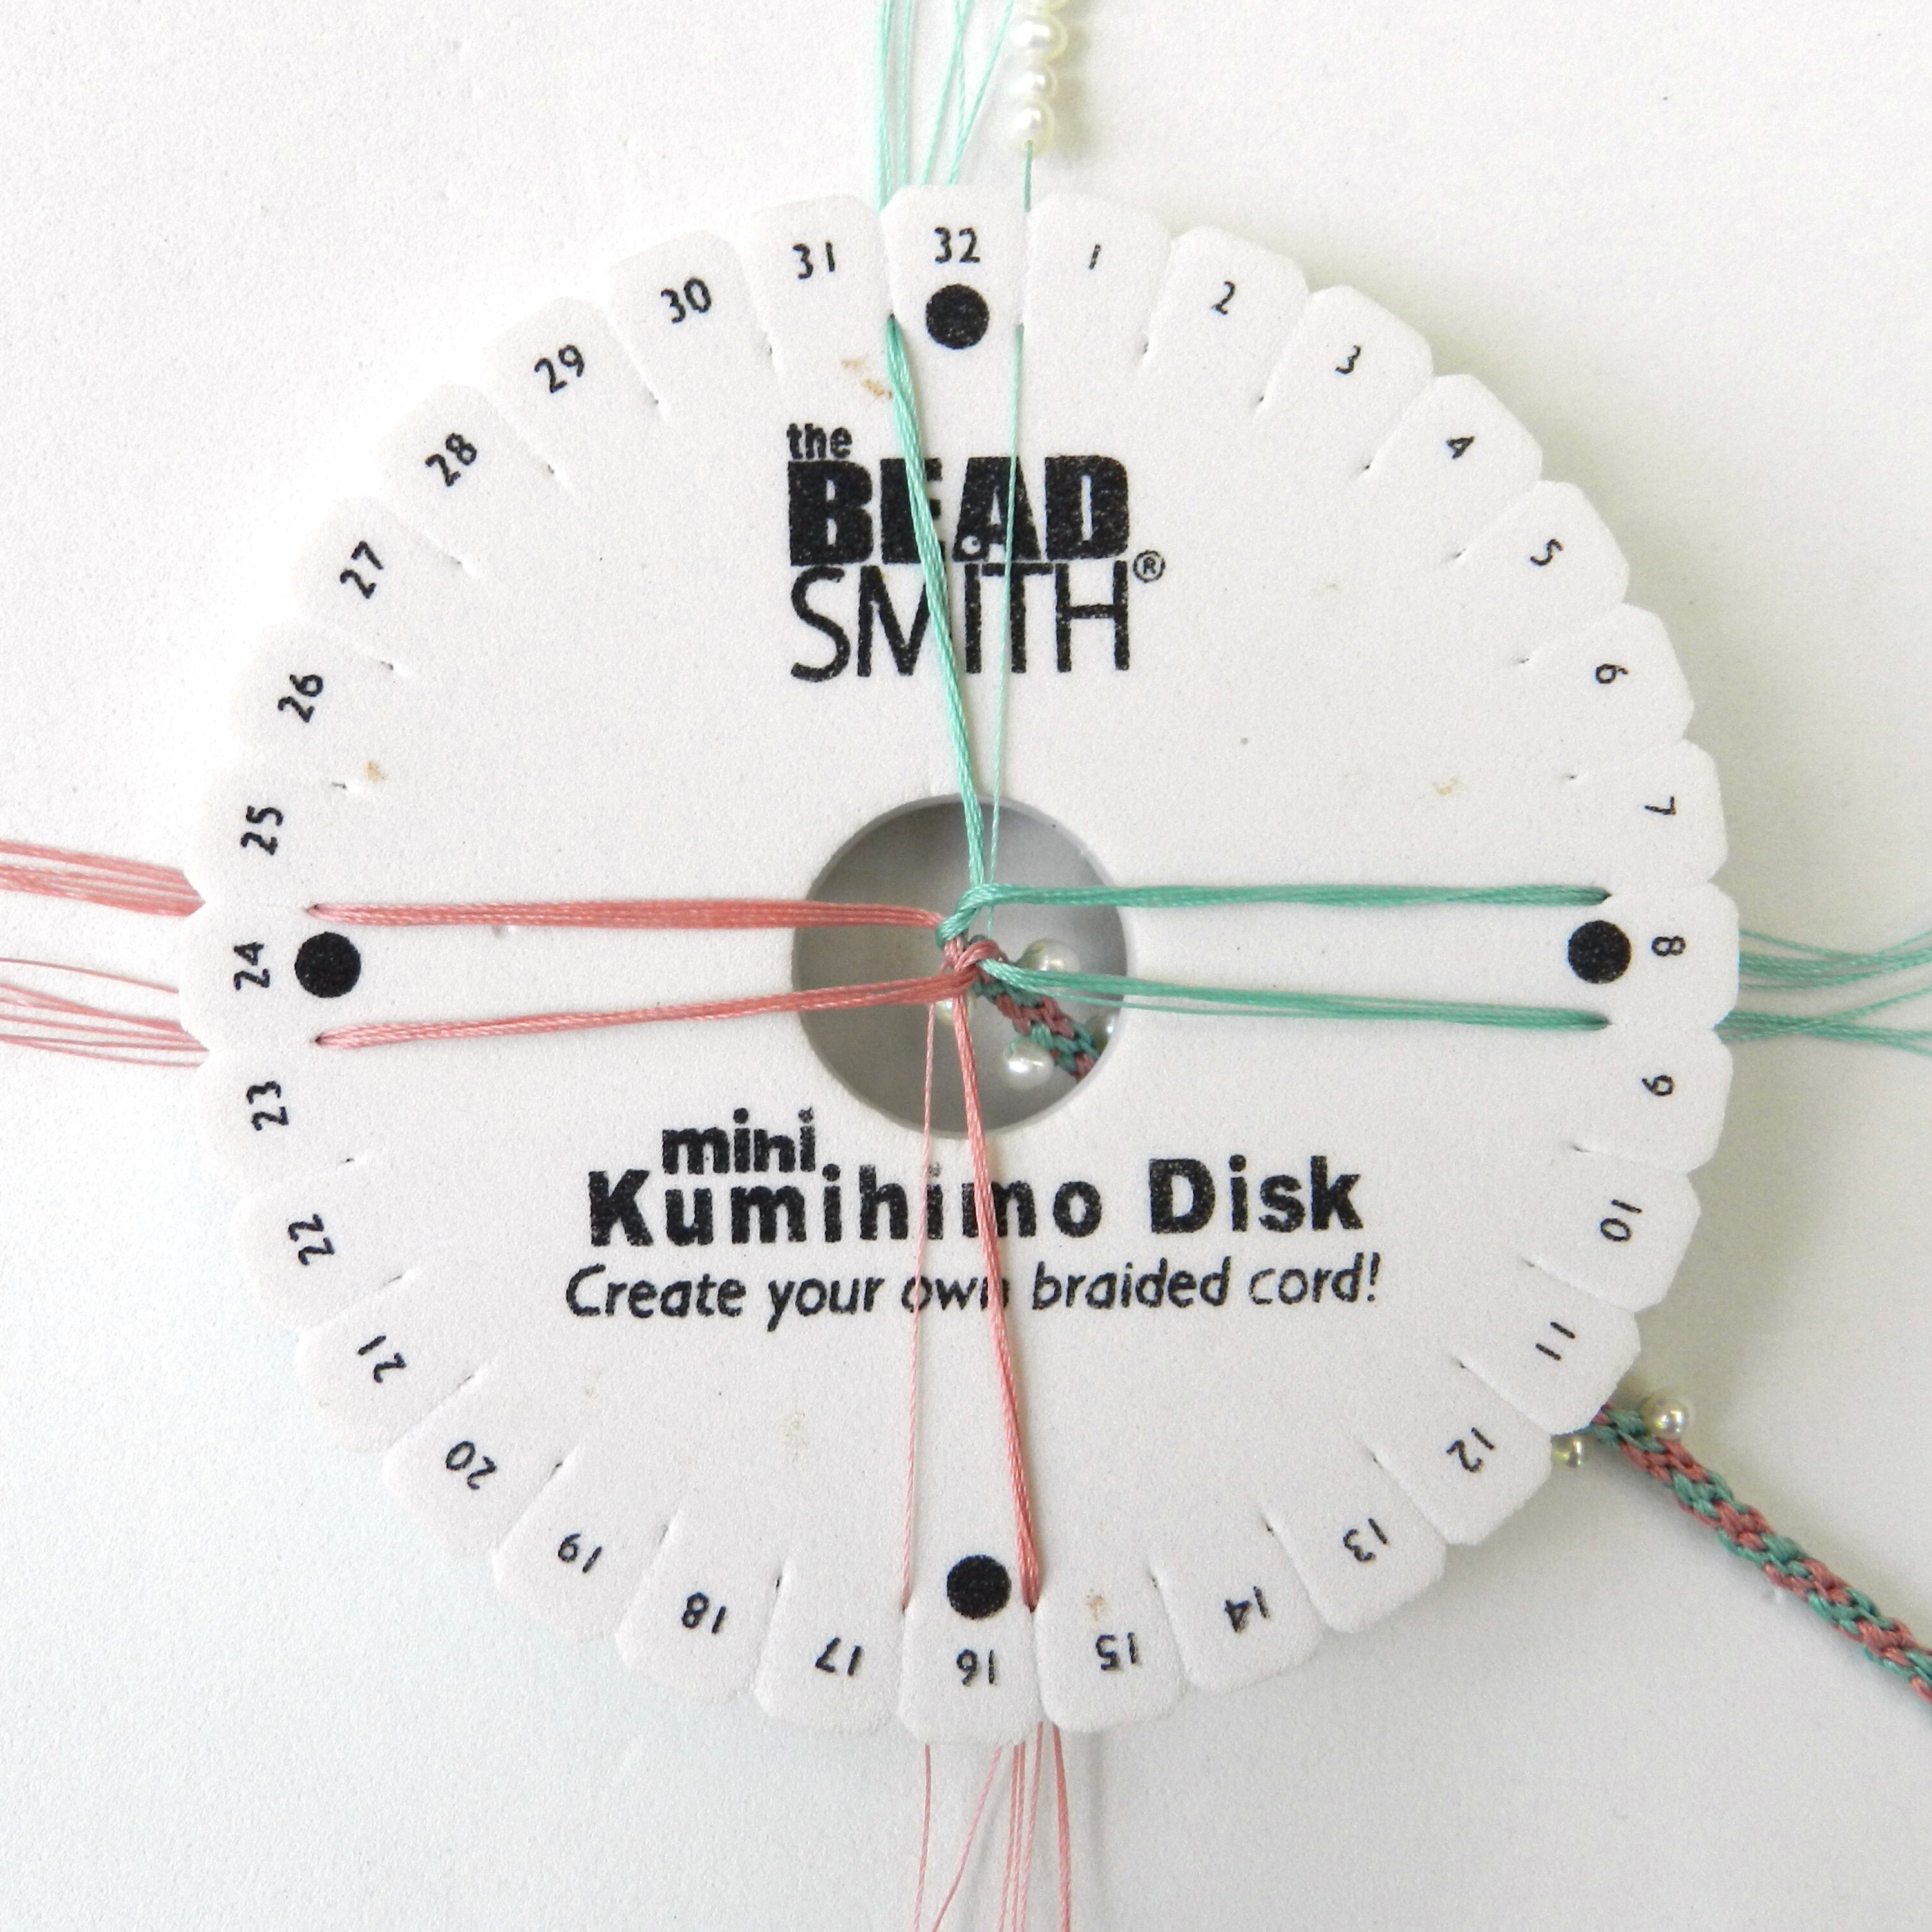
Braid for 25-30cm. Thread 30 pearls onto one of the thin cords. Add a pearl into the braid every other time that cord is moved. Finish braiding in all the pearls and then braid for a further 25-30cm.
Glue the end of the braid to seal it. Pierce the braid with a decorative headpin and wrap it around the braid once or twice. Use round nose pliers to coil the end of the headpin. Attach a clasp with a jump ring. This method was demonstrated on the show.
Gold Beaded Necklace

1. Cut 8 lengths of 1.2m of gold S-Lon
2. Thread 12 beads onto all 8 cords, centre them and tie them into a circle. Position the cords on the disk on either side of the dots, with 2 cords in each slot. Braid for 24 individual moves Thread 10 beads onto all 8 cords, braid them in and then braid for 24 moves without beads. Thread on on 2 beads, braid them in and then braid without beads for long enough to accommodate the bail. Remove the cords one by one and thread them through the bail. Make sure the cords are replaced in their slots before the next cord is removed. Thread on 2 more beads and then braid without beads for 24 moves. Thread on 10 beads, braid them in and then braid for 24 without beads. While the braid is still on the disk add a small drop of glue to the point where the braid forms and allow it to dry. Thread 12 beads onto 8 cords. Use the other 8 cords to tie the beads into a ring. Seal the knot with glue and take the ends through the loop in both directions. Trim the ends.
3. Attach beading thread to the loop with a crimp and crimp cover. Thread on a selection of beads and pearls to the desired length and attach a clasp. Repeat for the other side of the necklace.
4. Use lark’s head knots to attach cord to the bail. Thread both cords through alternating pearls and seed beads, finishing with a pearl and knot the two cords together. Seal the knot either with glue or a thread burner.
Tassel Necklace
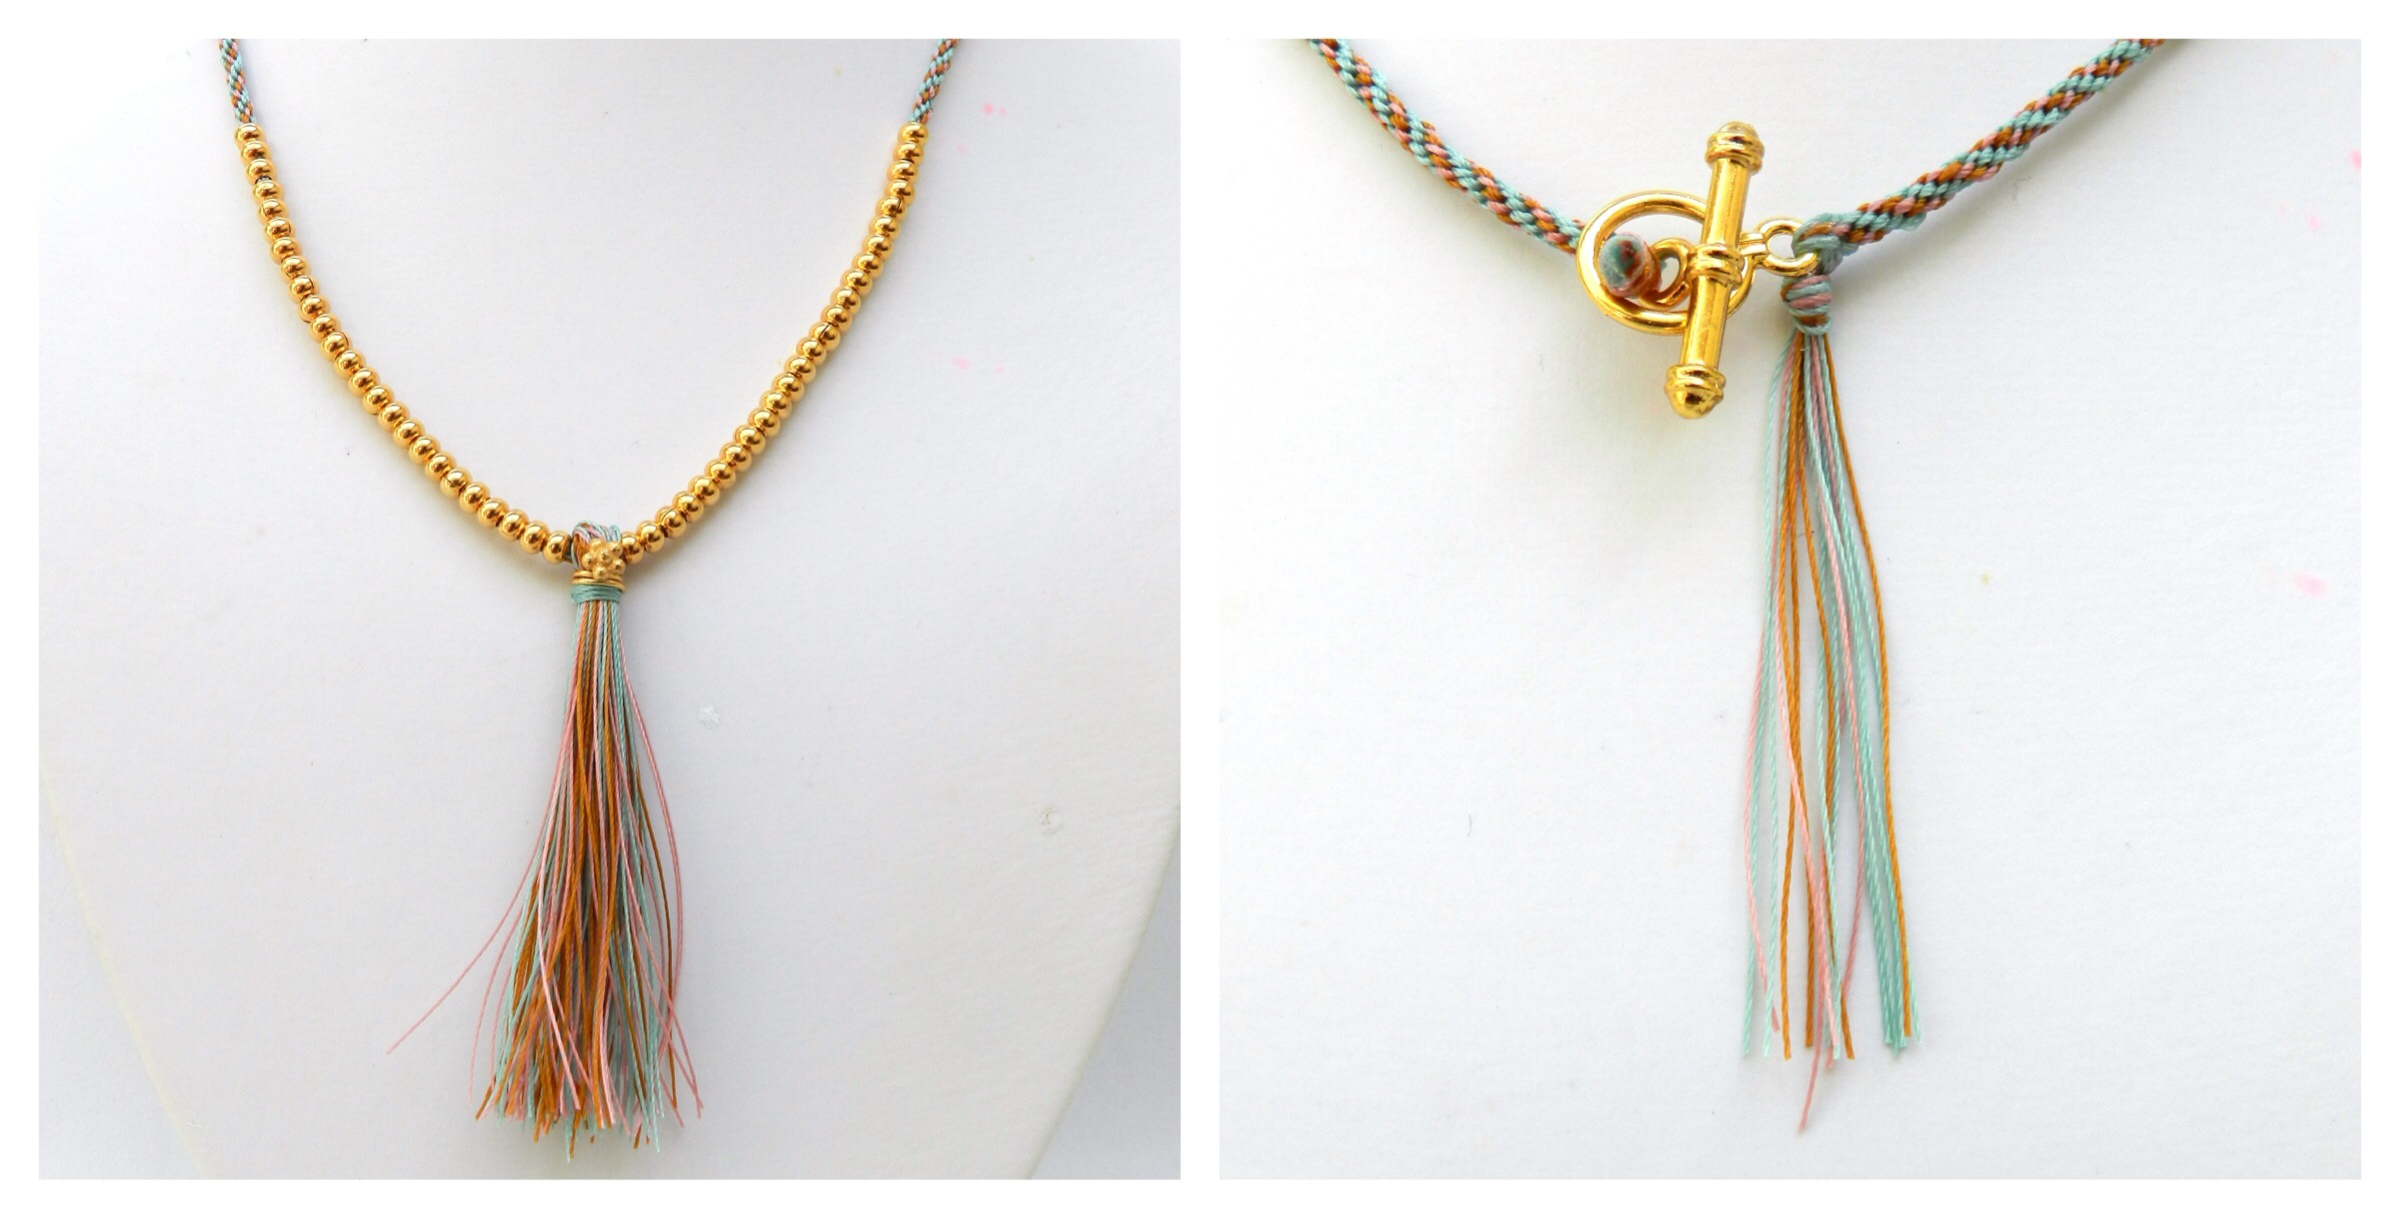
Make the tassel first, as shown on the show.
Cut 2m x 2 pink, 2m x 2 gold and 2m x 4 aqua. These need to be threaded through the metal seed beads. The best way is to use a large eye darning needle. Thread the cords through the needle and pass the needle through 25 seed beads. Then pass it through the head of the tassel. Then thread through a further 25 seed beads. Centre the beads on the cord. Tie a temporary knot on one side of the beads. Cut the cords to release the needle. Position the cords on the disk with 2 cords in each slot on either side of the dots. The aqua should be in the north and south positions. The gold and pink should be diagonally opposite at east and west. Before starting to braid, remove 2 pairs of opposite cords and tie them in a double knot, then replace them in their slots. This will stop the braid from unravelling within the beads. Braid to the end and use the cords to tie on a clasp. Untie the temporary knot and repeat for the other side of the necklace. Seal the knots on the clasps with glue. Cut one short and leave the other as a tassel.
Beaded Bracelet
For this bracelet beads are used on 4 opposite slots and the other 4 opposite slots are used for cords only.
Cut 60cm x 28
Position the cords on the disk with 6 cords in each of the 4 slots at north and south. At east and west put 1 cord in each slot. Thread 24 pearls onto two diagonally opposite cords. Thread 24 labradorite onto the remaining two diagonally opposite cords.
Start to braid with 8 moves without beads, then braid in all the beads and braid for a further 2-3cm without beads. Tie the braid end in a knot as close as possible to the beads. Glue the whole knot into the end caps and finish off the bracelet with double lengths of chain and a clasp.
Braid and Tassel Bracelet
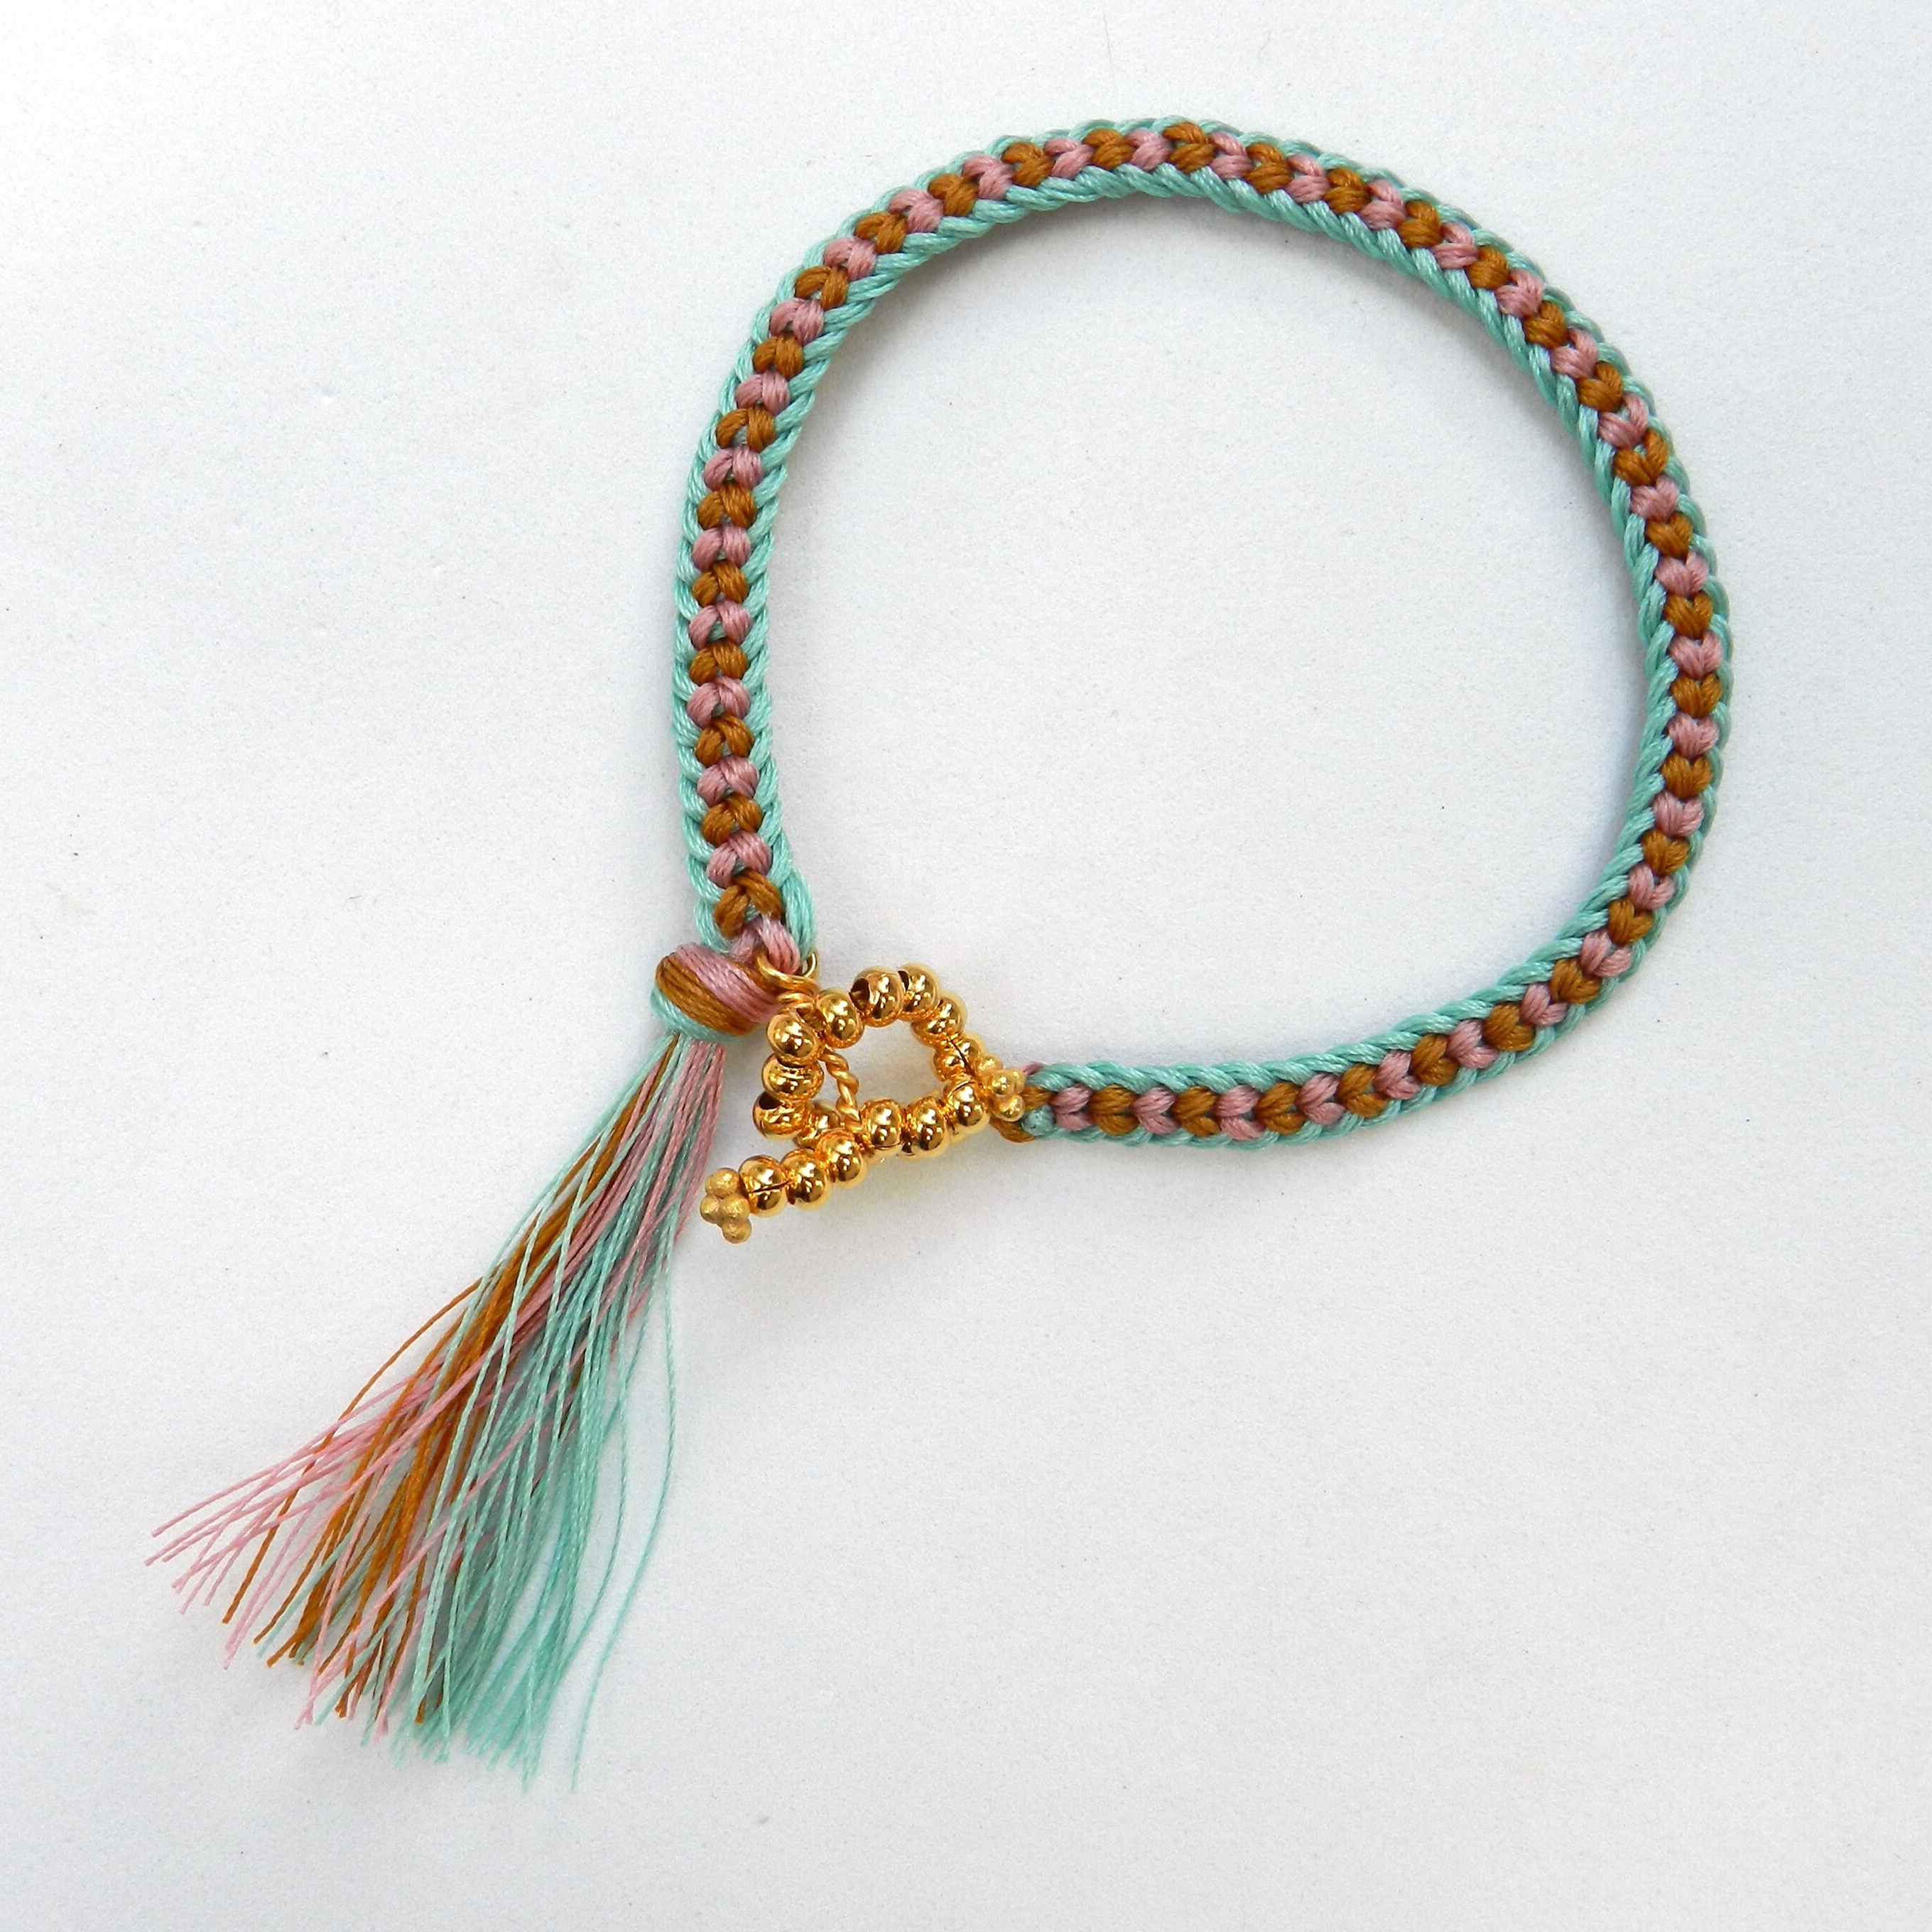
This bracelet is made using Half Round Braid. Instructions for this braid can be found here.
This is the set up for the colours. Start with 16 x 1m teal, 8 x 1m gold and 8 x 1m pink. Thread them though the loop of a clasp, centre the clasp on the cords and position the cords as shown below, with 8 cords in each slot. Braid for the required length and add a drop or two of glue to the end of the braid, while it is still on the disk. This will stop the braid unravelling while the knot is tied. When the glue is touch dry remove the braid from the disk and thread half the cords through the loop on the toggle. Tie an overhand knot and push the knot as close as possible to the toggle. The knot can be sealed with clear glue to stop it from coming undone. Trim the end of the cords to form a neat tassel.