On 29.3.16 I demonstrated a glamorous gold and labradorite necklace using a kit which included a great seleection of gemstones of different sizes, 8 reels of 0.5mm knotting cord/satin cord and gold seed beads size 3mm and 4mm.
To watch the show click on this link. The demonstration for this kit starts at around 1 hour 26 minutes into the recording.

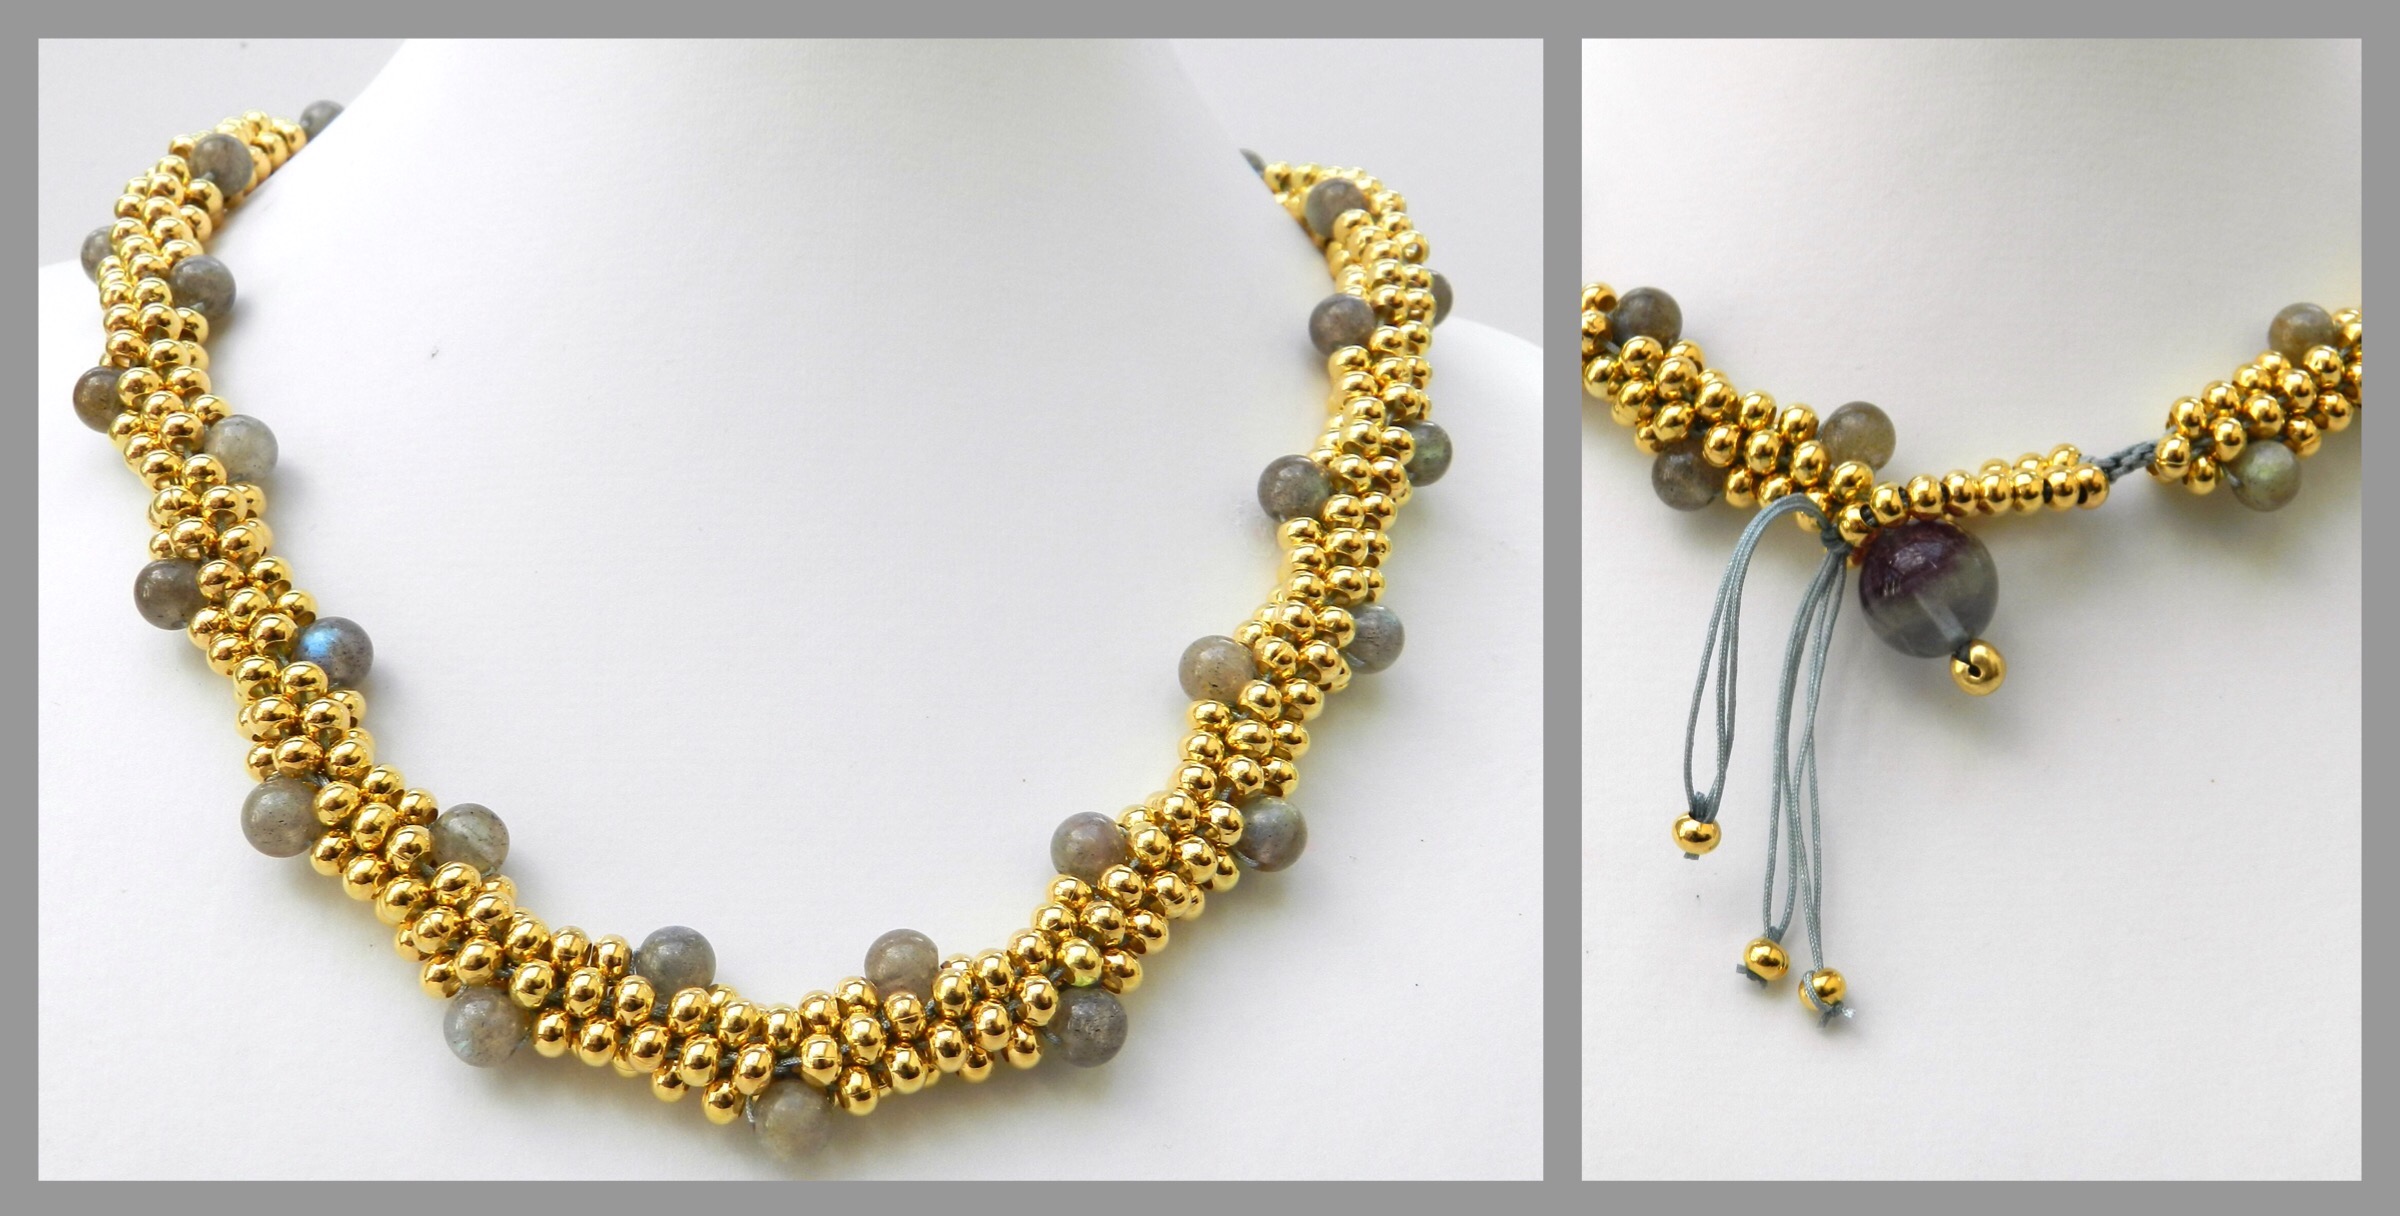
Gold and Labradorite Necklace
I wanted to show how to make a necklace without using findings. If preferred the necklace can be finished off in the ususal way with end caps and a clasp, but it is always good to know how to make a design without additional findings. This necklace is made using the 7 cord technique, which can be found by clicking on this link and scrolling to the bottom of the page.
- Cut 4 x 2m. Take 2 cords, find the midpoint and use a fine wire to pull the cords through the hole in a 12mm bead. Pull through enough cord to tie the cords in an overhand knot, close to the midpoint. Pull the cords back through the bead so that the knot is tight against the bead.
- Find the midpoint of the other 2 cords and tie them close to the bead, using the first cords.
- Position 7 of the cords on the disk, leaving one cord hanging freely and one slot empty.
- Braid for 5mm using the 7 cord braid instructions and keep the free cord in the middle of the braid as a core.
- Thread 70 gold beads, 4mm, onto 6 of the cords. Onto the 7th cord thread on an alternating pattern of 1 gold bead-1 labradorite 6mm bead until there are 70 beads in total.
- Continue to braid, adding in a bead every time a cord is moved. After 1cm snip off the excess cord from the free cord. Braid in all the rest of the beads.
- Braid for 5mm.
- Separate the cords into one group of 3 and one group of 4. Thread 8 gold beads onto each group. Tie the cords all together in a double knot. Before tightening the knot check that the loop formed is large enough for the 12mm bead at the beginning.
- Separate the cords into 2 groups of 2 and one group of 3. Thread a bead onto all the cords on a group, tie an overhand knot at the point where the tassel should end. Trim the cord ends and seal the knot with a flame, or glue or both.
- Trim the knot on the first end of the braid and cover with a crimp cover.
Quartz Bracelet
The coloured cord shines through the clear quartz to create a vibrant effect. Any cord colour can be used to vary the look.
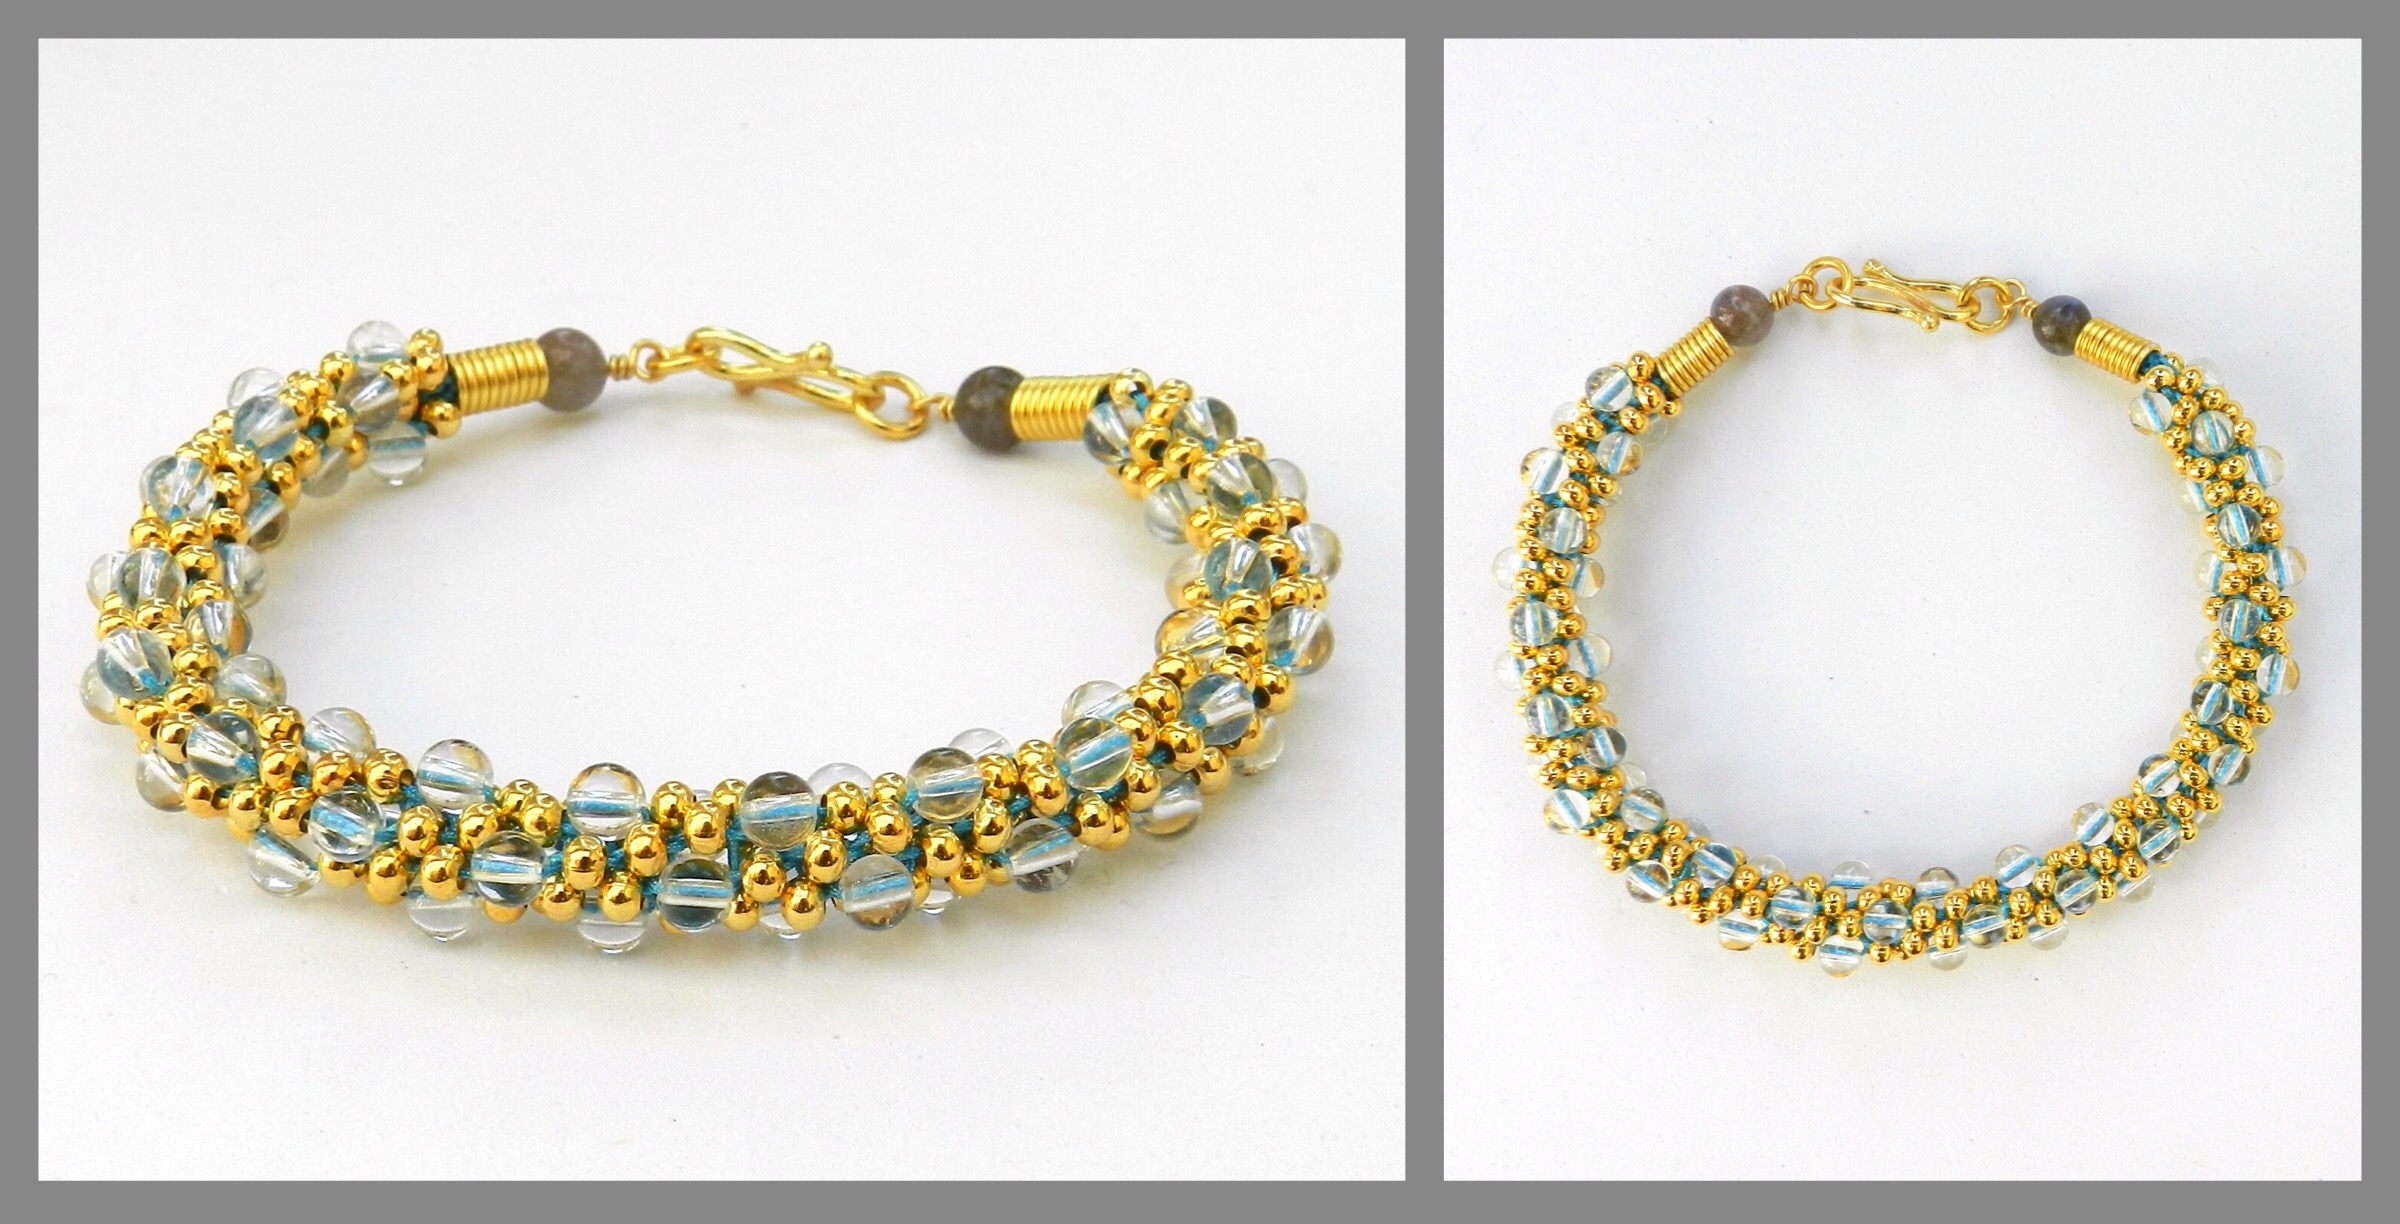
Cut 6 x 60cm and 2 x 80cm of cord. Tie all the cords together at one end in an overhand knot and position the cords on the disk on either side of the dots, with the two longer cords diagonally opposite. Braid for 1-2cm. Thread on approximately 38 clear quartz 4mm beads onto the two longer cords and 38 3mm seed beads onto the other six cords. Continue to braid, adding in a bead every time the cords are moved until all the beads are used up. Finish off the ends with glue-in end caps, wired on cones or a spiral of wire.
Knotted Bracelet
This bracelet combines the technique of knotting with kumihimo for a patchwork effect.

- Cut 4 lengths of 1.2m of cord. Find the midpoint of two cords and use fine wire to pull the cords through a 12mm bead. Centre the bead on the cords. Tie in an overhand knot leaving a loop of 1cm. Push the bead close to the knot and tie the other two cords close to the bead. There are now 8 cords. Position them on the disk on either side of the dots and braid for 8 individual moves. Thread 8 seed beads-8 quartz beads-8 seed beads onto 2 diagonally opposite cords. Thread 24 seed beads onto the other 6 cords.
- Braid in 4 beads from each cord, braid without beads for 32 individual moves to create a gap. Repeat to create 5 more beaded sections.
- Braid for 32 individual moves. Lift 2 opposite cords from the slots and knot close to the braid. Do the same with a second pair of cords. Seal the knots with glue and trim the cords.
- Remove the remaining cords from the disk and thread them through a 12mm bead. You may need to stiffen the cord ends with nail varnish or glue. Divide the cords into 2 groups of 2 and tie a double knot close to the bead. Thread through the next bead and knot again. Repeat until the required length is reached. After the final double knot, thread a toggle onto 2 cords and knot into position. Thread a bead onto each cord and hold it in place with a knot. Trim and use a flame or a thread burner to melt away the excess cord.
Beaded Necklace
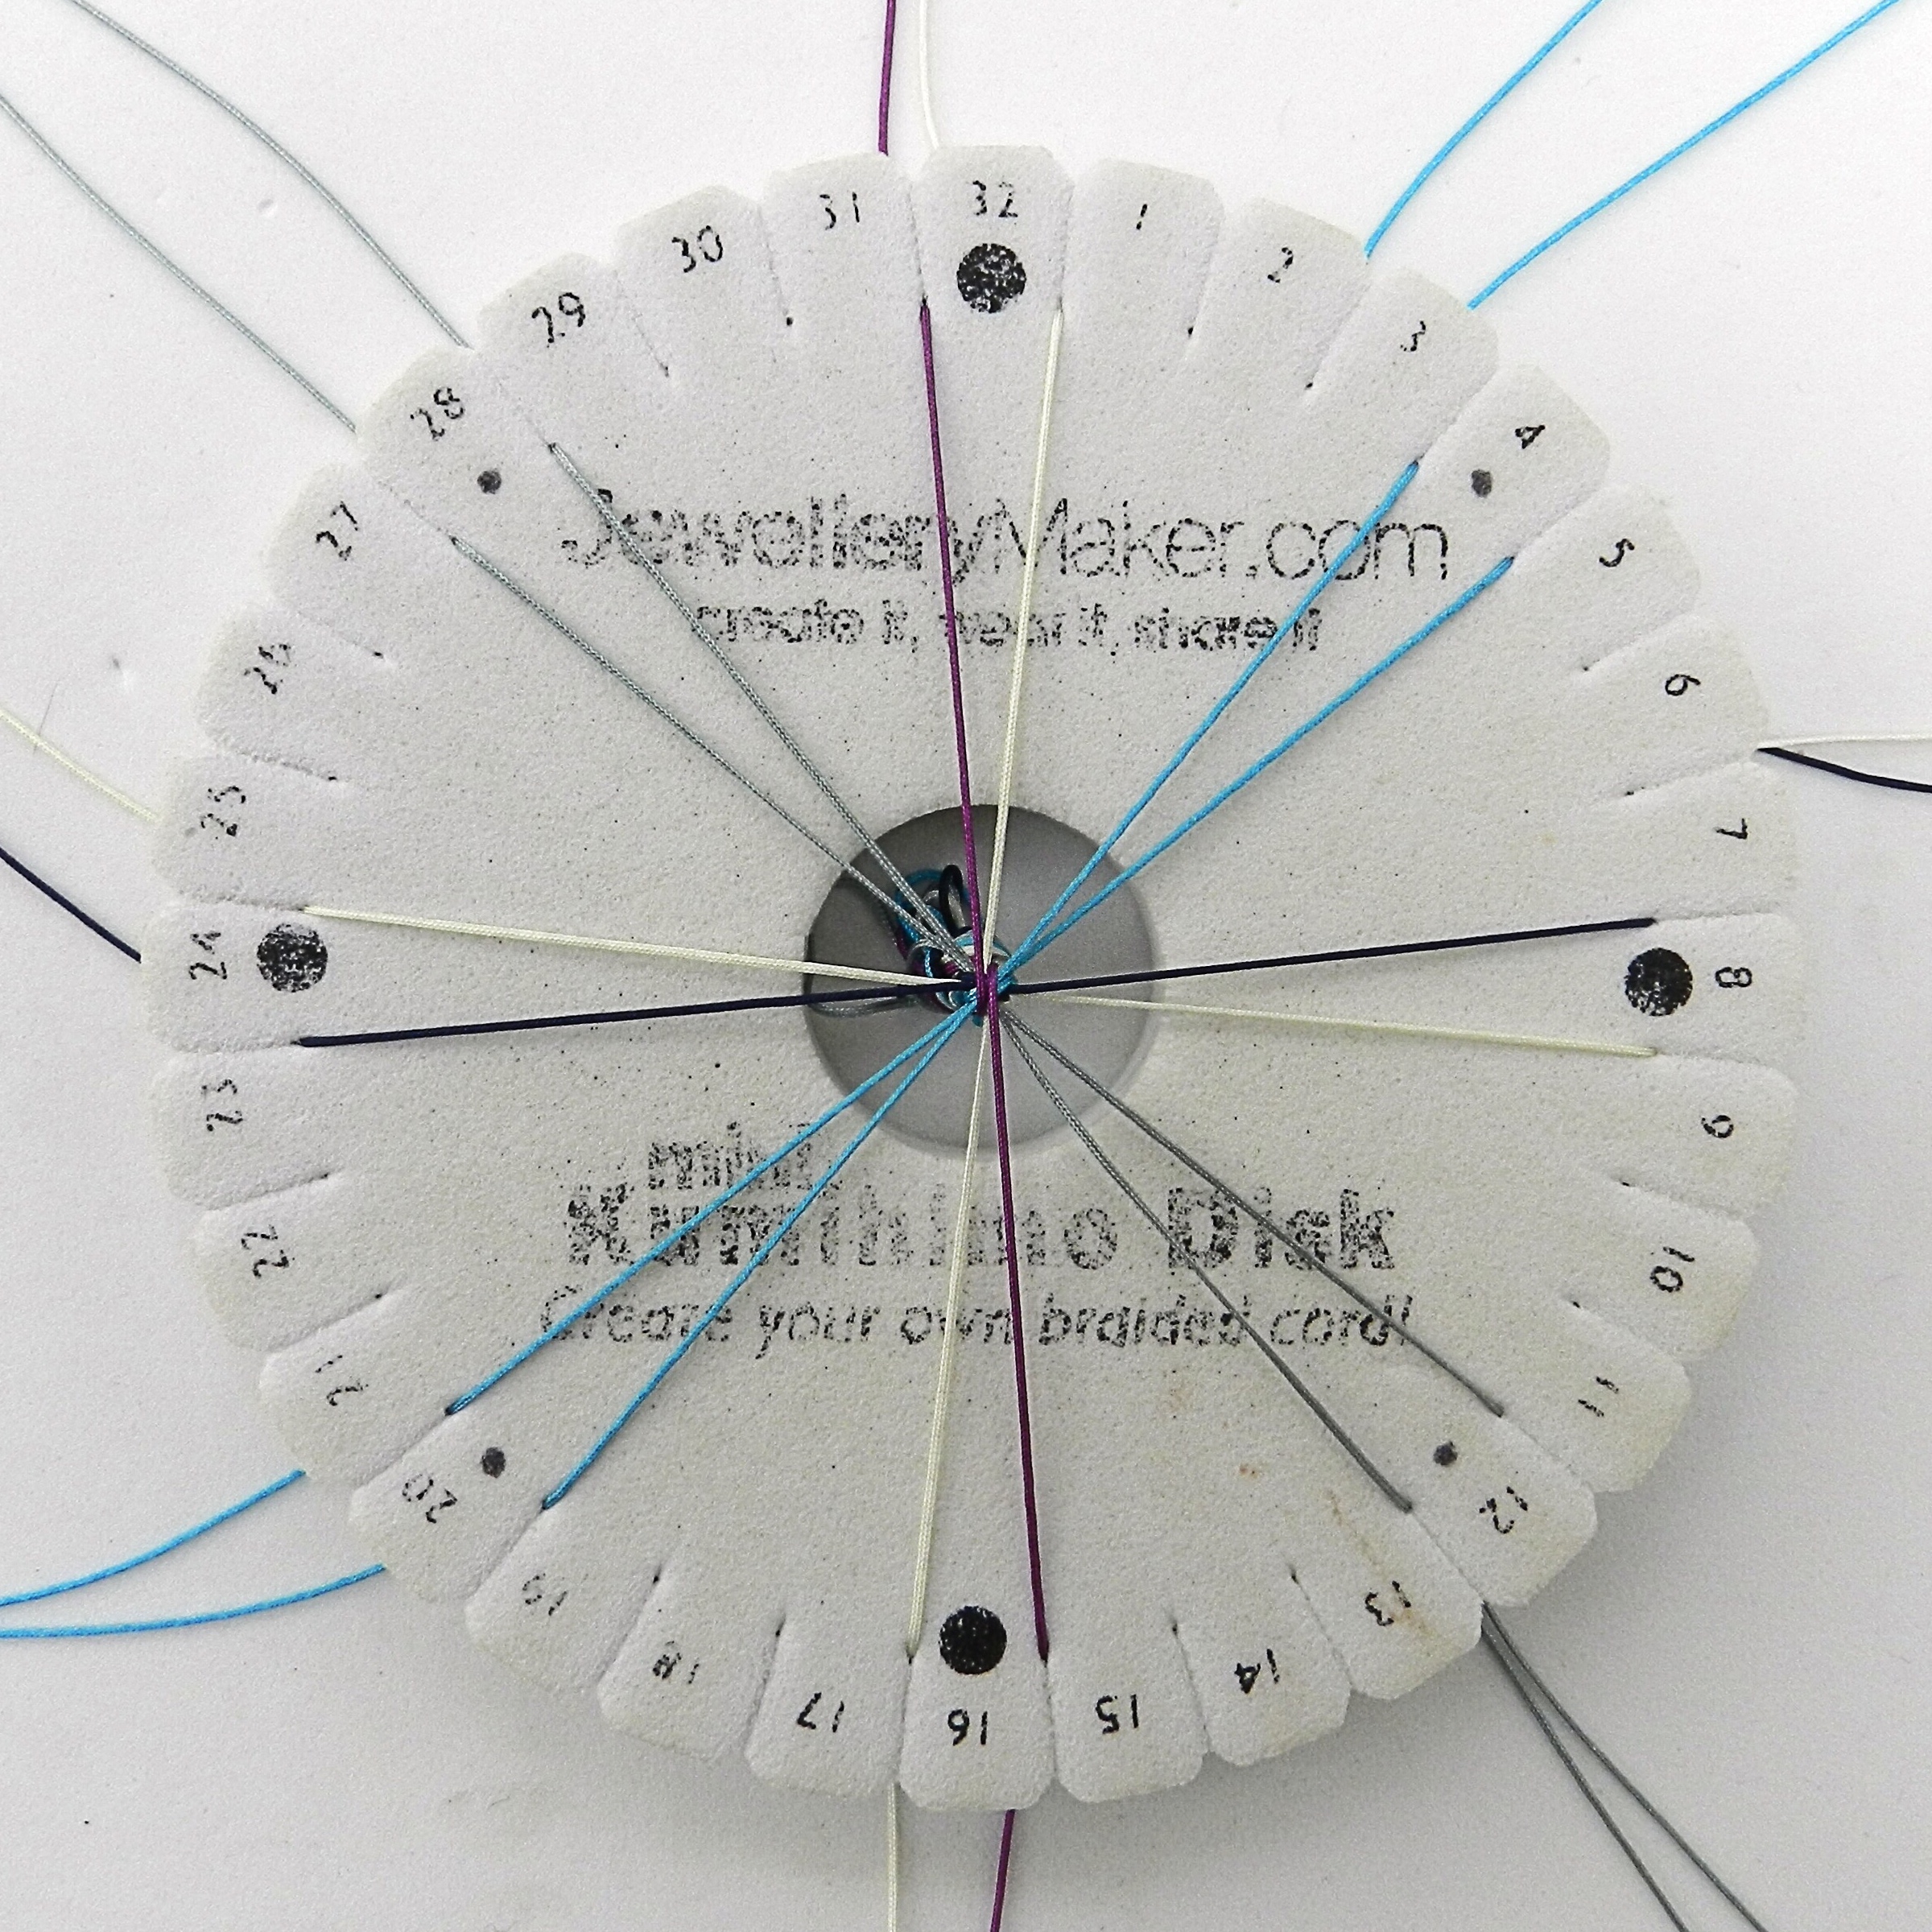
A 16 cord braid is used in this necklace. The cords are evenly spaced around the disk in pairs and the braiding method is the same as for 8 cord round braid, but after each pair of moves a 1/8 turn of the disk brings you to the next pair. There are some great pattern generators available online, for example Craft Design Online, and it is well worth experimenting with these tools.

Thread a selection of beads and beads on headpins onto beading wire and crimp a loop at either end. Thread 8 x 1m cord through one loop. Centre the beaded section on the cords and postion the 16 cords in pairs evenly around the disk. Braid to the end of the cords and finish with glue-in end caps or a wired on clasp.
This is the cord setup I used.