Only certain braid structures are suitable for adding beads during the braiding process. Each bead needs to be held in place, so the cord which is carrying the beads needs to cross another cord. In some braids the cords move around the disk and not across each other, making them unsatisfactory for this method. Round Braid is by far the best braid for beads, but it is also possible to use Spiral Braid for certain effects. Only beading with Round Braid and Spiral Braid will be covered in this section.
Round Braid
Adding beads to a Round Braid takes braiding to a completely new level. It is a very easy skill to master, as long as a few rules are observed. It is best to be able to braid confidently without beads before you start to add beads and the best results will be achieved if an even tension can be maintained. Practise makes perfect!
1. Position the cords on the disk as for a Round Braid. Thread beads onto the cords. In this example beads are being used on all eight warps, but different effects can be achieved with beads on fewer warps. Braid without beads for 2-4cm. This is important to provide a strong base for the beads.
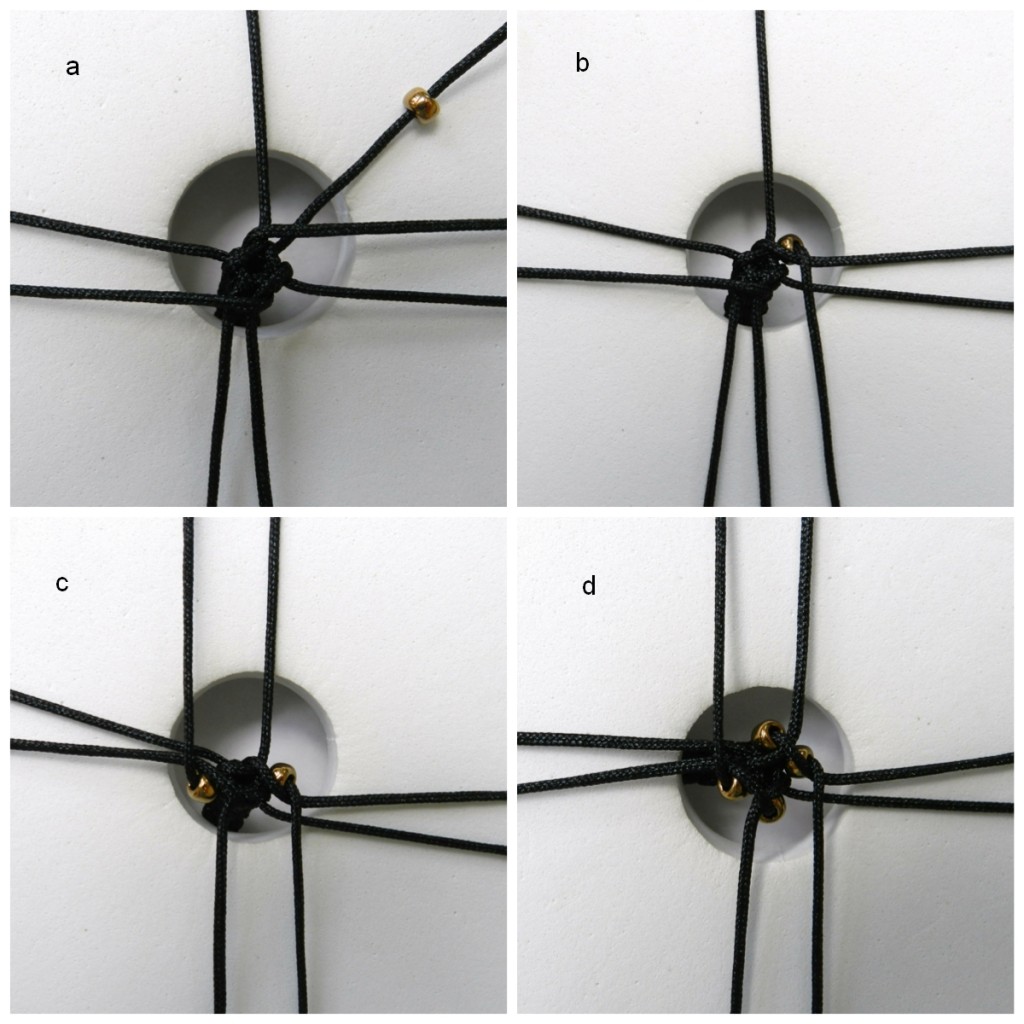
2. To start adding beads slide a bead up the cord towards the point of braiding (a) and press it as close as possible to the braid, making sure that the edge of the bead is tucked under the last cord to have been moved (b). It is very important that the bead stays in this position. Use your finger to keep it there if necessary. Follow the same procedure with the next move, so that you have 2 beads on the braid (c). Rotate the disk and perform the next two moves (d).
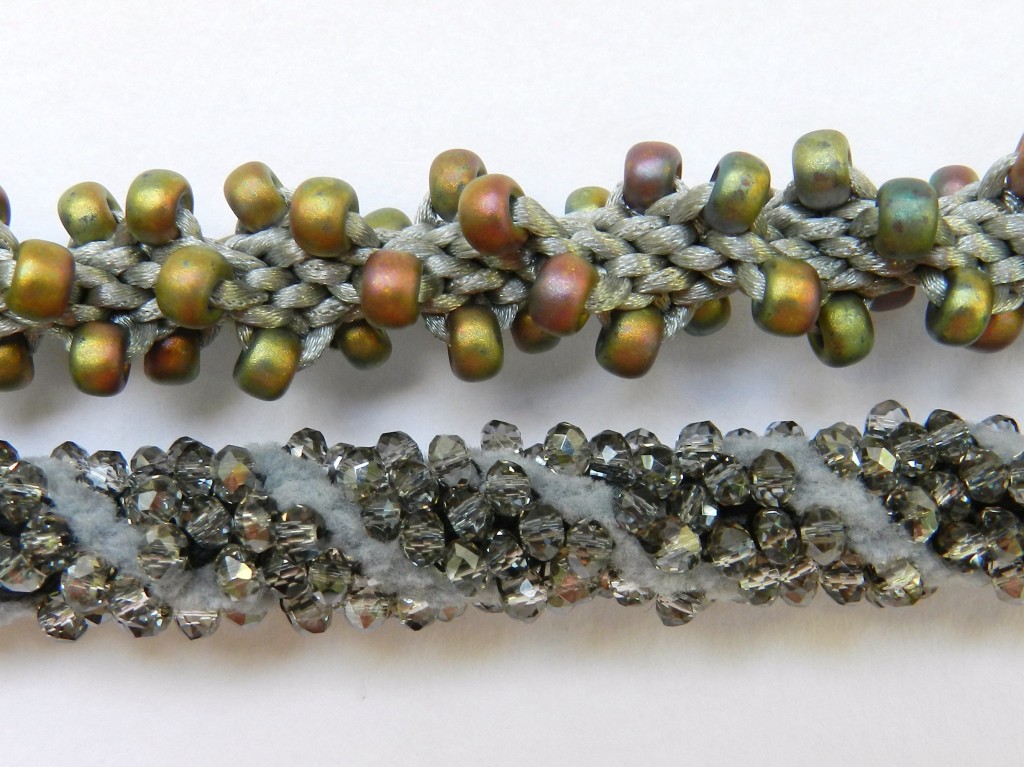
3. Continue to add the beads in this manner. Make sure that the holes in the beads are positioned so that the hole faces up. In the first round the beads may point slightly to the side, but in subsequent rounds the beads will rest on the beads below and the holes should face upwards, as in the picture below. The cords should be pulled up firmly in each move to make sure that they are not getting caught up on the beads in the previous round.
4. When the desired length has been reached, braid for a further 2 to 4cm without beads. This will ensure that the beads are kept firmly in place when you remove the braid from the disk.
Spiral Braid
The interesting raised spiral effect of this braid will be lost if too many beads are added. The best approach is to either just add beads to the raised cords or to the ‘valley’ in between. The raised cords are the black cords in the photo, in slots 8, 9, 24 and 25. Small beads can be used on all 4 slots, while larger beads should be used on two diagonally opposite cords, eg 8 and 24. When beading in the ‘valley’ use small beads on all eight remaining cords, which are the green and orange cords in the photo.


