What is a core cord? It is an additional cord around which the braiding cord moves take place, so that it is trapped right in the centre of the braid. It is not used in the slots on a disk. To see how this is done you can watch this video,


There are several reasons for needing a core cord and these are the two ways I use them most frequently.
To fill the hollow centre of a beaded Round Braid/Kongo gumi. When you make an 8 cord braid without beads the centre of the braid is closed up. When you add beads on some of the cords, the beads will sit on the outside of the braid and the centre of the braid will remain closed. However, when you braid with beads on all 8 cords, the beads will force the braid to open up, revealing a hollow centre. For the majority of fully beaded designs the braid will support itself, remaining firm, yet flexible. However, in some instances the braid cannot support the beads properly, resulting in an unstable braid with a squishy feel or a braid where parts have collapsed into the middle. There are several reasons for this happening. Often it is that the beads are simply too large to be supported by the braid, or it frequently happens when the beads are a very round shape or the cord is too thin to support them. It is easy to spot when there is a problem once you have braided for a few centimeters because the braid will feel limp or look too flat. The solution is to fill the gap with a cord or cords. For this use the cord does not need to be an exact fit for the hollow centre. If it is slightly narrower it will still prevent the collapse, while allowing the braid to remain flexible. If you want a more rigid feel then make sure that you use a firm cord and that the cord does fully fill the hole. The cord should not be visible so you can use any type or colour of cord or you can use multiple cords to make up the desired width.
If you start to braid and realise that you need the support of a core it is possible to introduce one into the braid. This will only work if you have not braided further than the length of your needle. Thread the needle with thin thread and knot the end. Sew through the very end of the core cord and use the needle and leader thread to pull the core cord into the hollow space. Pass the needle out of the braid at the point where the beading starts. Pull the core cord right down the braid. Remove the needle, but leave the thread dangling out of the braid. This might be needed to pull the core back into the braid if it starts to work itself out. At the other end of the braid, check the core cord is still right through the braid and cut it flush with the end of the beaded part. Braid for 1-2cm without beads as usual.
To allow beads to be braided on 12 and 16 cord braids. It is easy to add beads on up to half of the cords of a 12 or 16 cord braid, but quite a different matter when all the cords carry beads. The reason for this is that there is not enough space for all the beads to sit correctly. In this instance a core cord is used not merely to fill the hole, but it is needed to stretch the width of the braid to provide enough space. Not all 12 cord beaded braids require a core, but in my experience it is essential for 16 cord braids. This is an advanced technique because a certain amount of trial and error may be needed. Cord varies considerably in how firm it is and this will affect its ability to stretch the hollow centre.

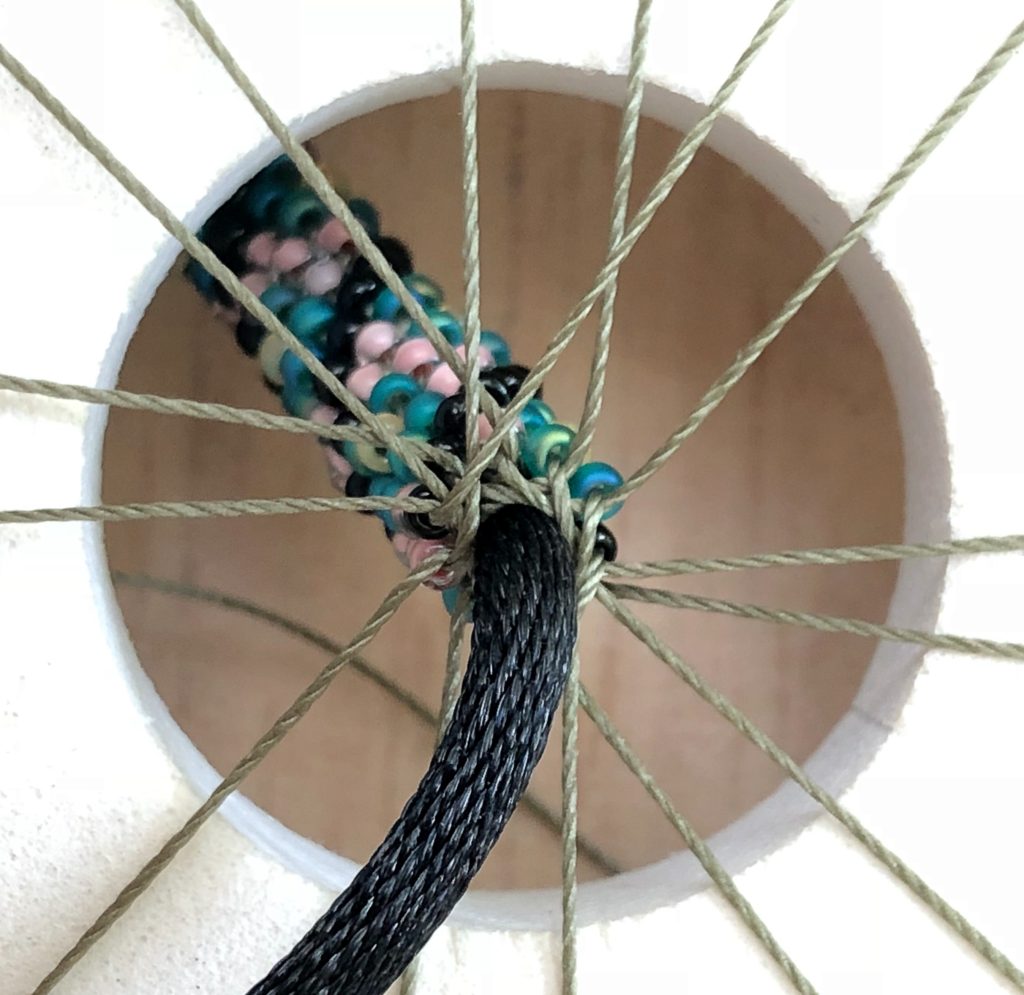
In the first example I have made a 12 cord braid using a firm 3mm satin cord, with regular beading cord (Tex 210/0.5mm/#18) and size 8 seed beads. In the unbeaded section you can see how the braid has been stretched and in the beaded section you can see how the beads have a tiny space all around each one, with no overcrowding.

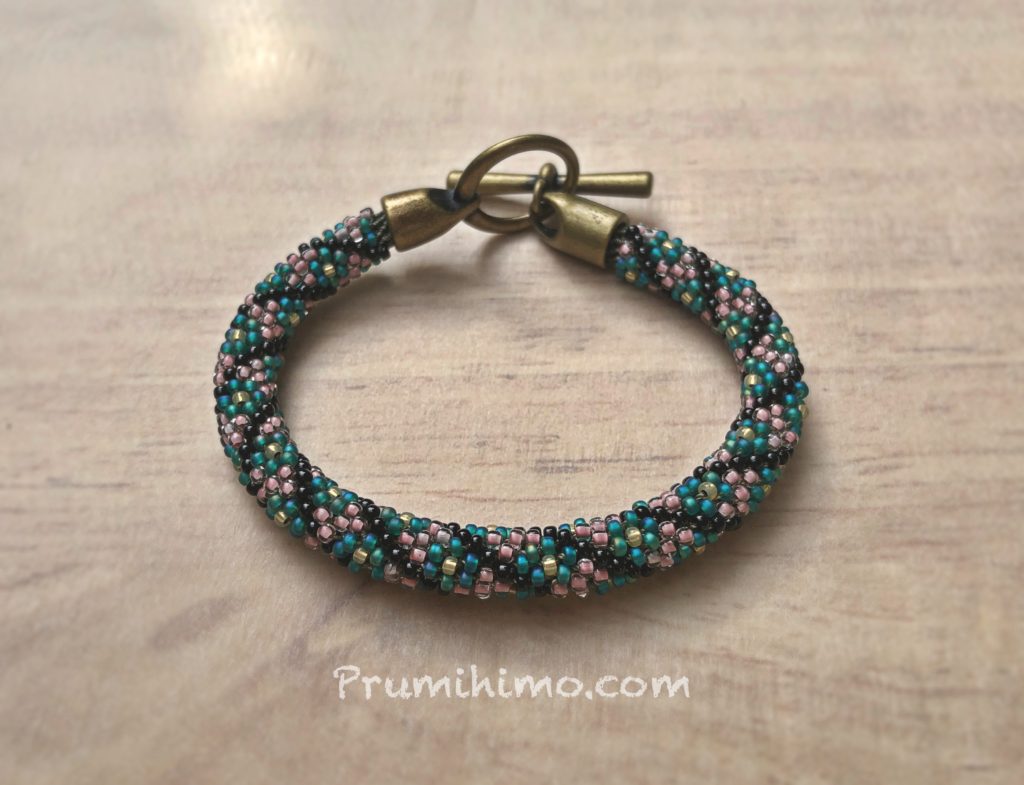
In the second example I have made a 16 cord braid using the same firm 3mm satin cord, with thinner beading cord (Tex 135/0.4mm) and size 11 seed beads. Again, the unbeaded section shows how the braid has been stretched and in the beaded section every bead has enough space. This is the same set-up I used for the bracelet at the top of the page.
These set-ups are a good starting point. If you try this method and find that the beads become more and more crowded or that they are not lining up correctly you will need to start again with a wider and/or firmer core cord. If you can see too much of the braid in between the beads you will need to start again with a thinner and/or softer cord. Keep notes of what works for you, so that you can repeat the process. It is a great technique, so do not be disheartened if your first efforts are not successful. If you have not worked much with more than 8 cords I strongly recommend practising the braids first. In the case of 16 cords it is a good idea first to try braiding with beads on only half of the cords, in the north, south, east and west postions. This will give you valuable practise in working with so many cords. Accuracy is essential and it can be easy to loose your place when you work with 16 cords. As you work you need to check carefully that each bead is sitting correctly.
For this method it is best to use cord in a matching colour because the core cord may be visible. Multiple cords can be used to make up the required width and if this is necessary it is best to use 3 or more cords, especially if they are firm, or you may end up with an oval effect and uneven spacing of the beads.
One issue can be cords trapped on the outside of the braid. This is a bit difficult to explain, but you will probably understand what I mean when you get going! When you braid with 8 cords, each cord is moved every 8th turn. With 16 cords each cord is moved every 16th turn, which means that it emerges from much lower down the braid. As you move each cord you need to pull the cord towards the braid firmly to ensure that the cord is pulled between the beads it has to cross. If the beads are fairly close you will feel a tiny ‘click’ as you do this. Failure to do this can result in the beads sitting on top of each other rather than neatly beside each other. Once you have pulled your cord firmly towards the braid you can drop in the bead and press it down into the space. As usual you need to tuck it under the cord in front. You will find that when you work with more than 8 cords the V shape created by the cords is narrower than you are used to and this is actually an advantage, making it easier to position the bead and less likely that it will jump over the cord in front.
Braiding with beads on 20 cords, or even more, is also a matter of matching the width of the core to the space required by the beads. However, I never like to recommend anything I have not actually tried myself and I haven’t quite got round to this, so I would love to hear from those who have.
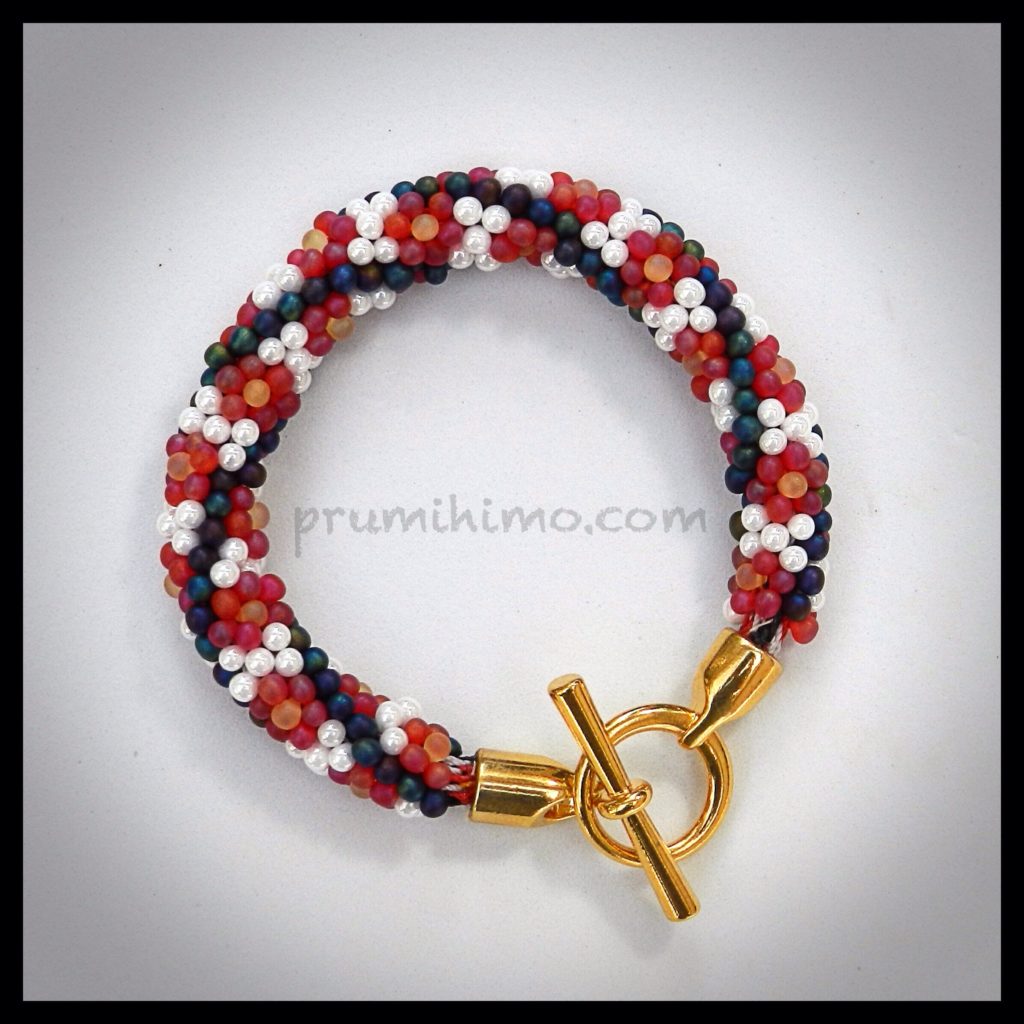
Once you have mastered the technique you can try different bead shapes. In the examples below I have used tiny drop beads. They are more difficult to braid with, but the advantage is that you get a very pretty effect with no cord visible between the beads.


Round Braid/Kongo Gumi is not the only braid which can be used with a core. I have also used core cords with Hollow Braid and the 7 cord Braid. There are sure to be many other braids, which can accommodate a core cord.
While these are the two main uses I have for the technique of braiding around a core there are other reasons for using this method. Here are the ones I have tried,
- For braiding without beads a core cord can be a very useful way of widening and strengthening the braid for design purposes. A firm, wide core will give a braid a fairly rigid structure, allowing it to be used like a bangle or brangle.
- Contrasting colours can be used to create an effect where the outer braid is stretched to reveal the inner core.
- Certain braids were created to be worked around a core to give structure, without which the braid would not suport itself, unless it is made of wire.
- To allow a braid to be moulded into different shapes it can be braided around a core of wire, rather than cord.
- A strand of beads can be used as a core to create a scultped effect. The braid expands and contracts to accommodate the beads.
I would love to hear of other ideas!
