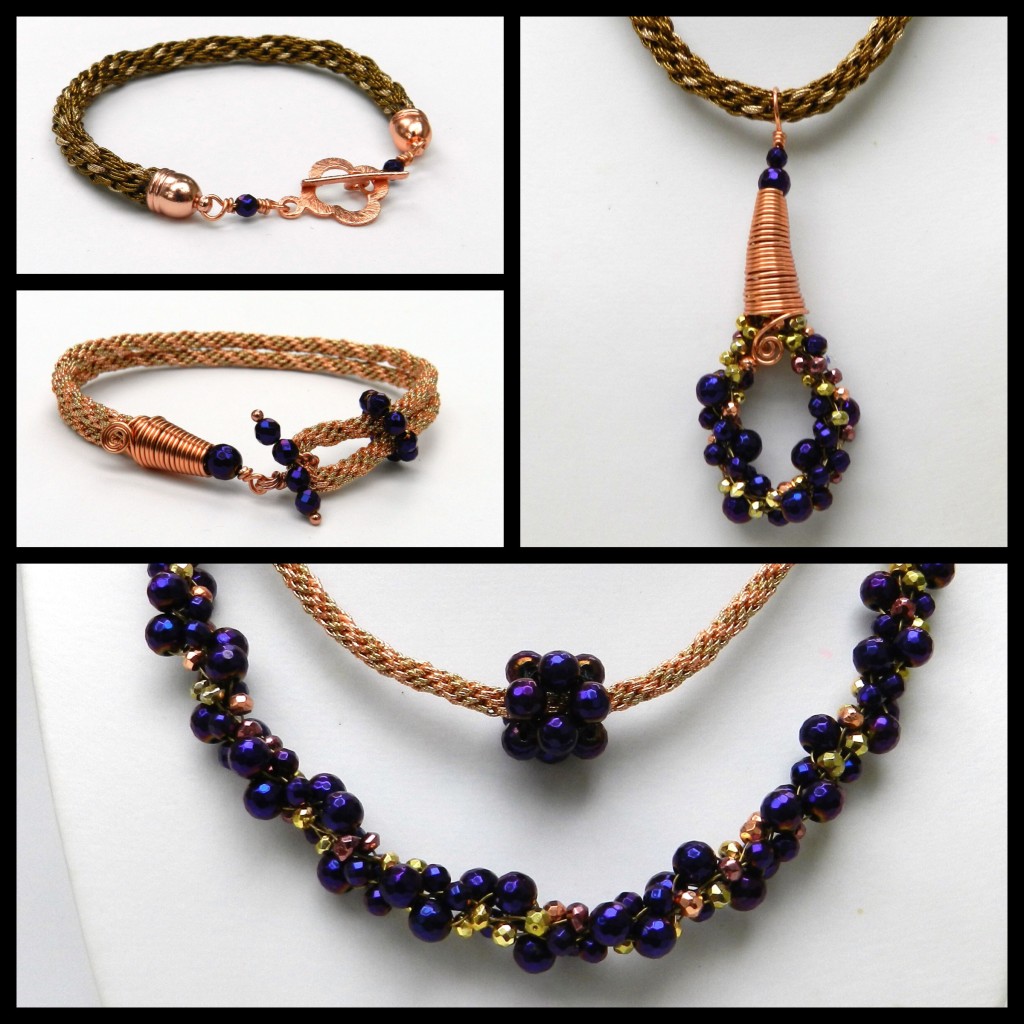
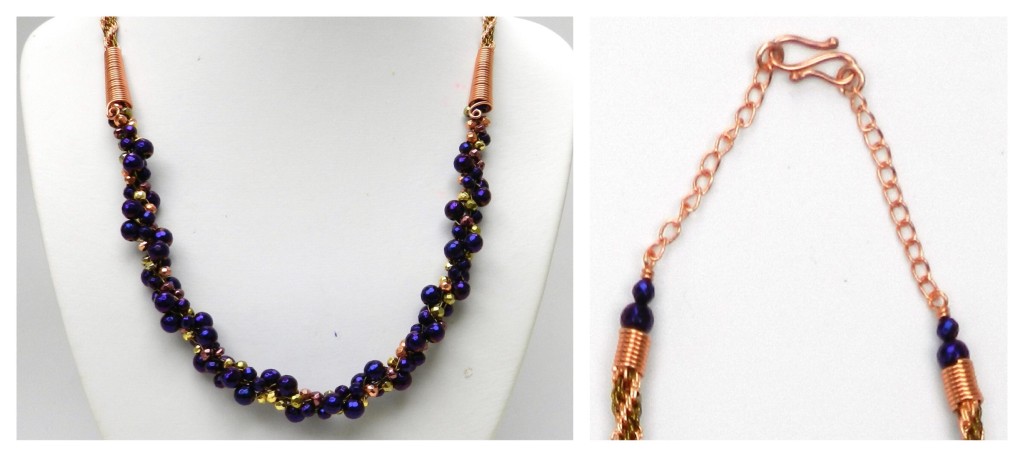
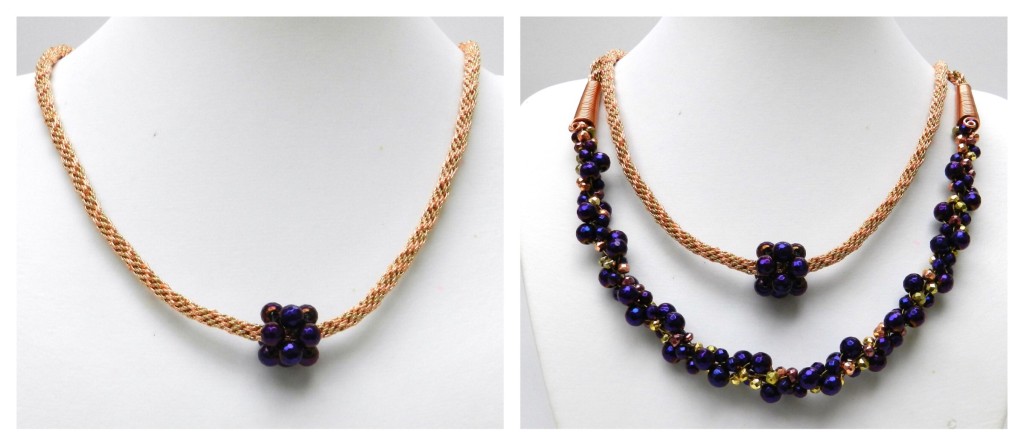
On 11.11.15 I demonstrated a dramatic design using zari thread and a selection of glitzy gemstones. The kit included three colours of zari thread, a strand of multicolour coated pyrite rondelles, 4mm purple coated agate and 6mm purple coated agate. I braided the central section using the 7 cord braid, which is great for beads of different shapes and sizes, so this design can be made with pretty much whatever you have available! To watch the show, click here.
Beaded Necklace
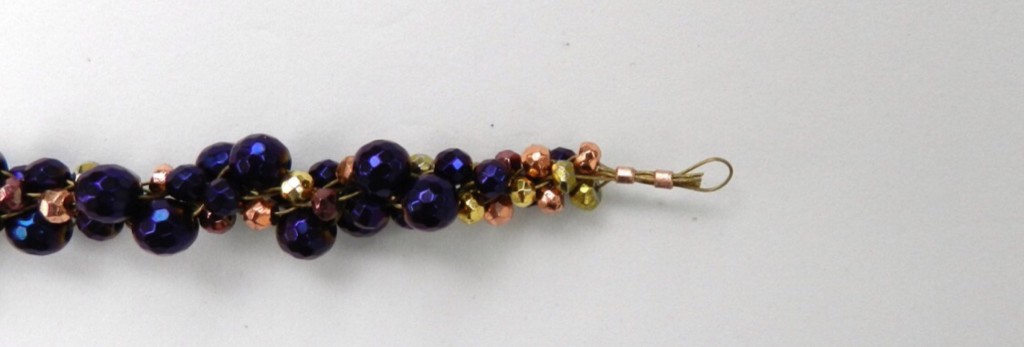
- The central section of this necklace is made using the 7 cord braid technique and beading wire/thread. Take 7 x 50cm beading wire/thread and thread on 2 crimps. Bend one wire back through the crimps to form a loop. Close the crimps.
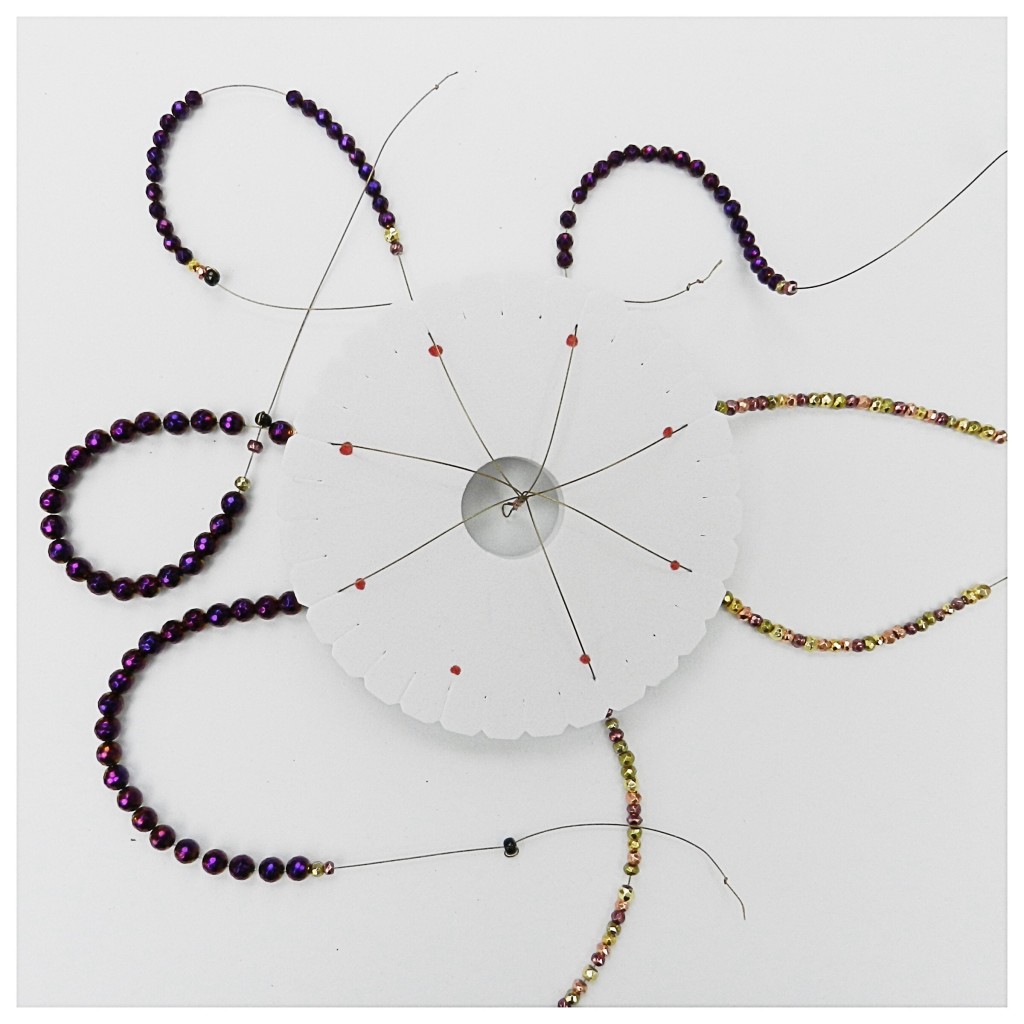
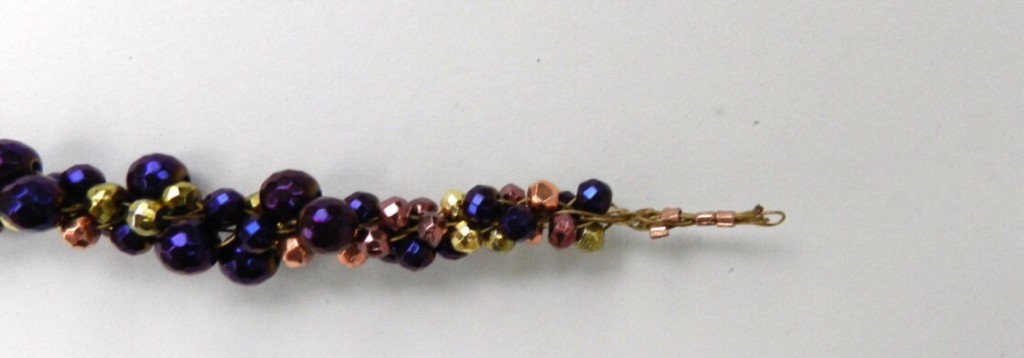
- Thread 25 beads onto all 7 wires. This is a random design, so any combination will work well. For my necklace I started and ended each wire with 2 small pyrite beads to give a graduated effect. 3 cords = 25 pyrite. 2 cords = 2 pyrite, 21 x 4mm, 2 pyrite. 2 cords = 2 pyrite, 21 x 6mm, 2 pyrite. Keep the beads in place with a stop bead.
3. Braid using the instructions at the bottom of the page. When the beads are finished braid without beads for about 12 moves. Crimp the wires in pairs across the disk. With the last 3 wires bend one wire back through the crimp to form a loop. Trim the excess wire.
4. Thread 4 x 80cm rose gold zari thread and 4 x 80cm antique copper zari thread through the loop at one end of the beaded section. Centre the braid on the cords and position the cords on the disk, 2 per slot, on either side of the dots. It is best to use an old disk when braiding zari thread because it is quite delicate and a brand new disk may damage the surface of the cord. Braid to the end.
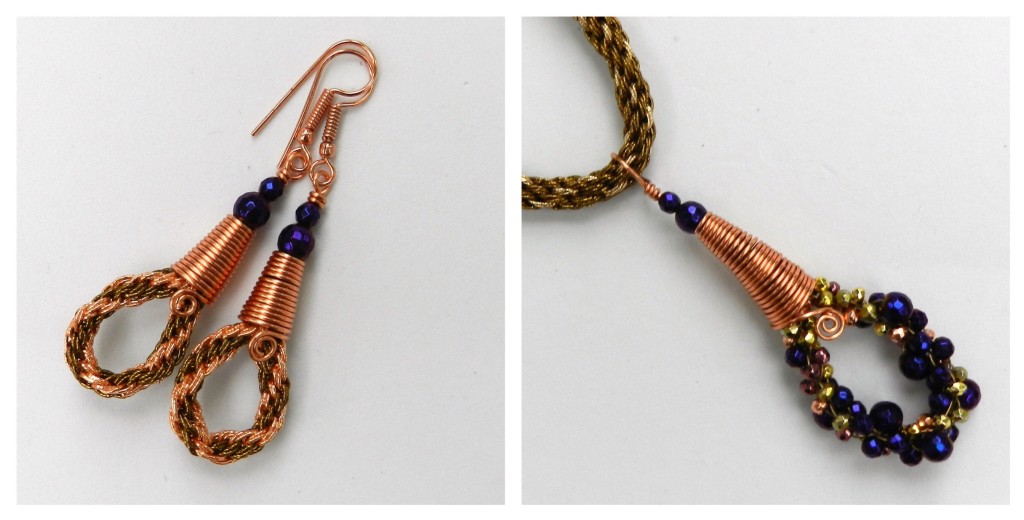
I prefer to use chain or beads at the back of a heavy necklace, rather than zari thread, because it can be slightly scratchy. The amount of cord will either be enough to complete the necklace with braid or to use chain and use the excess to make a pair of earrings. If you wish to make the pendant make a braid with 10-15 beads per wire.
Chunky Braid Bracelet
To alter the width of a bracelet, just vary the number of cords per slot. For this bracelet 4 cords of 60cm were used in each slot.
Double Bracelet
2 cords x 1m per slot were used for this bracelet.
Beady Bead Necklace
An effective necklace can be made with a simple braid made with 1m lengths of zari thread and 2 cords per slot. Make a beady bead using 12 x 6mm beads. I recommend using chain or beads at the back of the neck. This sort of necklace can be layered with others to make a dramatic statement.
7 Cord Braid
The 7 cord braid does not originate from Japanese kumihimo, but it is a very popular disk braid. It is quick to master, quick to work up and excellent for beads of different shapes and sizes.
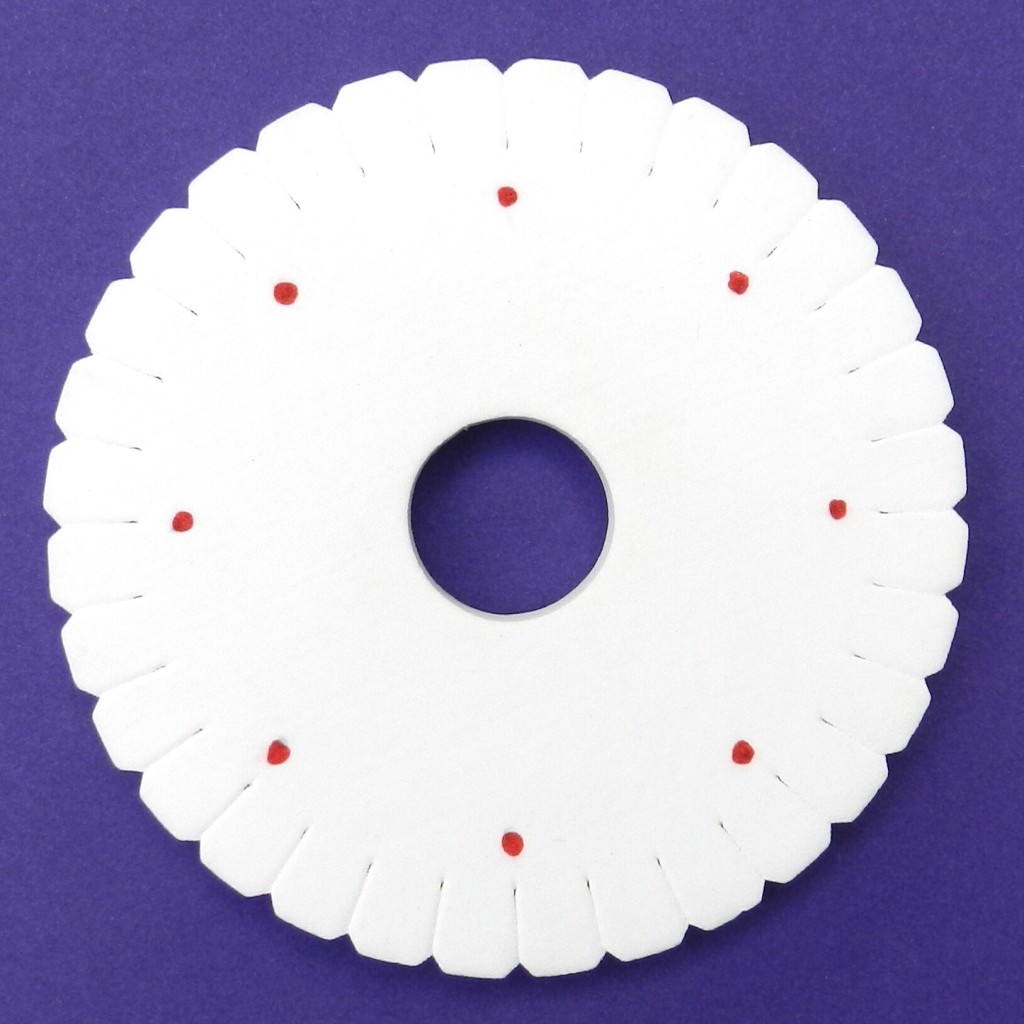
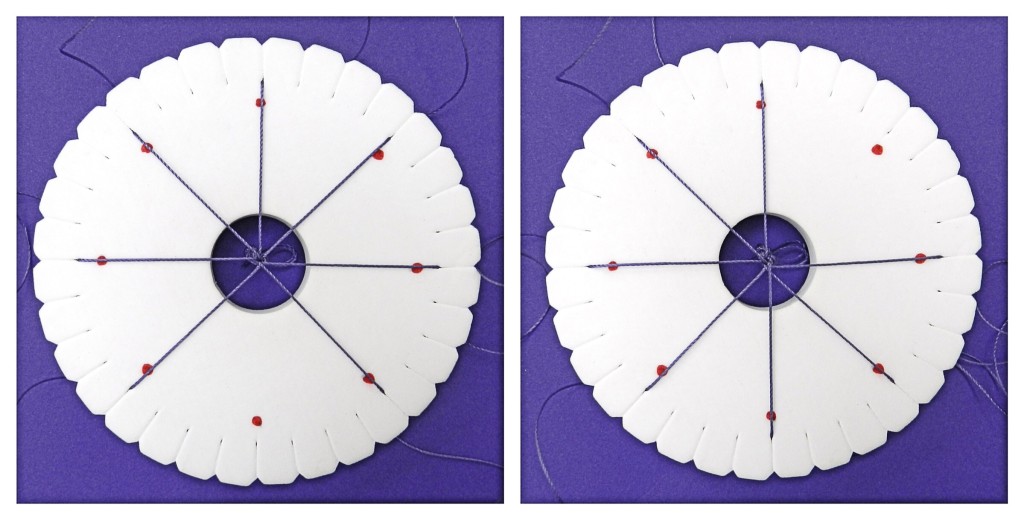
First of all mark up the reverse of the disk with eight equally spaced dots. This means that there should be a dot under every 4th slot.
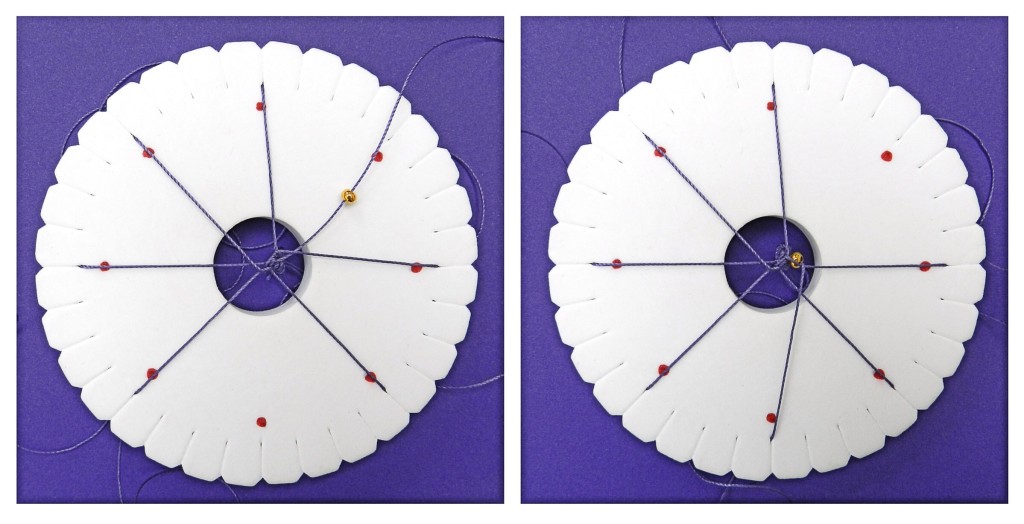
Position 7 cords in the slots leaving one gap. Hold the disk so that the gap is at the bottom. Count to the third cord on the right. In order to get into the rhythm of the braid it may help to tap the disk on dot one and dot two, then pick up the third cord. Put the cord into the gap at the bottom. (This braid is sometimes known as ‘Fill the Gap’) Rotate the disk so that the gap is once more at the bottom and again count to the right, picking up the third cord and placing it in the gap. Just repeat these movements until the braid is the correct length.
It is easy to find your place with this cord if you need to put down your disk. Just position the gap at the bottom again and count to the third cord on the right.
To watch a video of me demonstrating this braid click here and fast forward to 1.32
Adding beads is really easy. When the cord is moved just slide a bead down to the point where the braid forms and tuck the bead under the cord being crossed, before placing the cord in the gap.
Beads can be used on all cords or just some of them.

