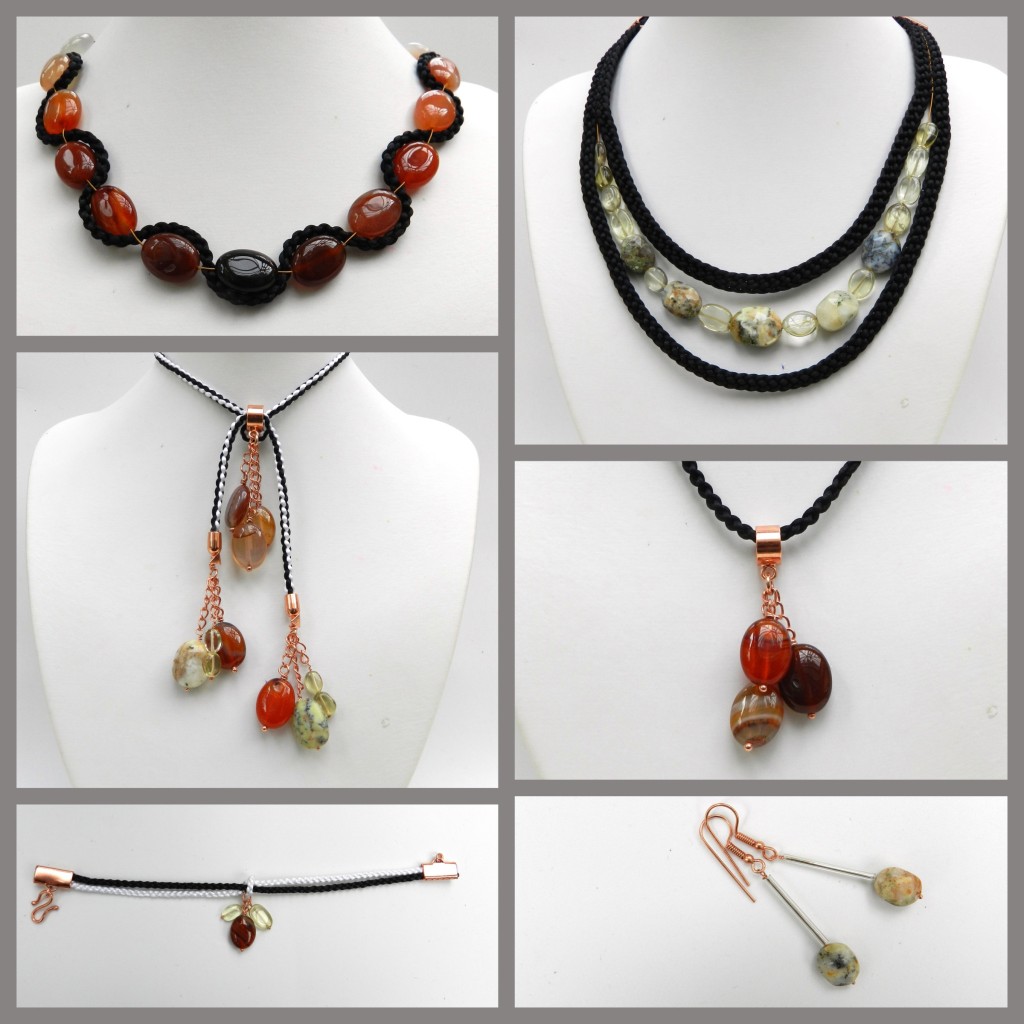
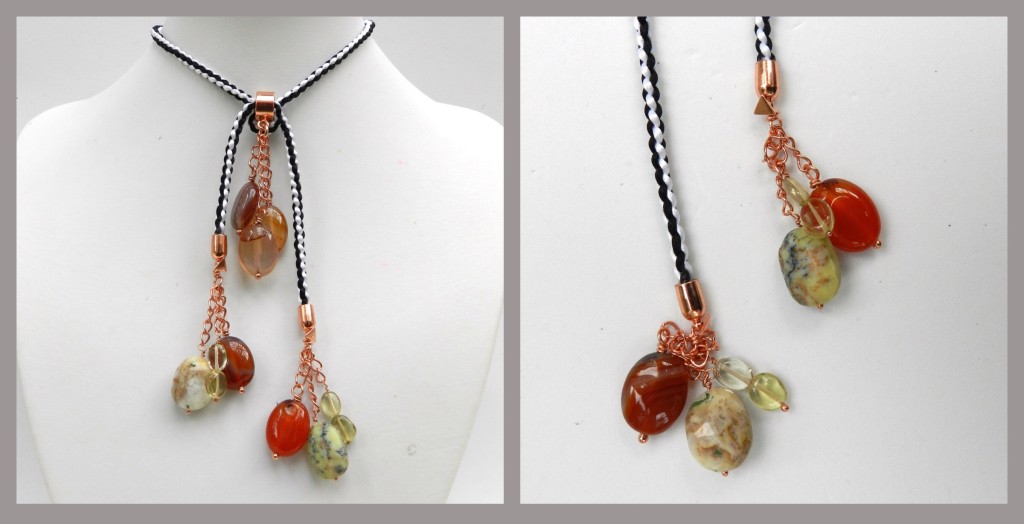
Dendrite Opal, Lemon Quartz and Carnelian perfectly evoke the rich, warm tones of autumn. The kit contained a three strands of oval beads ranging in length from 0.5mm to 1.5mm, some kumihimo findings and satin cord in black and white.
The live show can be seen here. Fast forward to 3.22 for this demo.
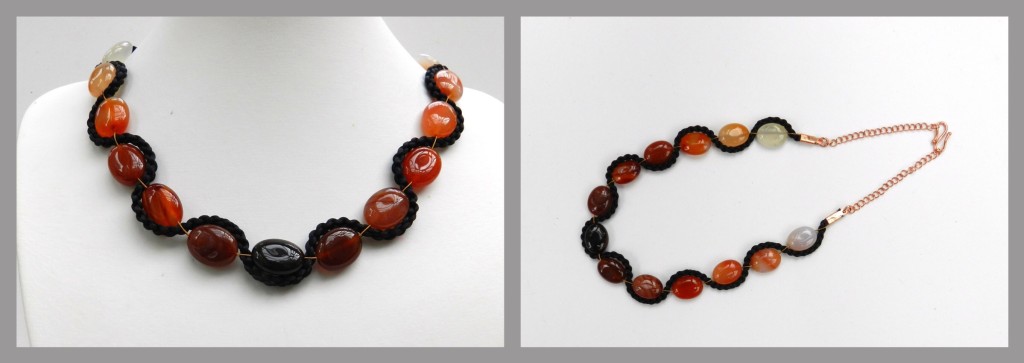
Carnelian Statement Necklace
This necklace was demonstrated on the show.
This necklace is made with a long length of kumihimo braid. I used 4 cord braid, but other braids can be used and instructions for lots of lovely braids can be found here. As the braid curves around the stones it is difficult to estimate exactly how much braid is required. The best approach is to make a long length and the excess can be used for a braclet or pendant. I made 80cm of braid using 2m x 4 of cord. 50cm was used for the necklace and 30cm was used for the pendant.
1. Cut 2 x 50cm beading thread/wire, crimp one end and thread on approximately 13 carnelian ovals and put a temporary crimp on the other end of the beading thread.
2. Fold a ribbon end over one end of the braid and one end of the wires. Push the first bead up close to the ribbon end and thread the braid in between the two wires. Push the next bead up close and thread the braid in between the two wires from the other side. Continue to the end.
3. Crimp the wires about 1cm from the last bead. Secure the braid and the wires in a ribbon end.
4. Attach chain and a clasp to finish off.
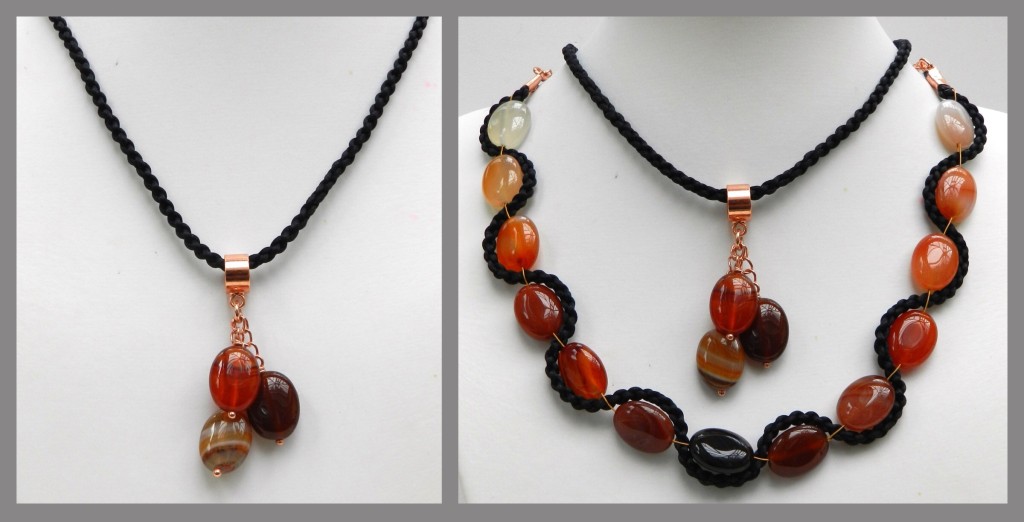
Carnelian Pendant
Use the excess braid to make the pendant. Don’t forget to thread the bail onto the braid before glueing on the second end cap!
The necklace and pendant can be layered for extra effect.
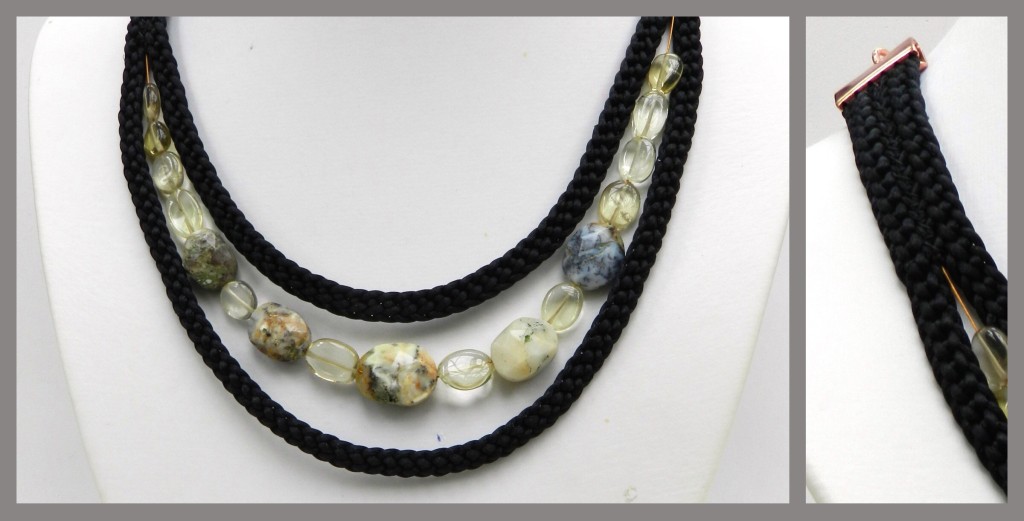
Dendrite Opal Triple Necklace
Approximately 70cm of braid (8 x 2m) is required for this necklace. I used Half Round Braid, but other braids would also work well.
1. Attach beading thread/wire to a jump ring. Attach the jump ring to the loop on top of a ribbon end and thread the beading thread/wire through to the other side of the ribbon end.
2. Secure two lengths of braid in the ribbon end, with the beading thread in the middle. Use a drop of glue for extra security.
3. Thread on a selection of beads and secure the other braid ends losely in a ribbon end. It is best to check the length and drape of the necklace on a display bust. Attach a jump ring to the loop on the second ribbon end. Thread the beading thread wire through a crimp, the gap in the ribbon end and then through the loop and jump ring and back through the crimp. Flatten the crimp and then fully close the ribbon end. (It is a bit fiddly, but it should be very secure!)
4. Sew the two braids together at either end, trapping the beading thread/wire in the middle.
5. Finish off with chain and a clasp.
Lariat
Approximately 90-100 cm of braid is required for this lariat. I used 4 cord braid, which I demonstrated on the show, but other braids can be used and instructions can be found here. Allow 2.5-3 times the finshed length for each cord.
1. Thread one side of the braid through the bail and thread the other side through once and back through again in the same direction. This will allow the braid to grip the bail, but still be moved up and down the braid when required.
2. Glue end caps on to the braid ends.
3. Attach chain to a selection of beads using wrapped loops and attach them to the braid ends and to the loop on the bail.
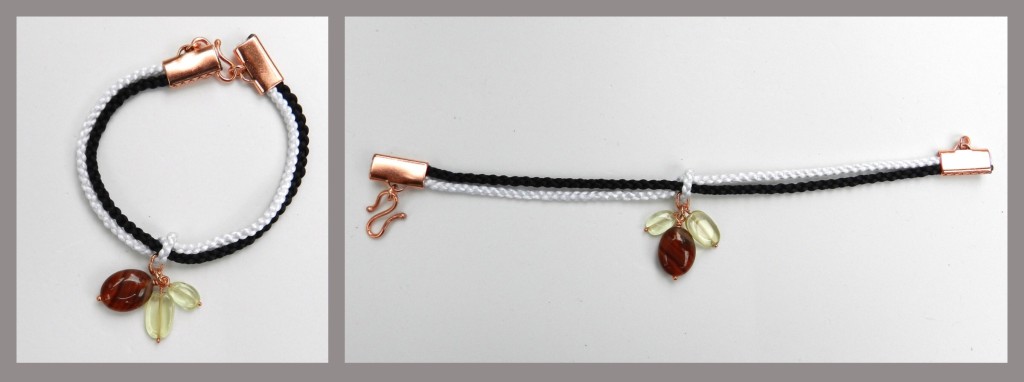
Knot Bracelet
The 4 cord braid has also been used for this bracelet, but other braids could be used. Allow 30cm of braid for one colour and 20cm for the other. Tie the longer braid around the shorter one using a single knot. Secure the ends in ribbon ends and attach beads on wrapped loops to the knot with a large jump ring.

